saw handle
prototyping process
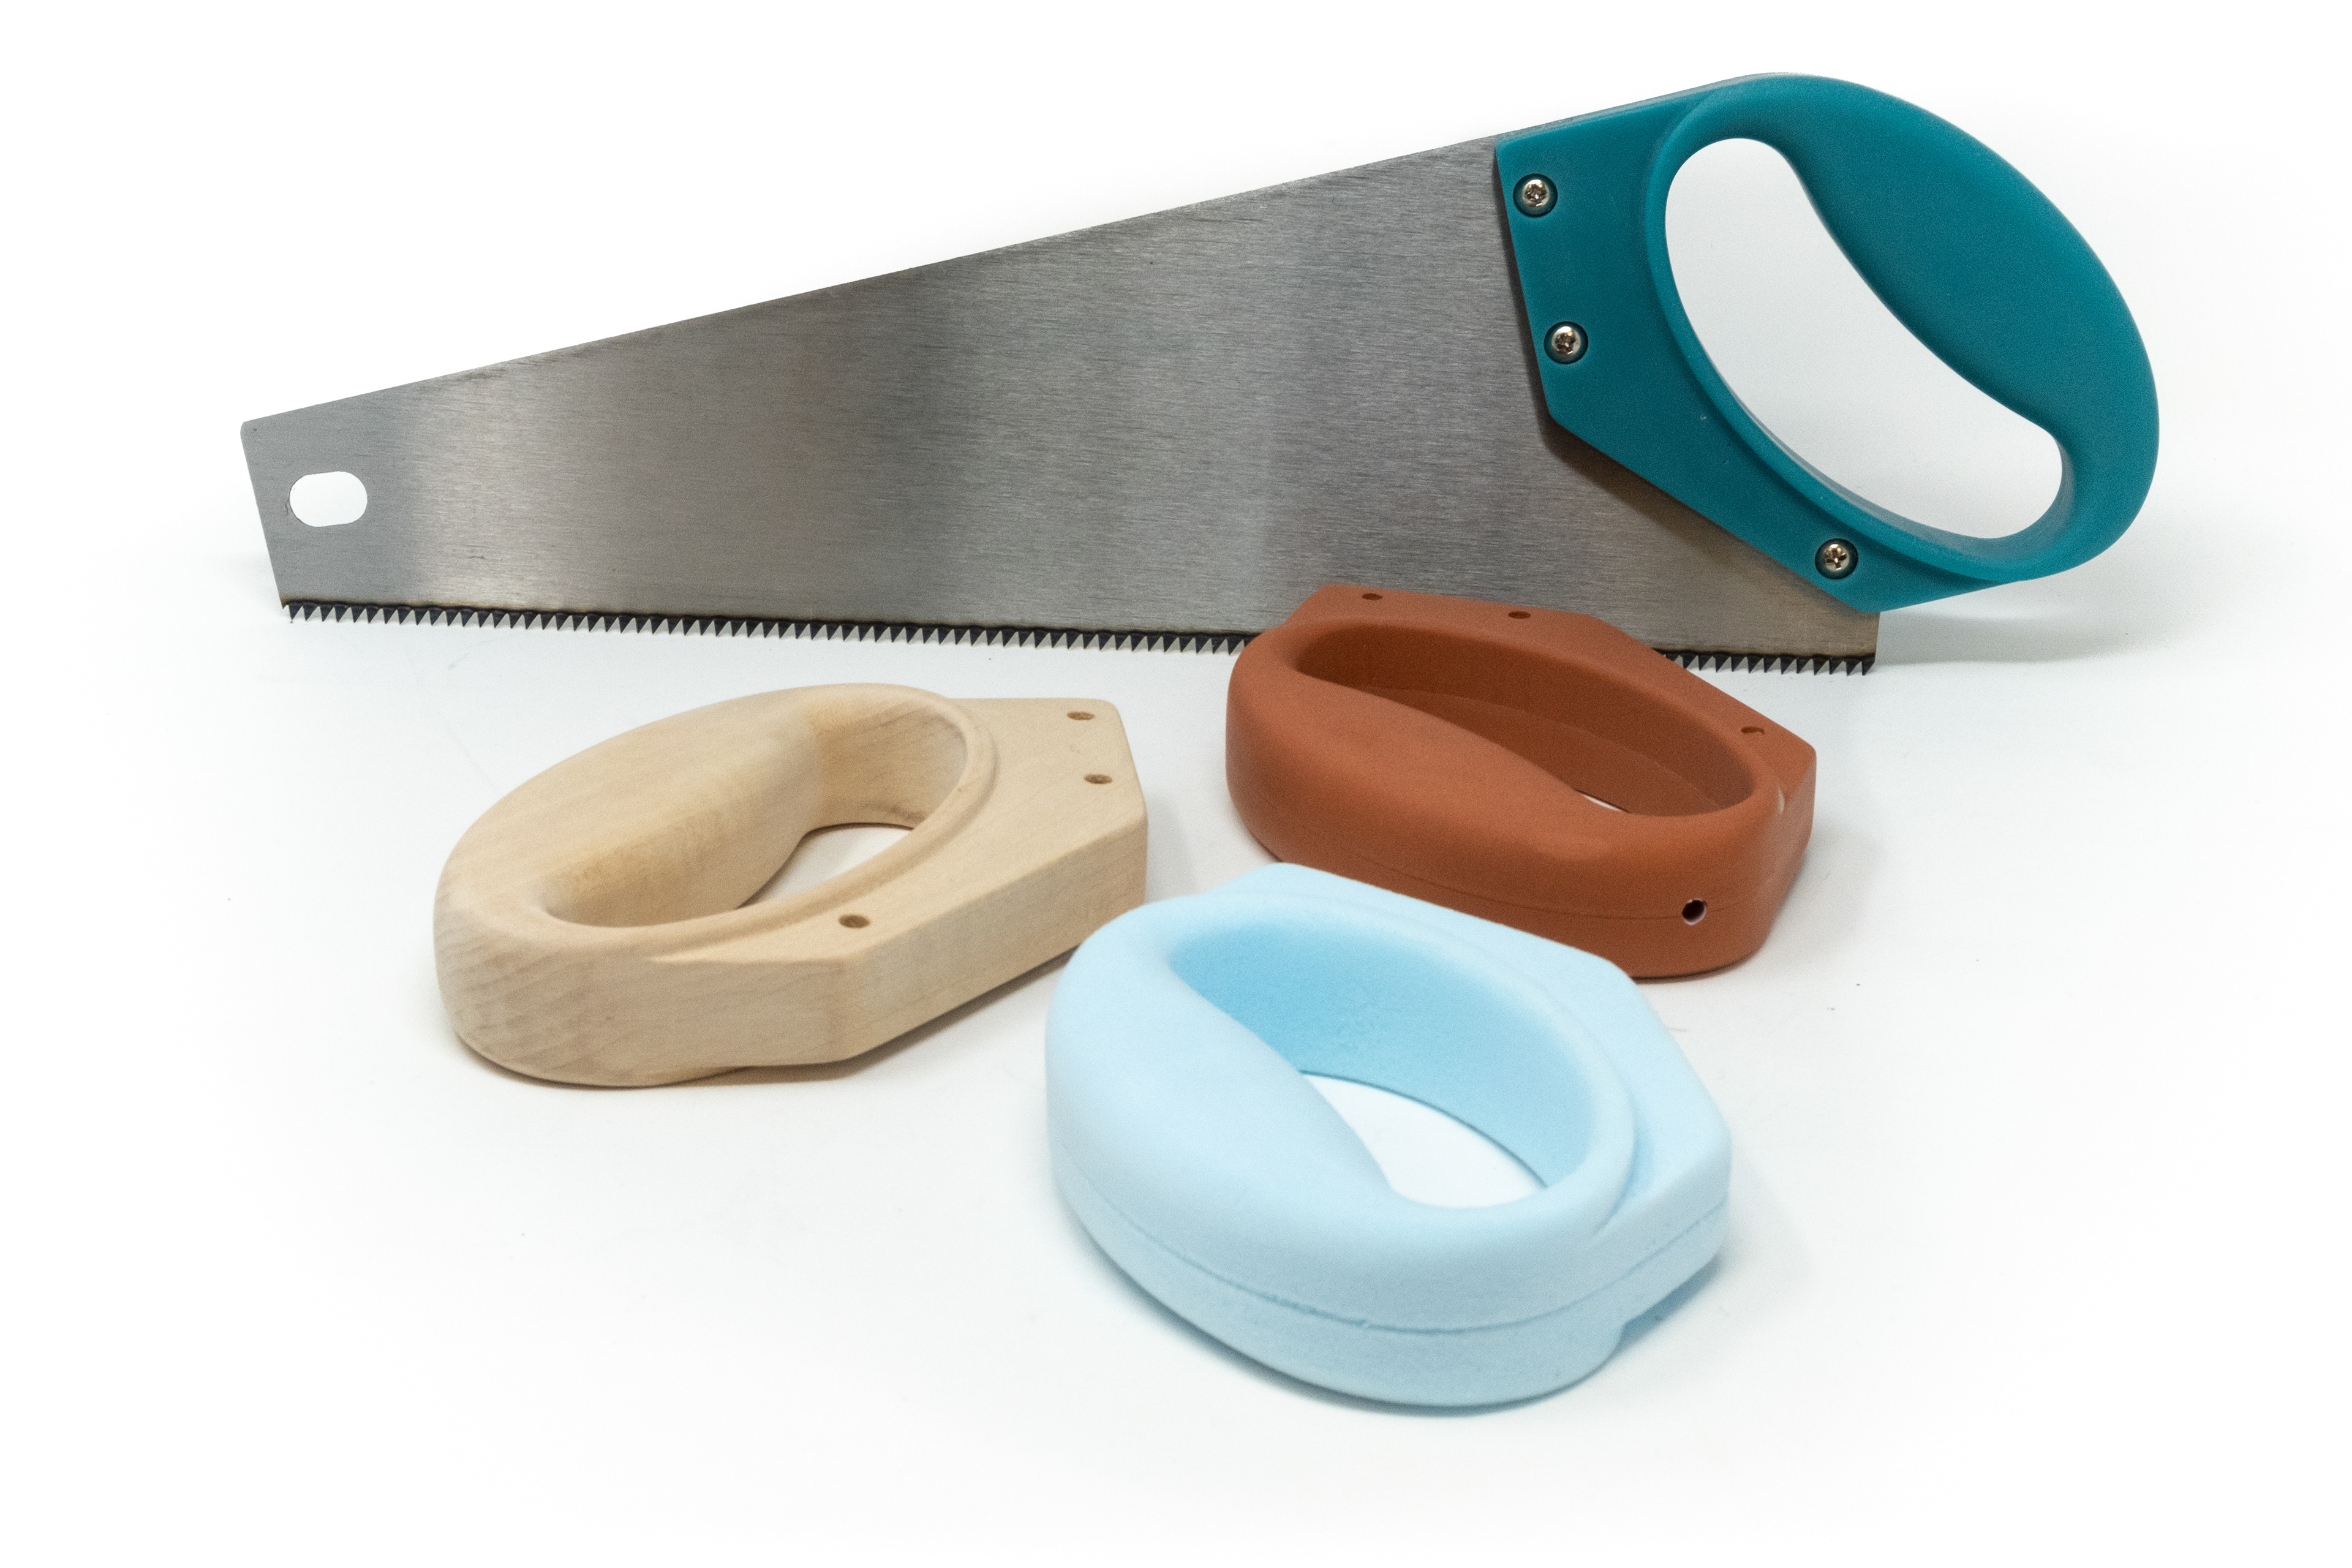
The handle project had a goal to show the prototyping process from start to finish. Starting at foam model development, to hard models, to resin casted prototypes. This project lasted one and a half semesters, during my final year at Dawson College Industrial Design. I was assigned to redesign an all purpose push-pull saw handle.
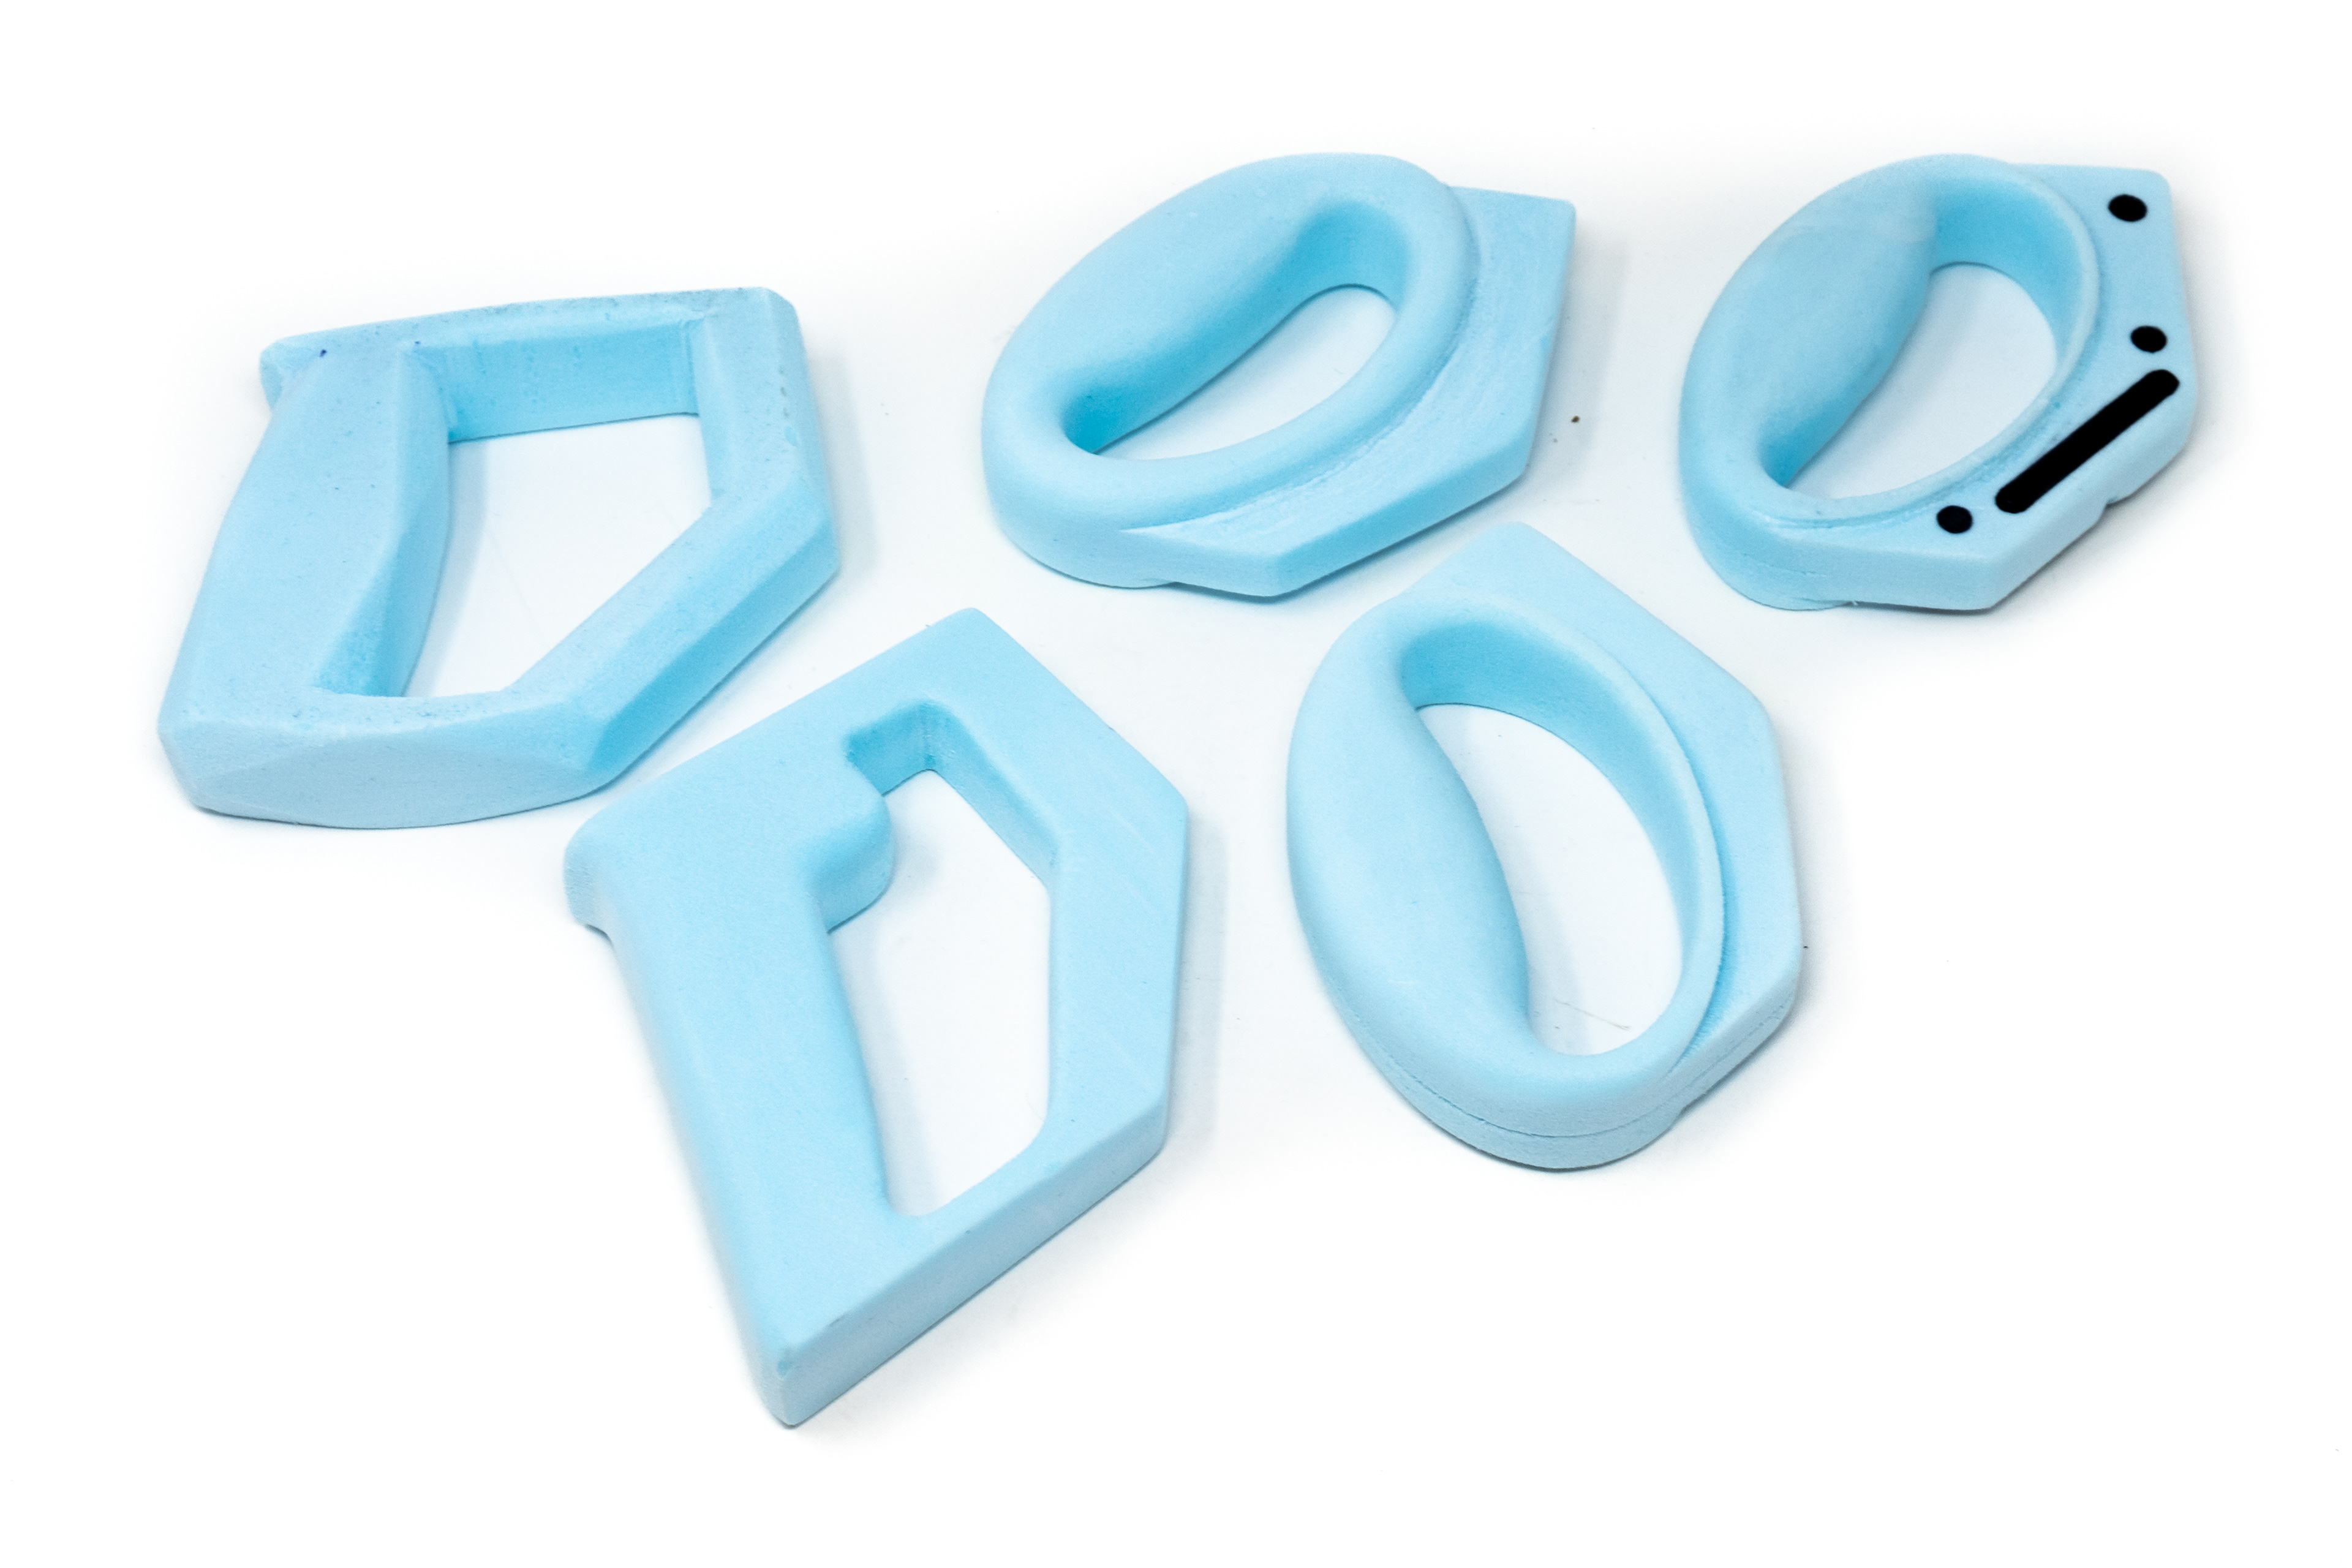
phase one: foam model concept development
phase two: basswood hard model
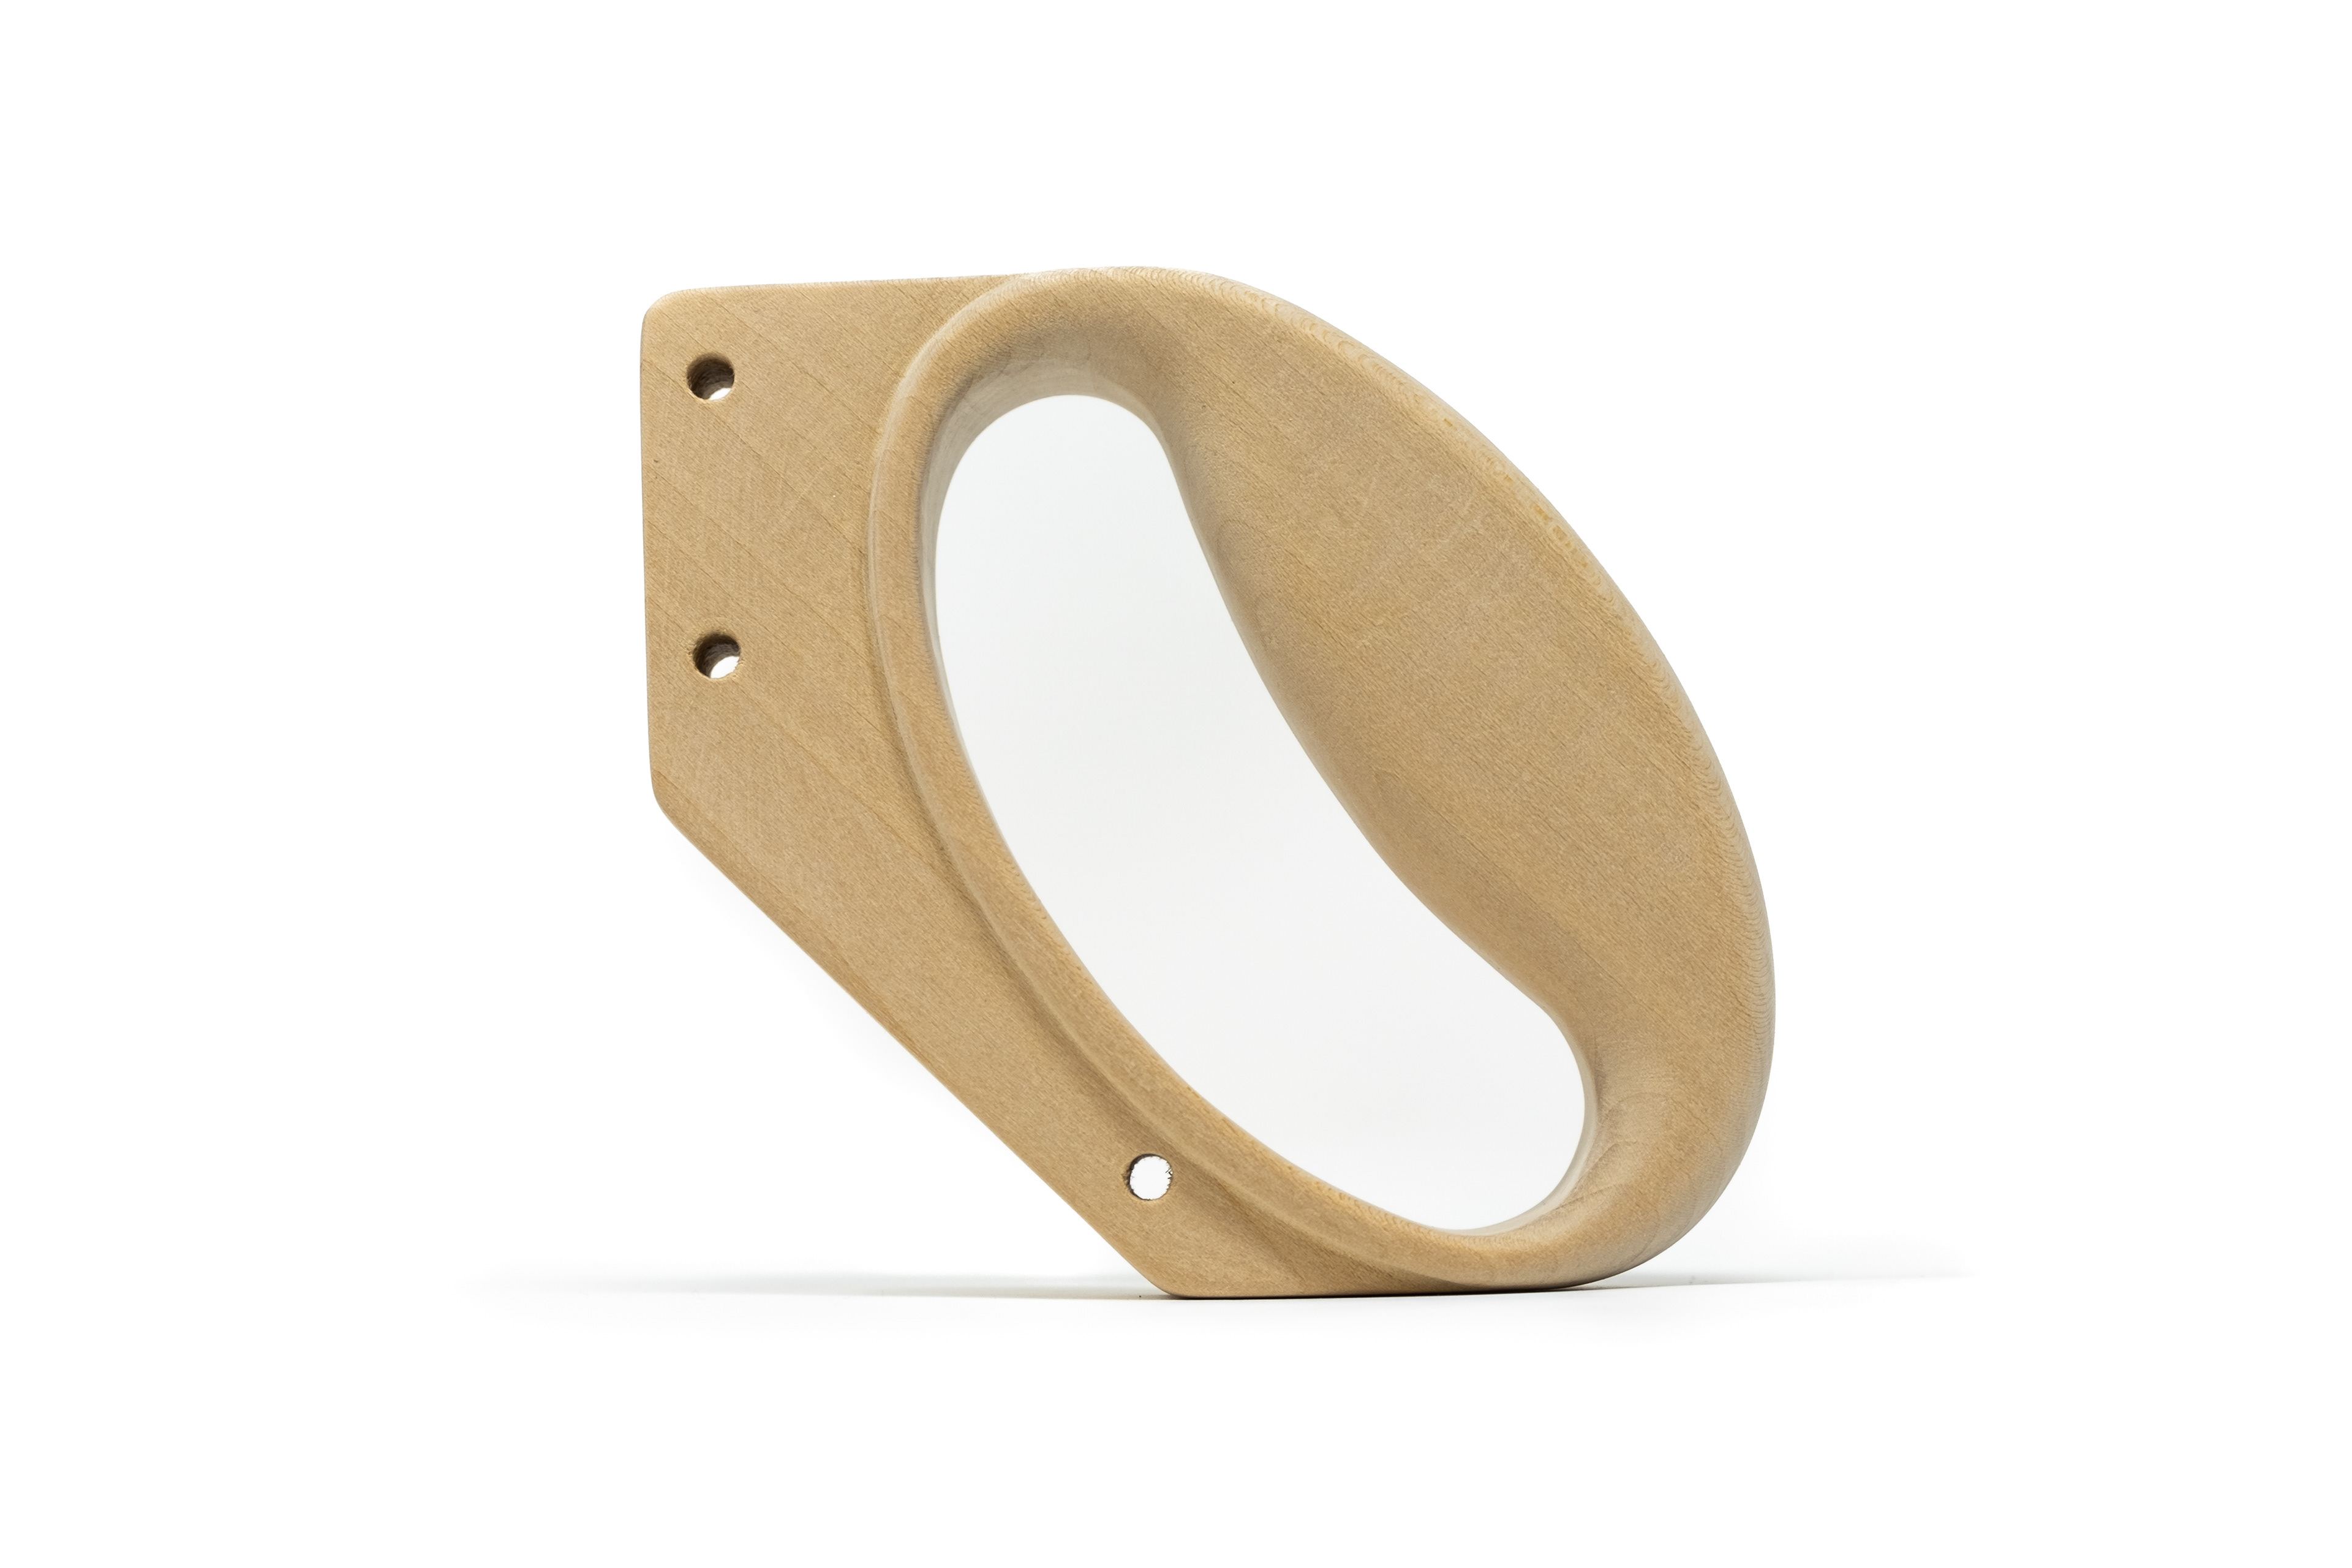
phase three: making the final prototype
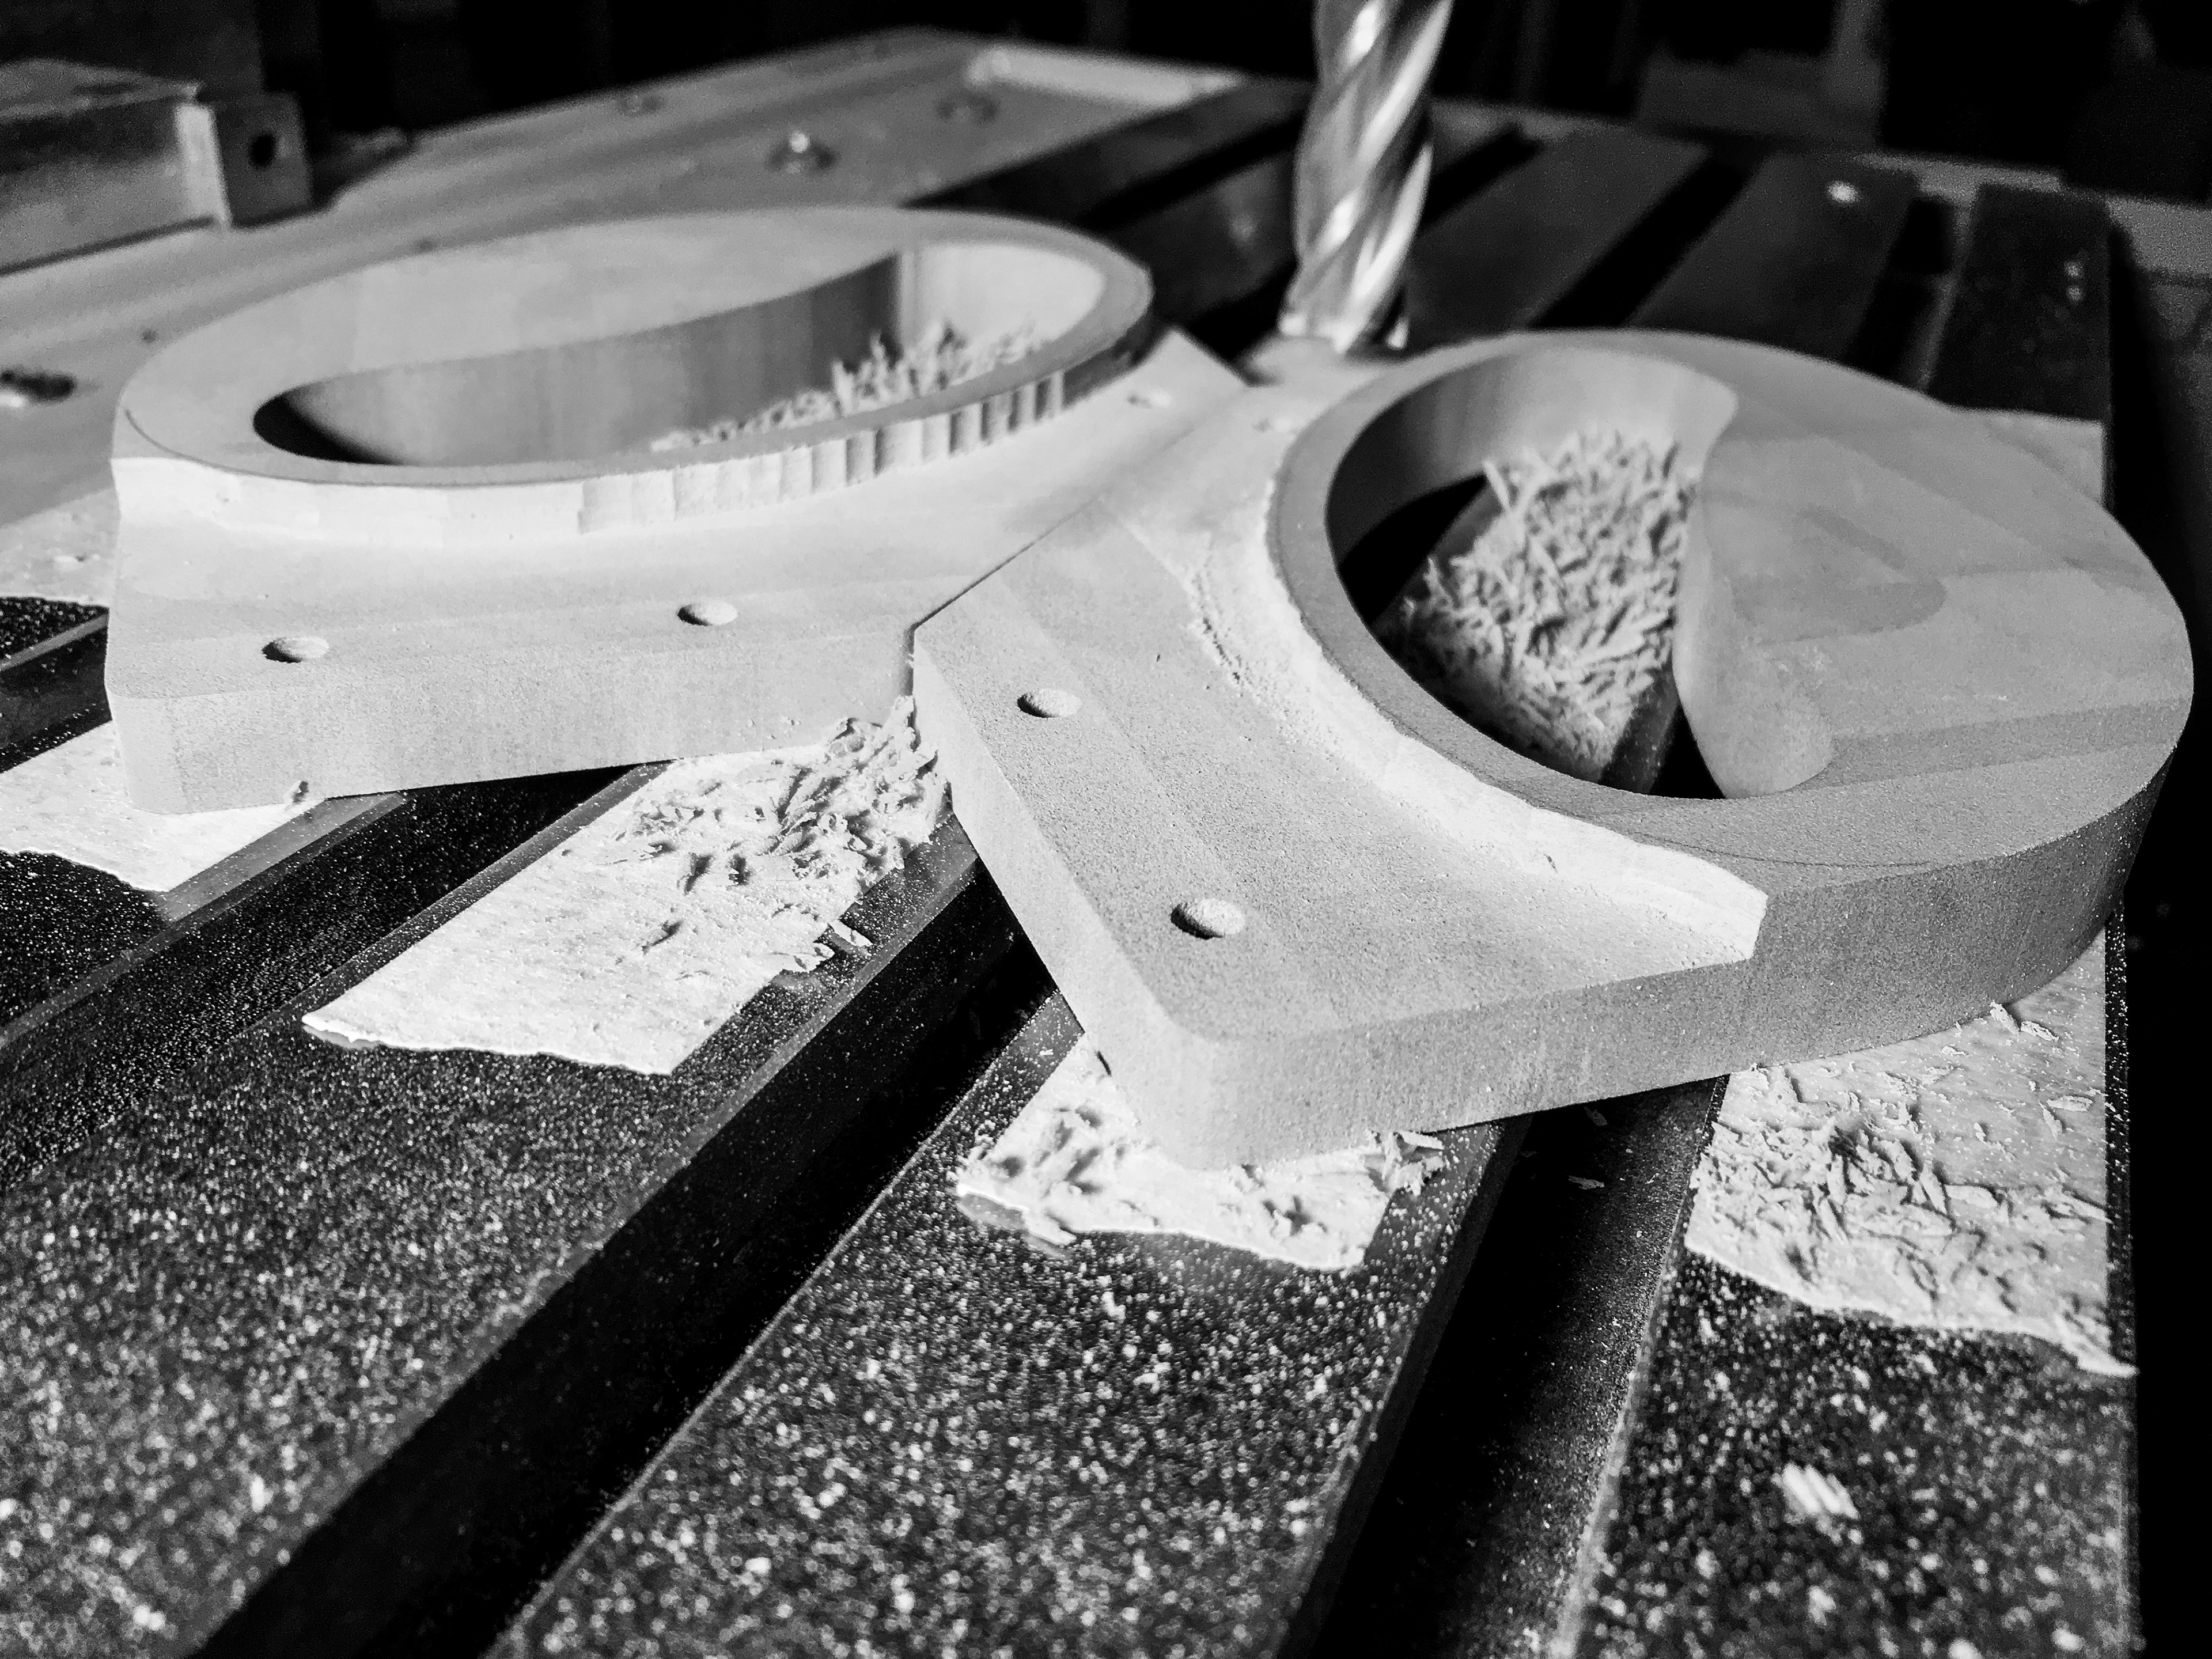
the process starts by making a renshape master model. Then, a two-part mold is cast out of silicone around the master. This mold can then be used to cast urethane handles repeatedly.
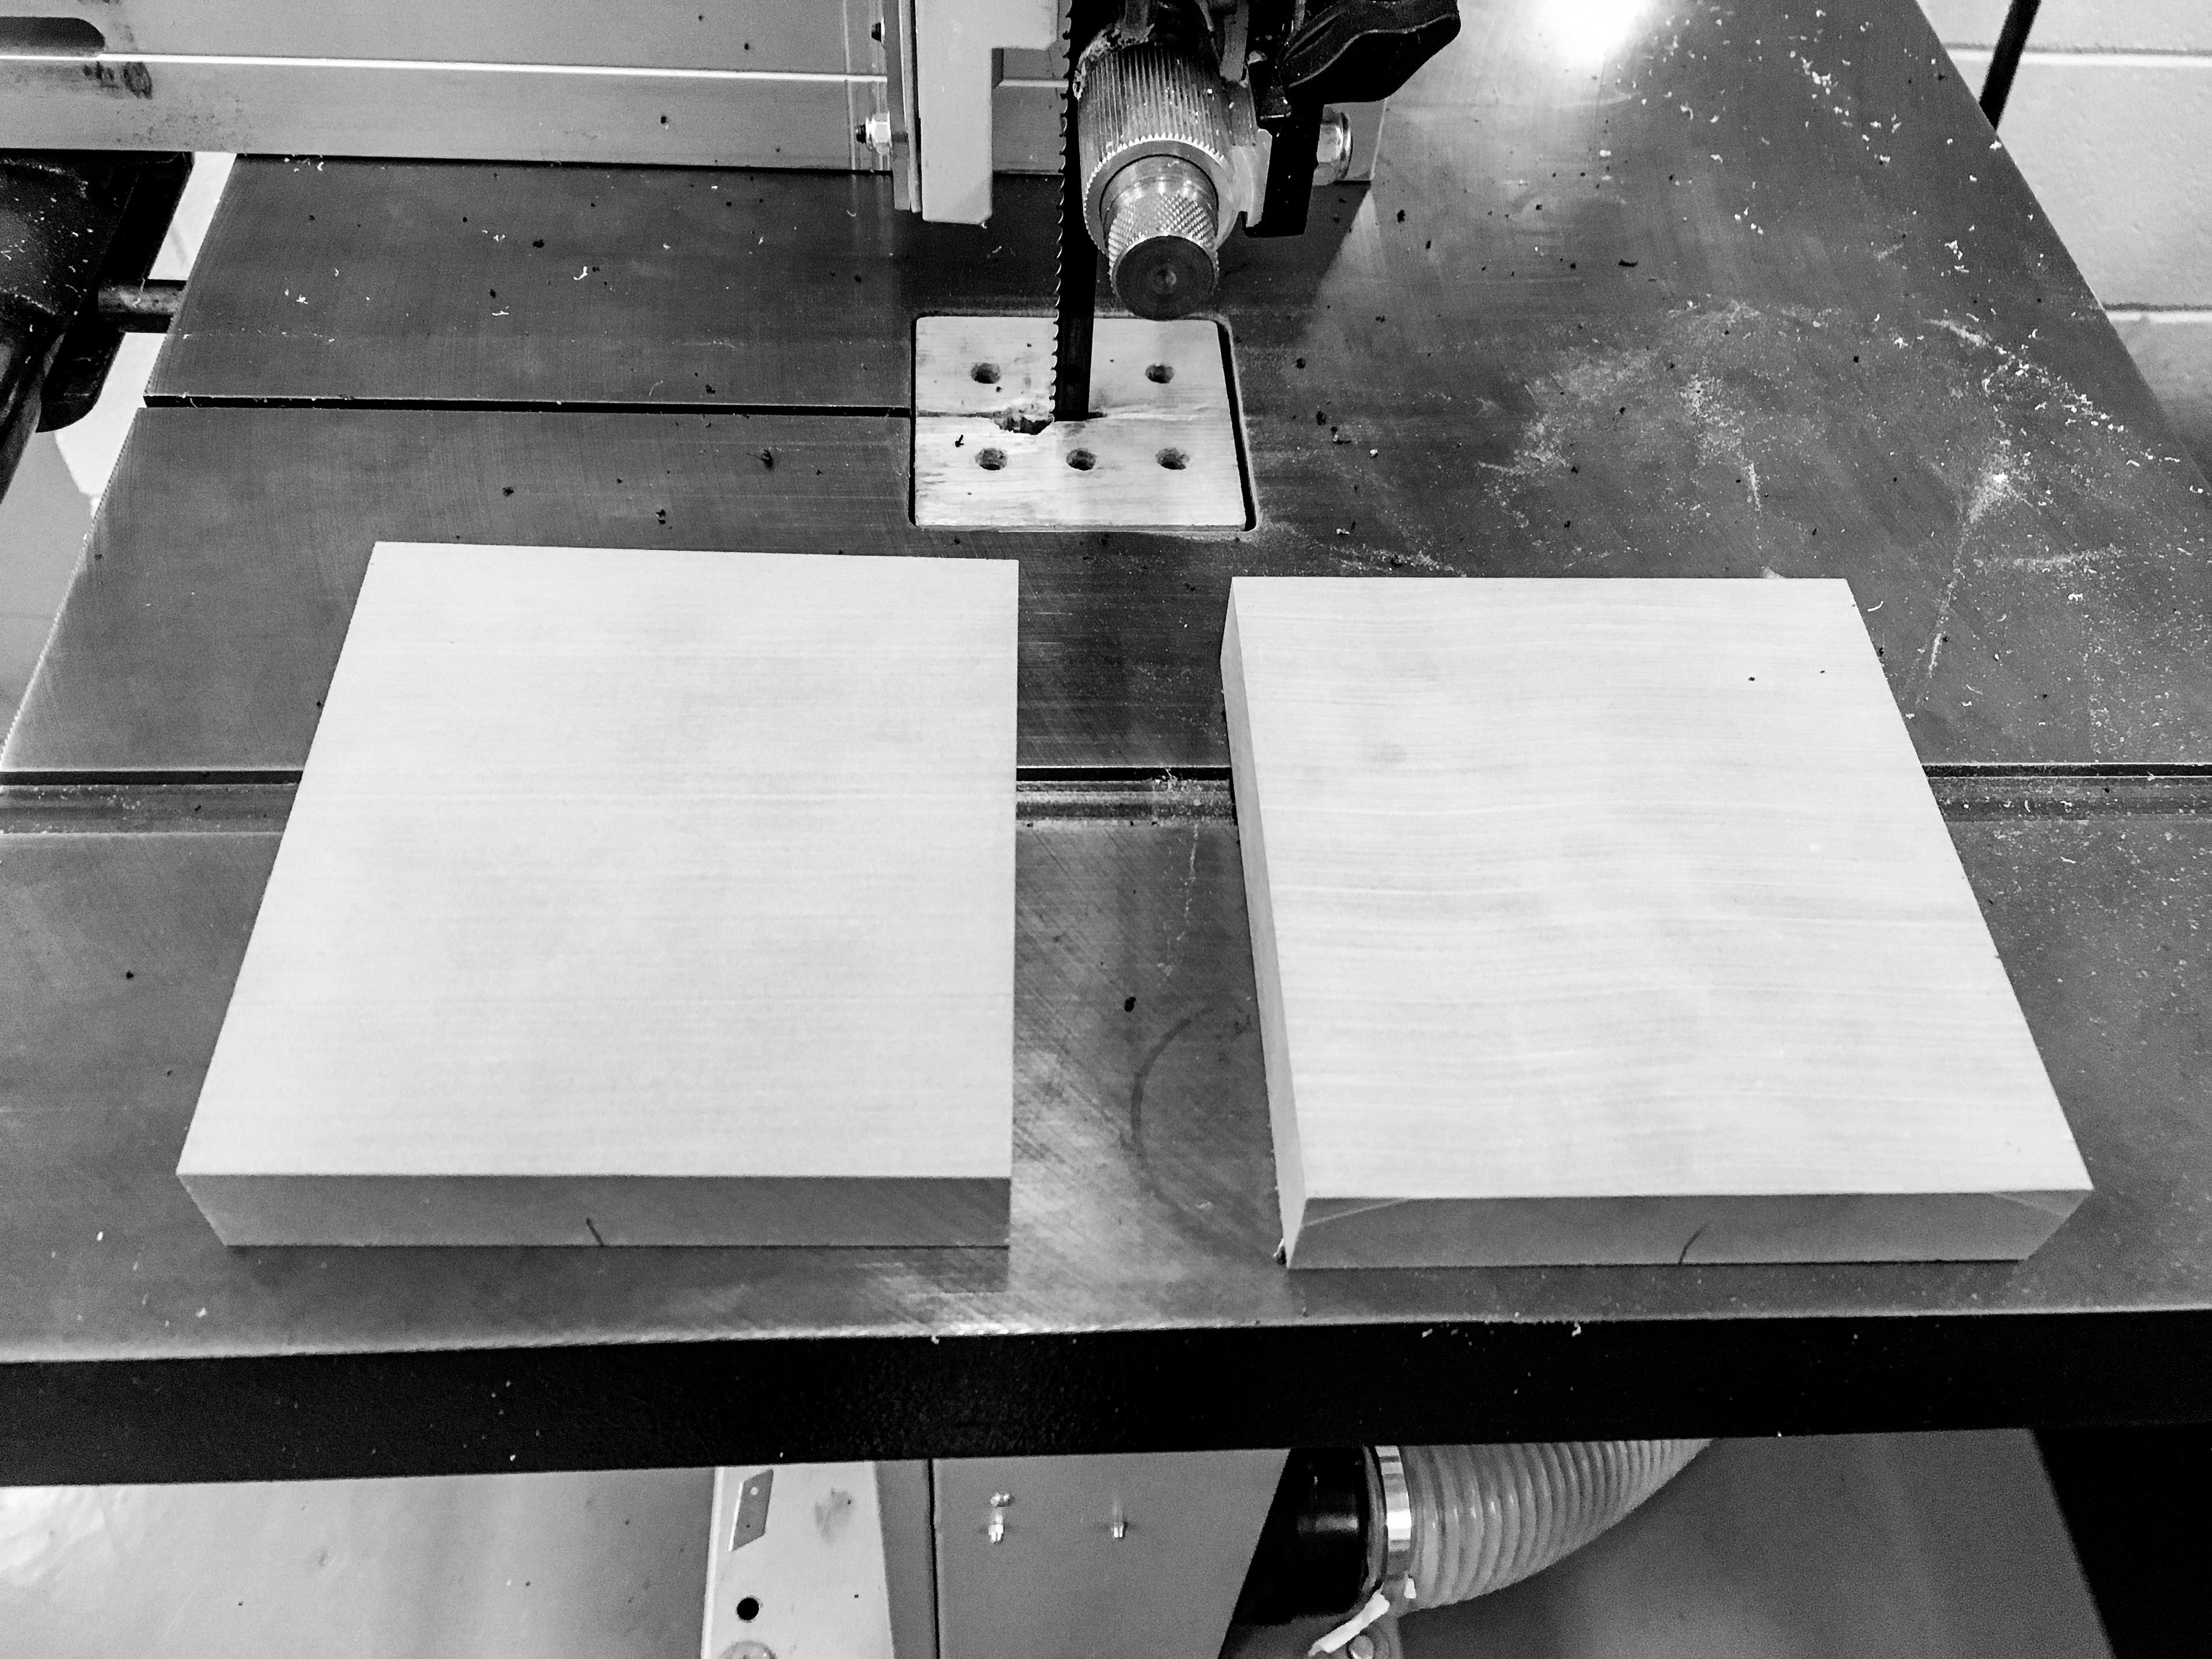
two blocks of renshape
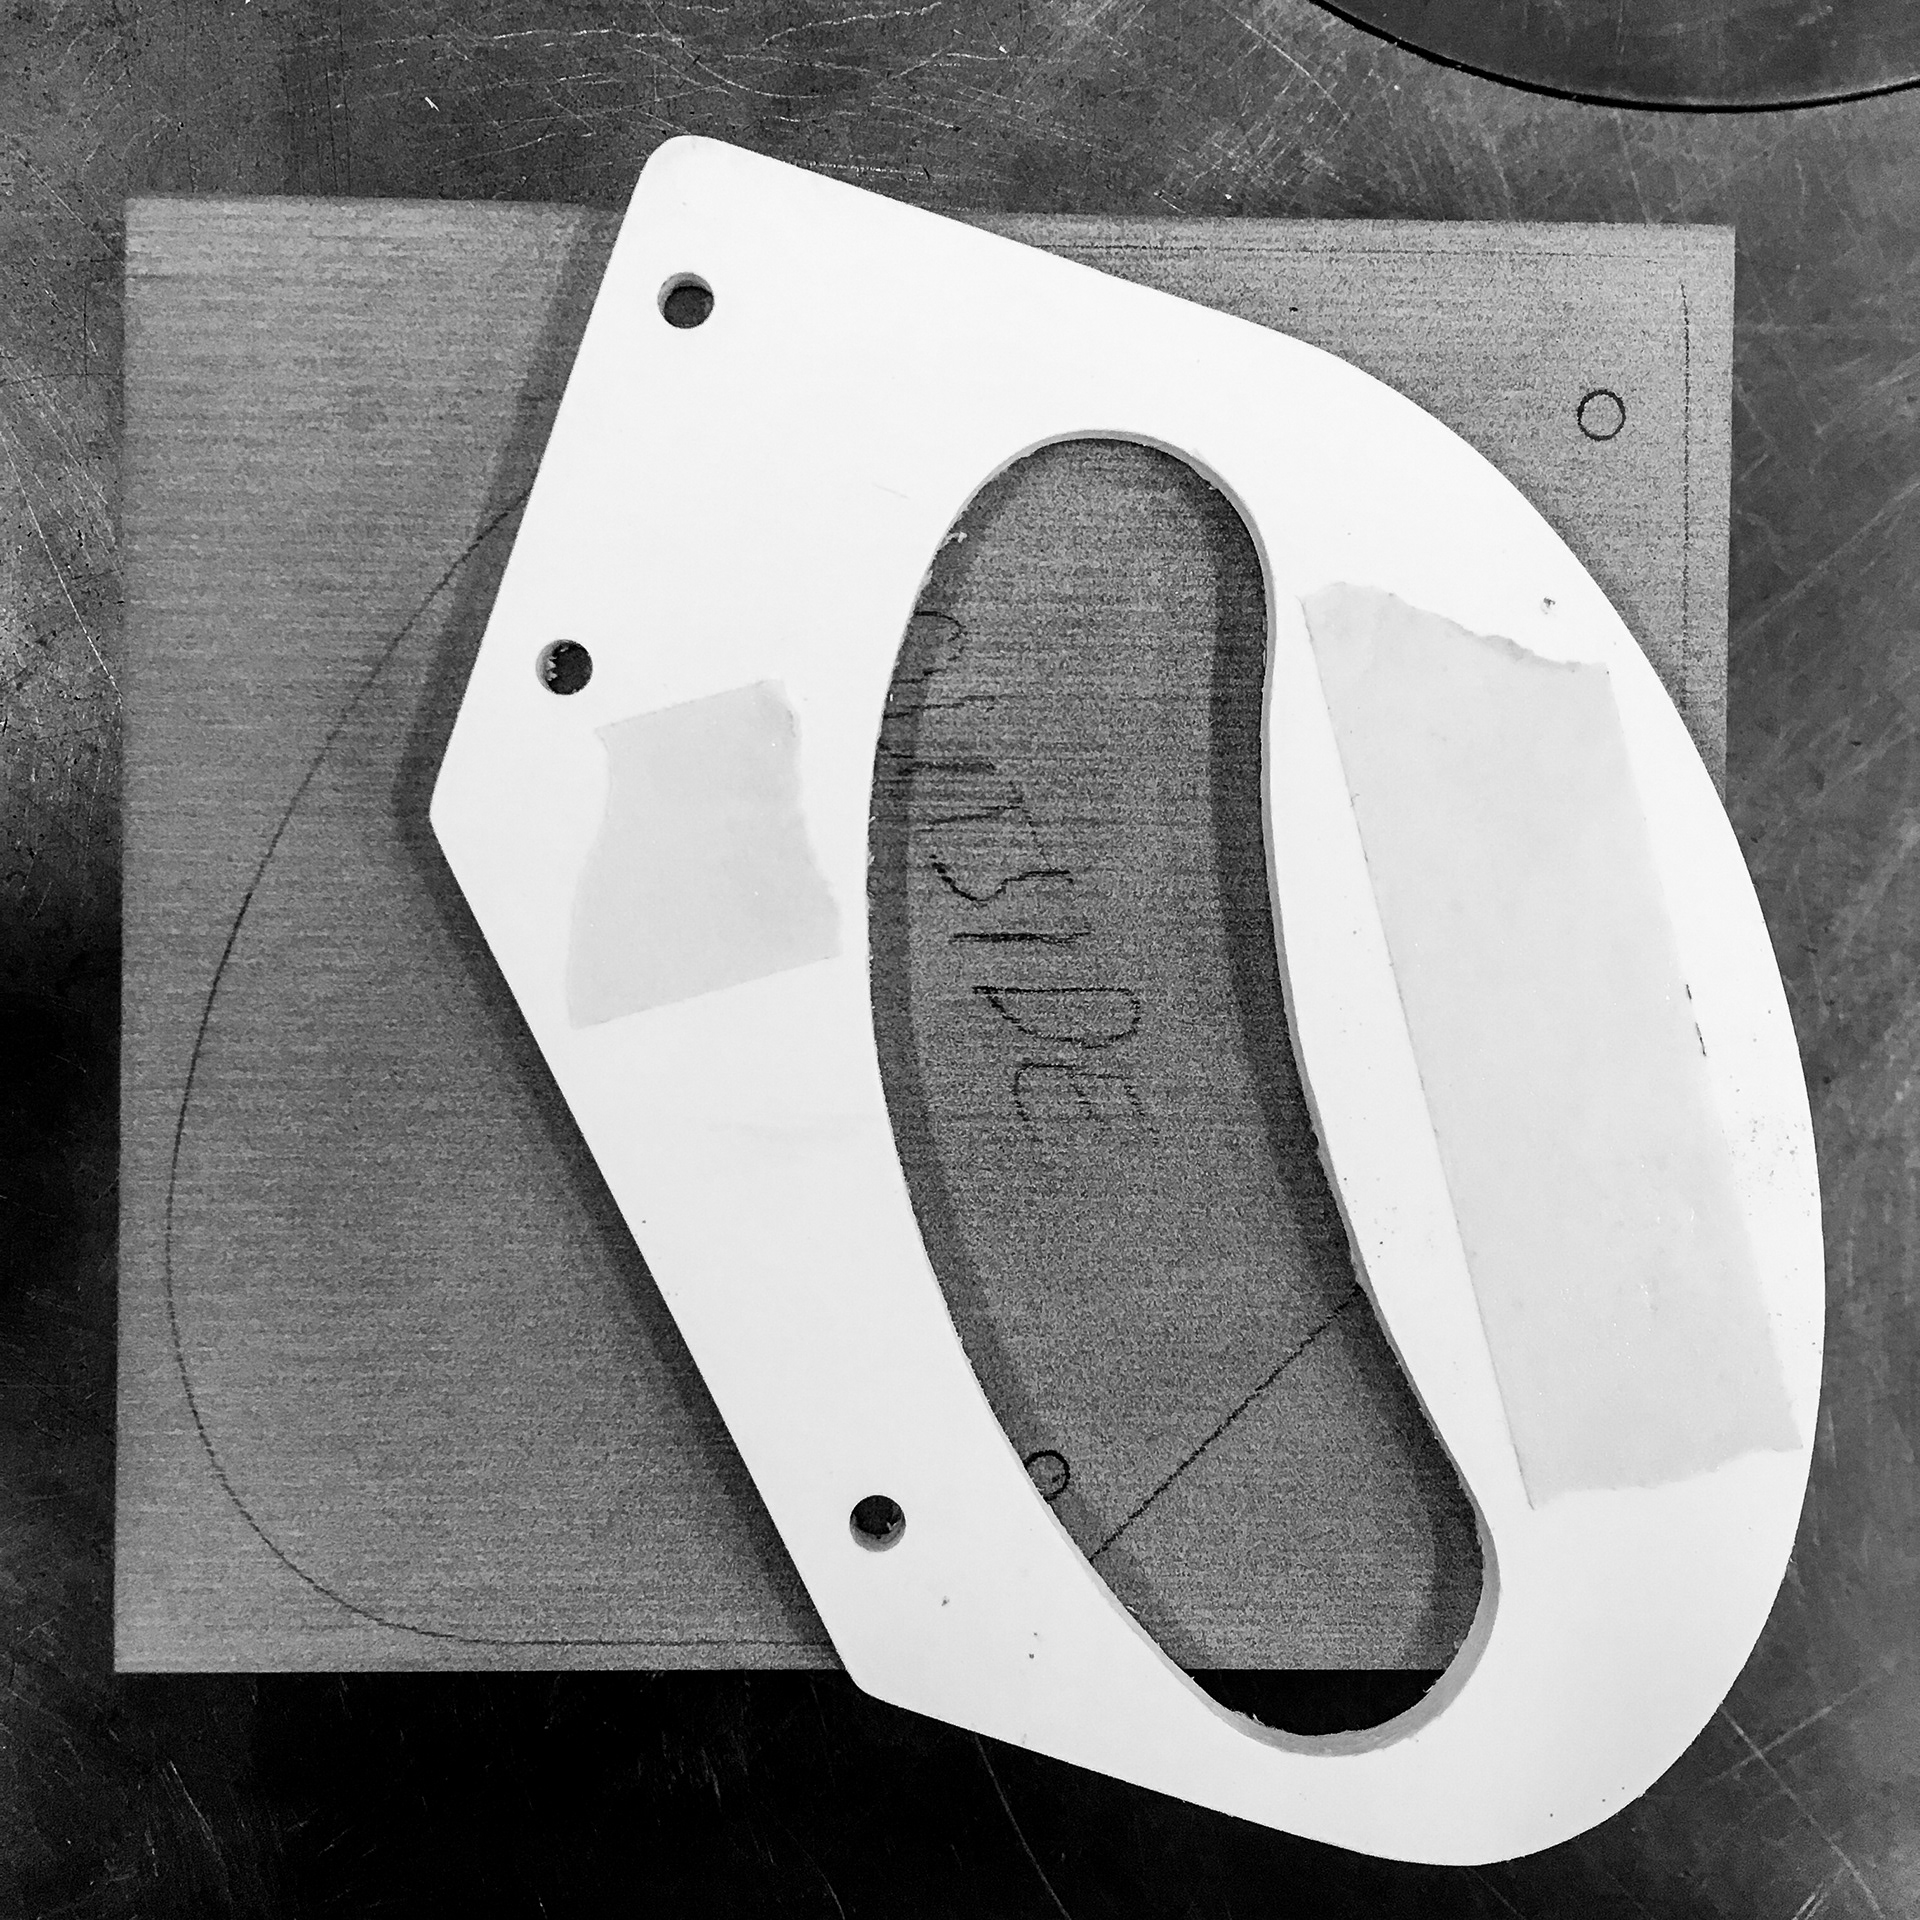
styrene template

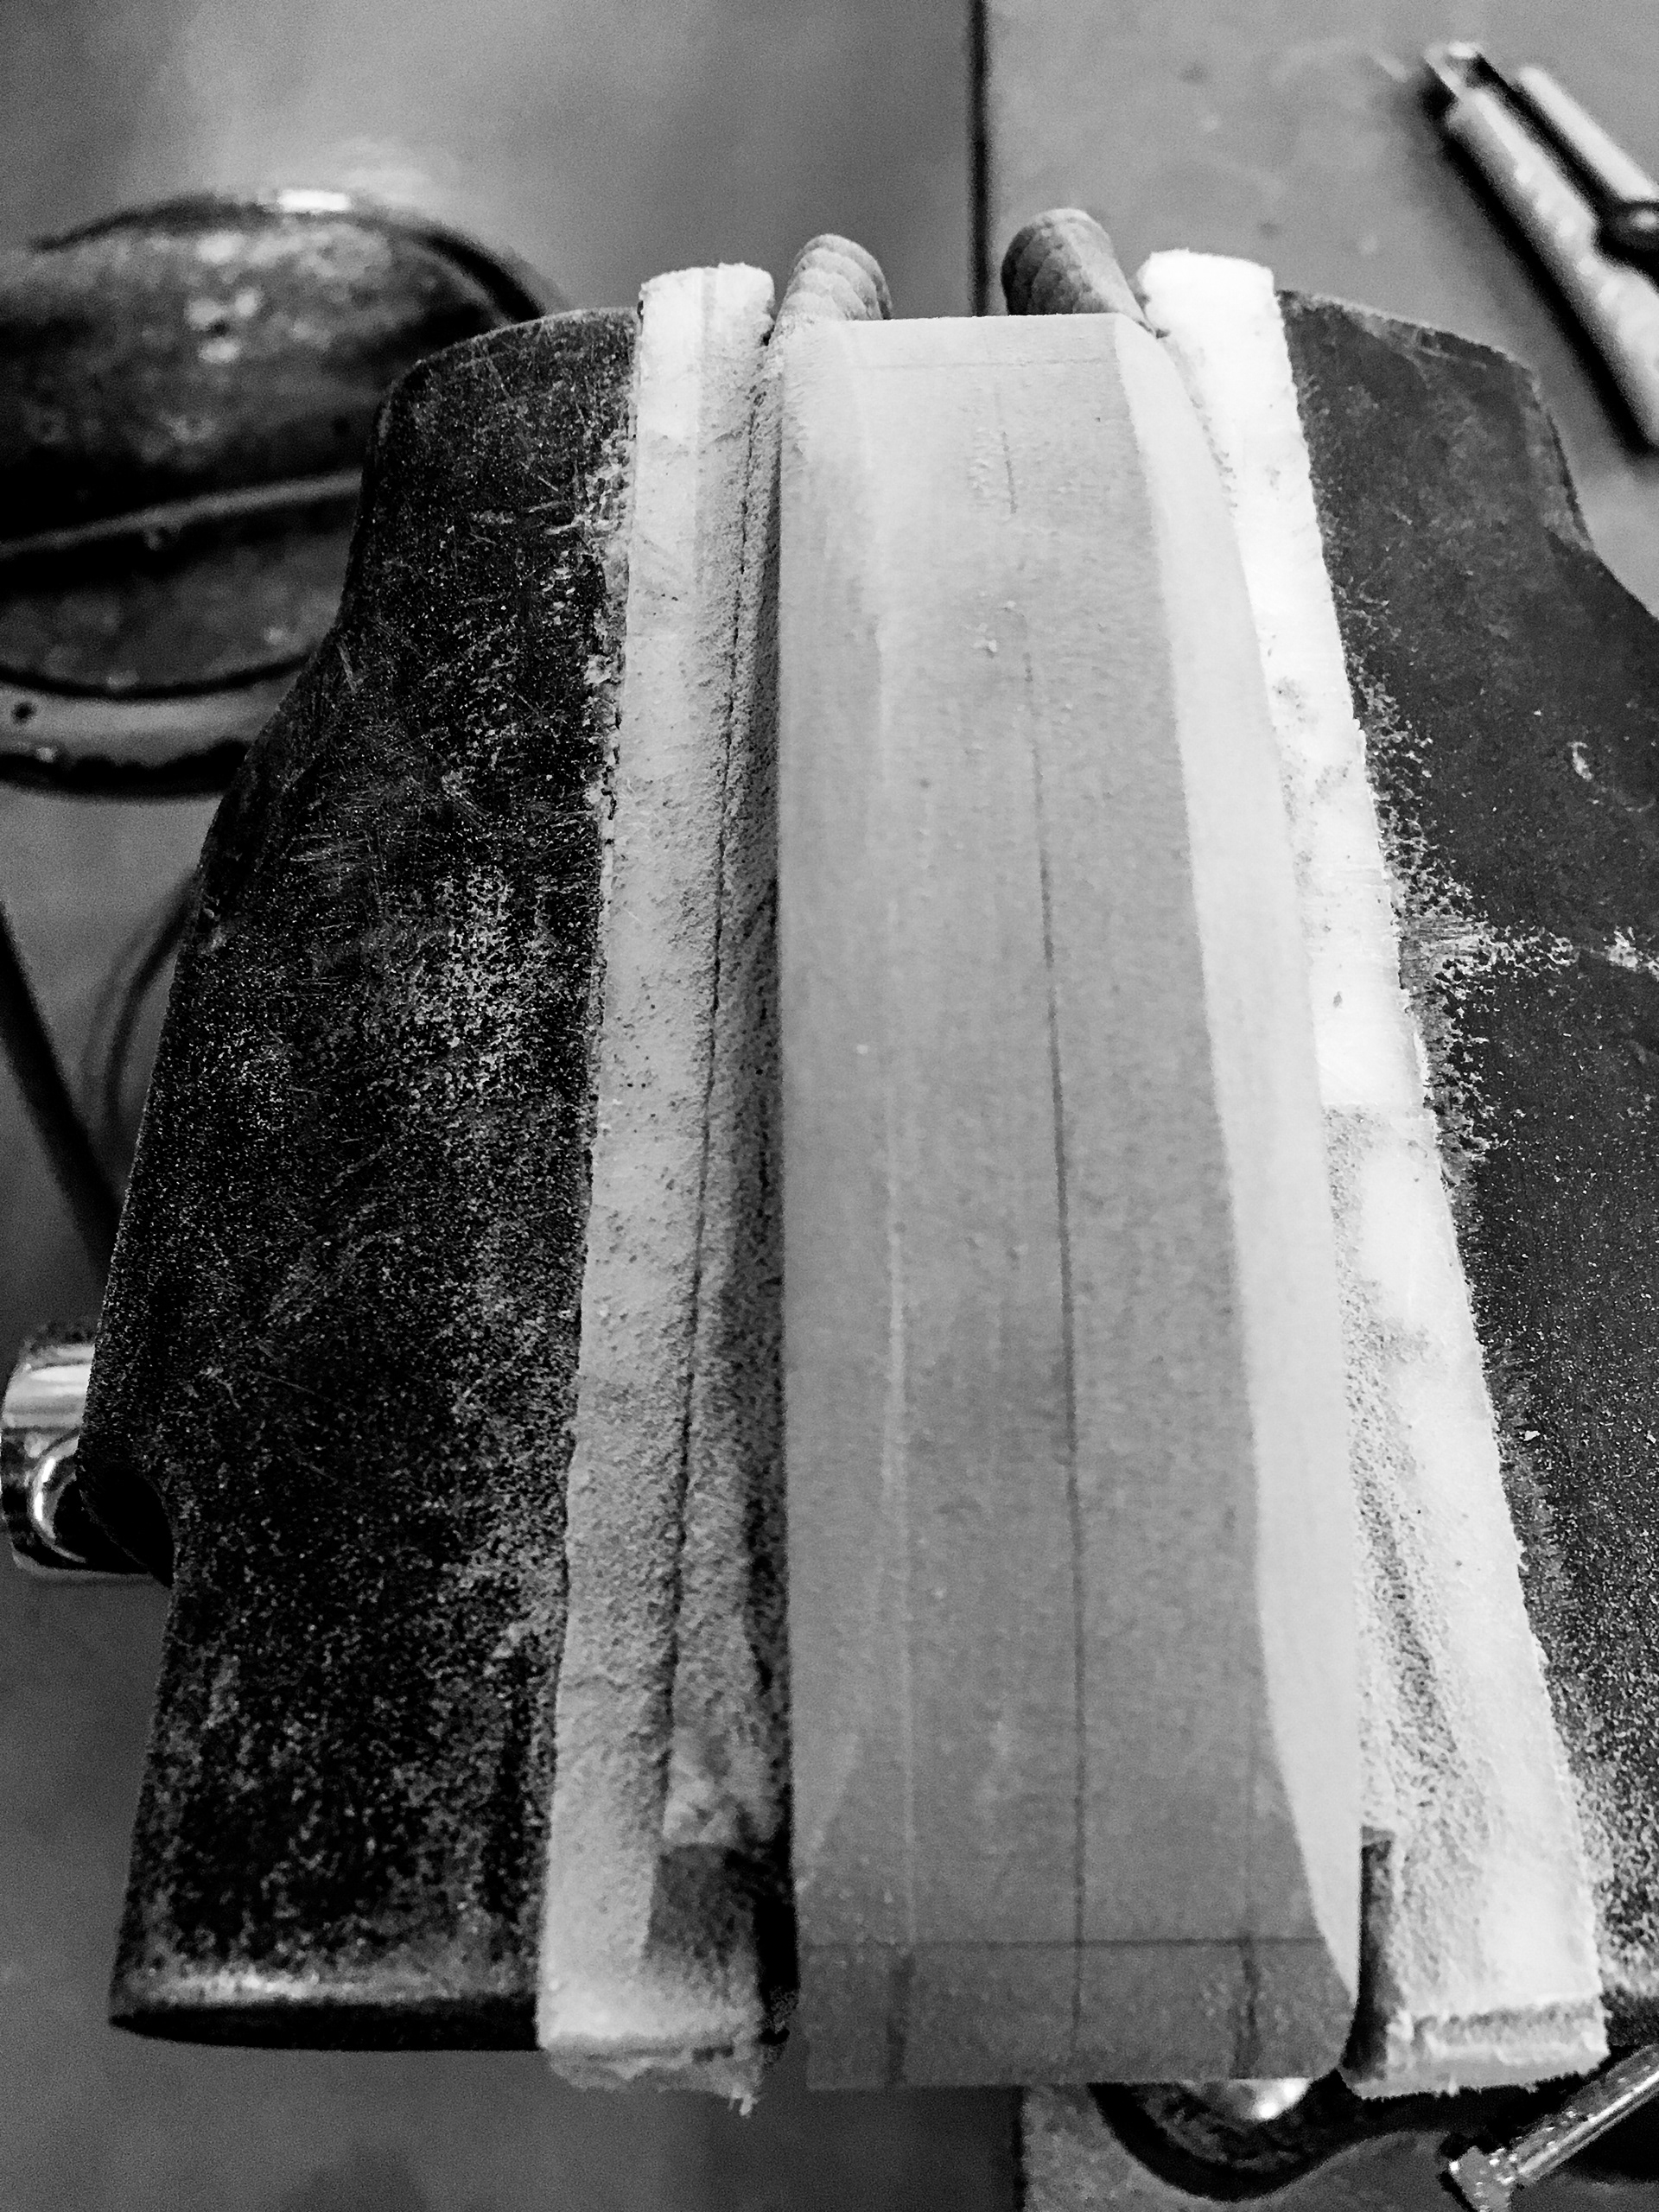
rough trimming
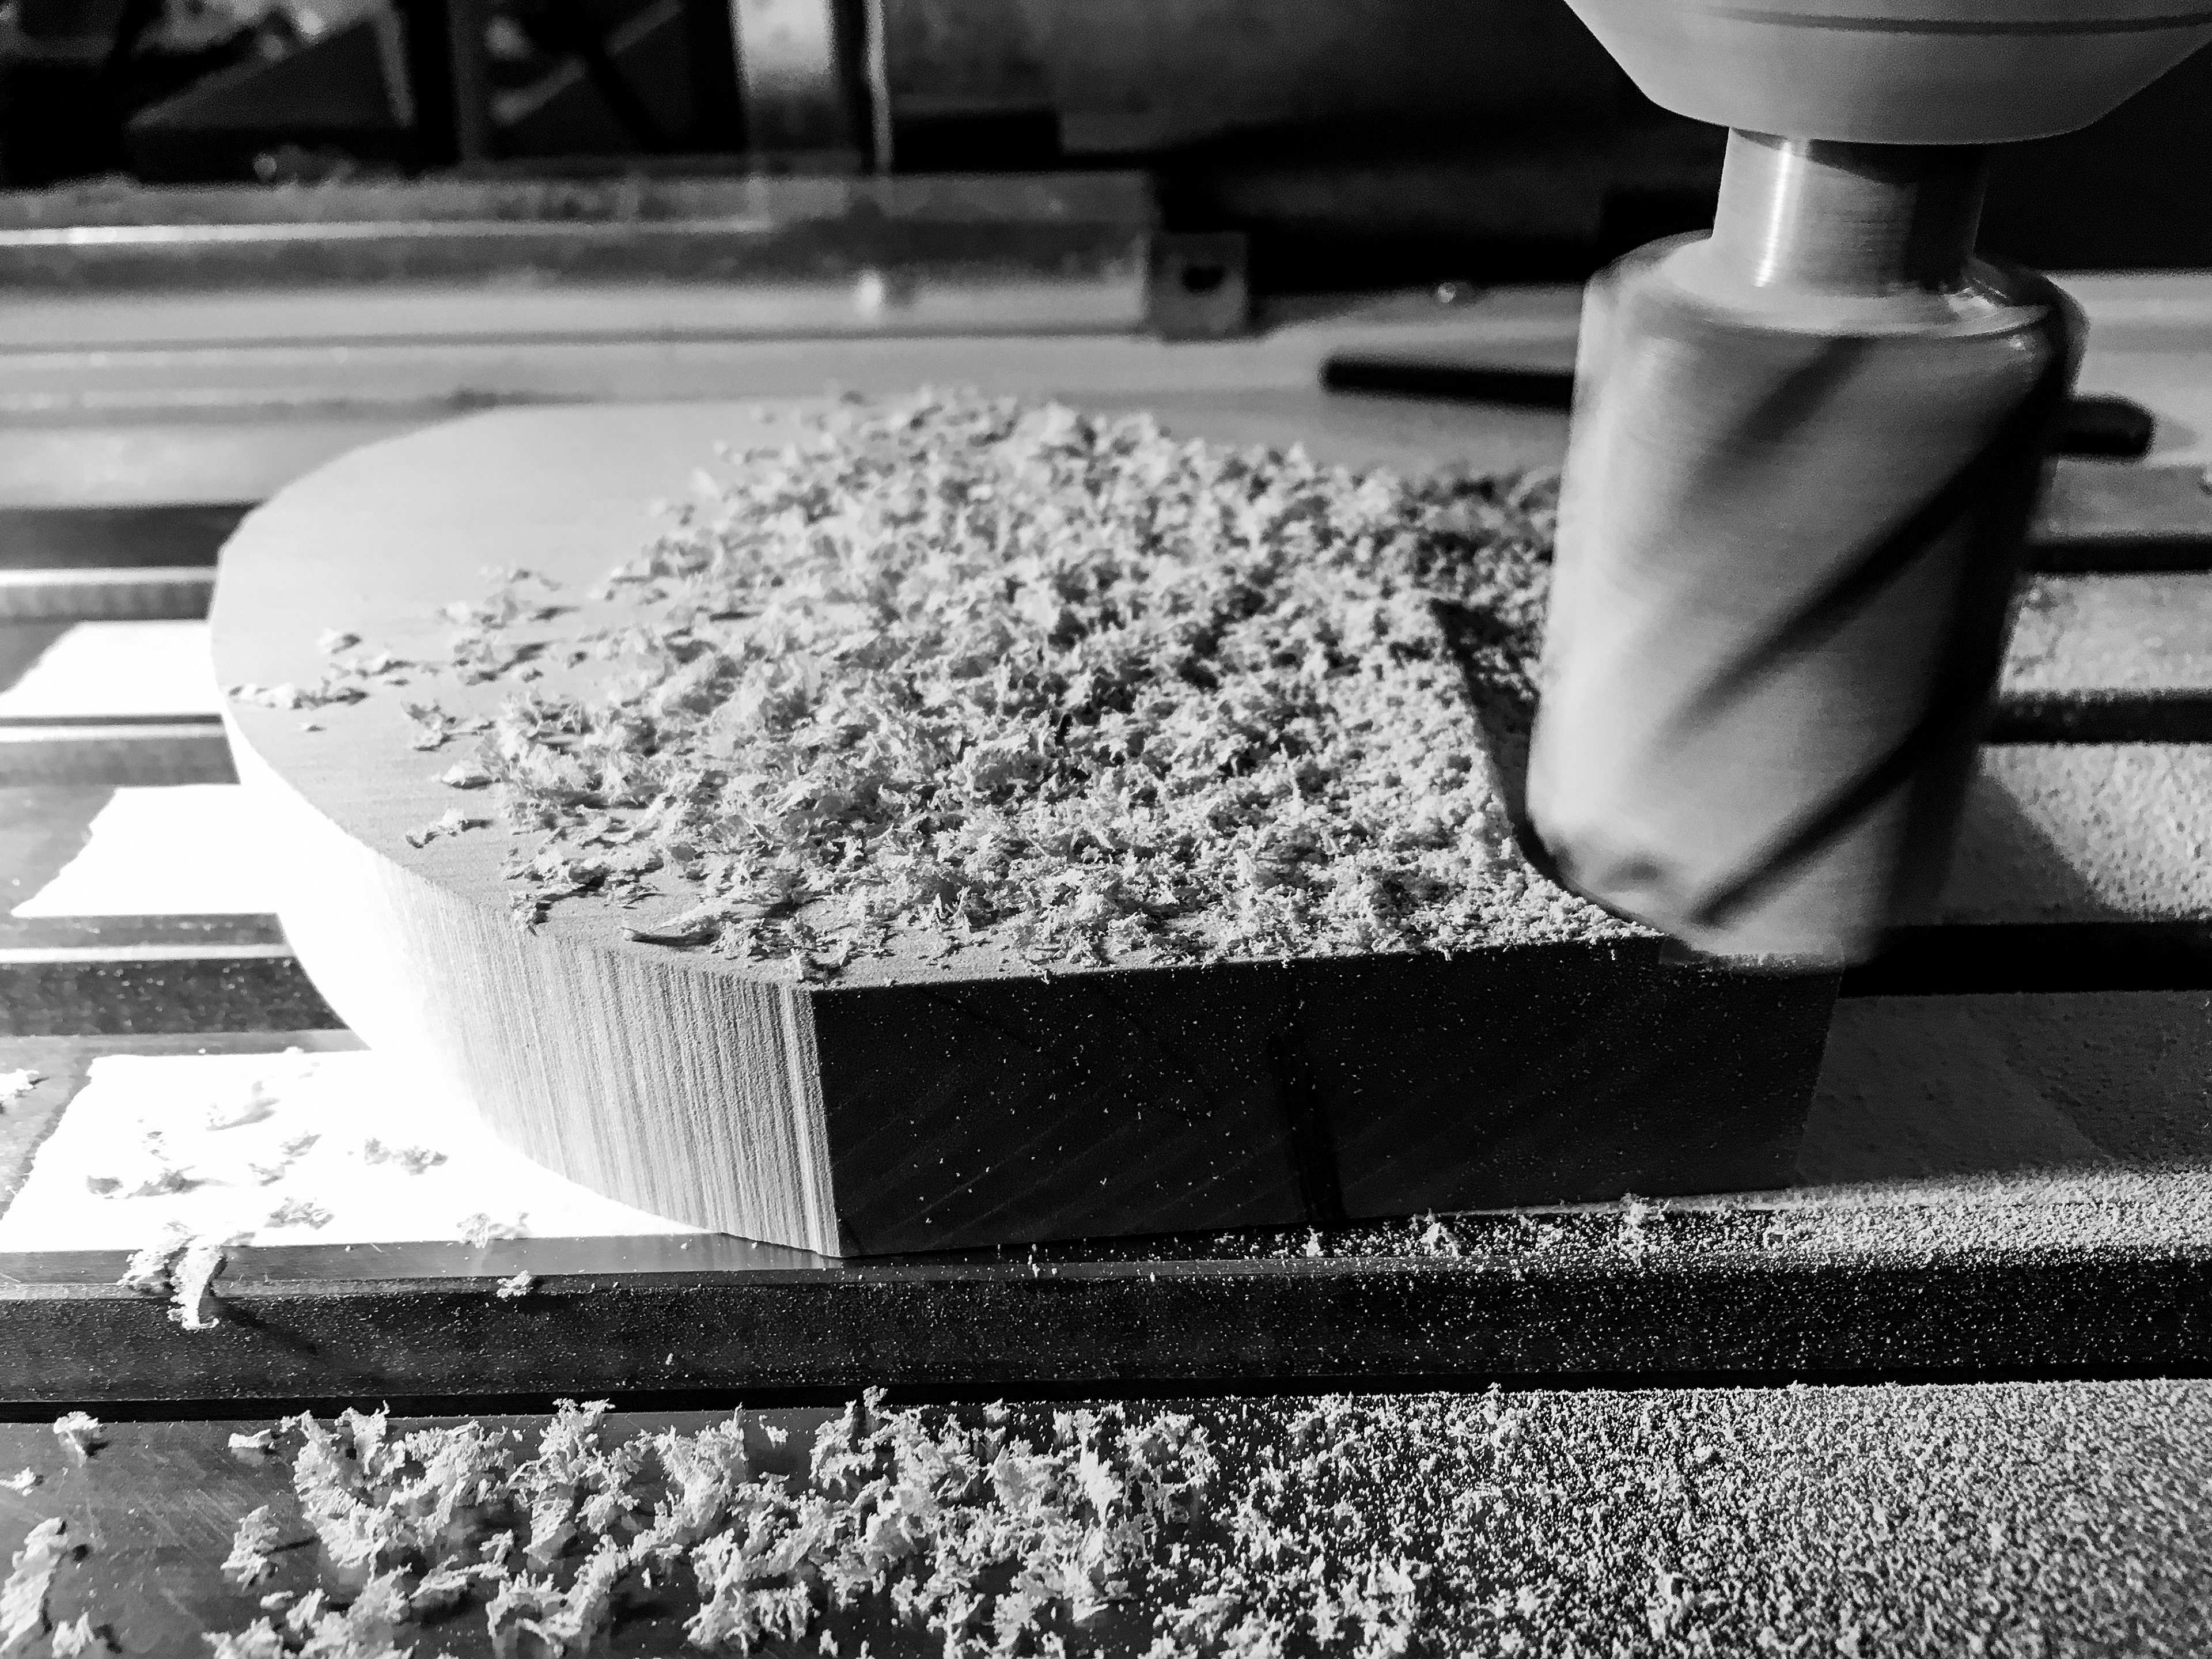
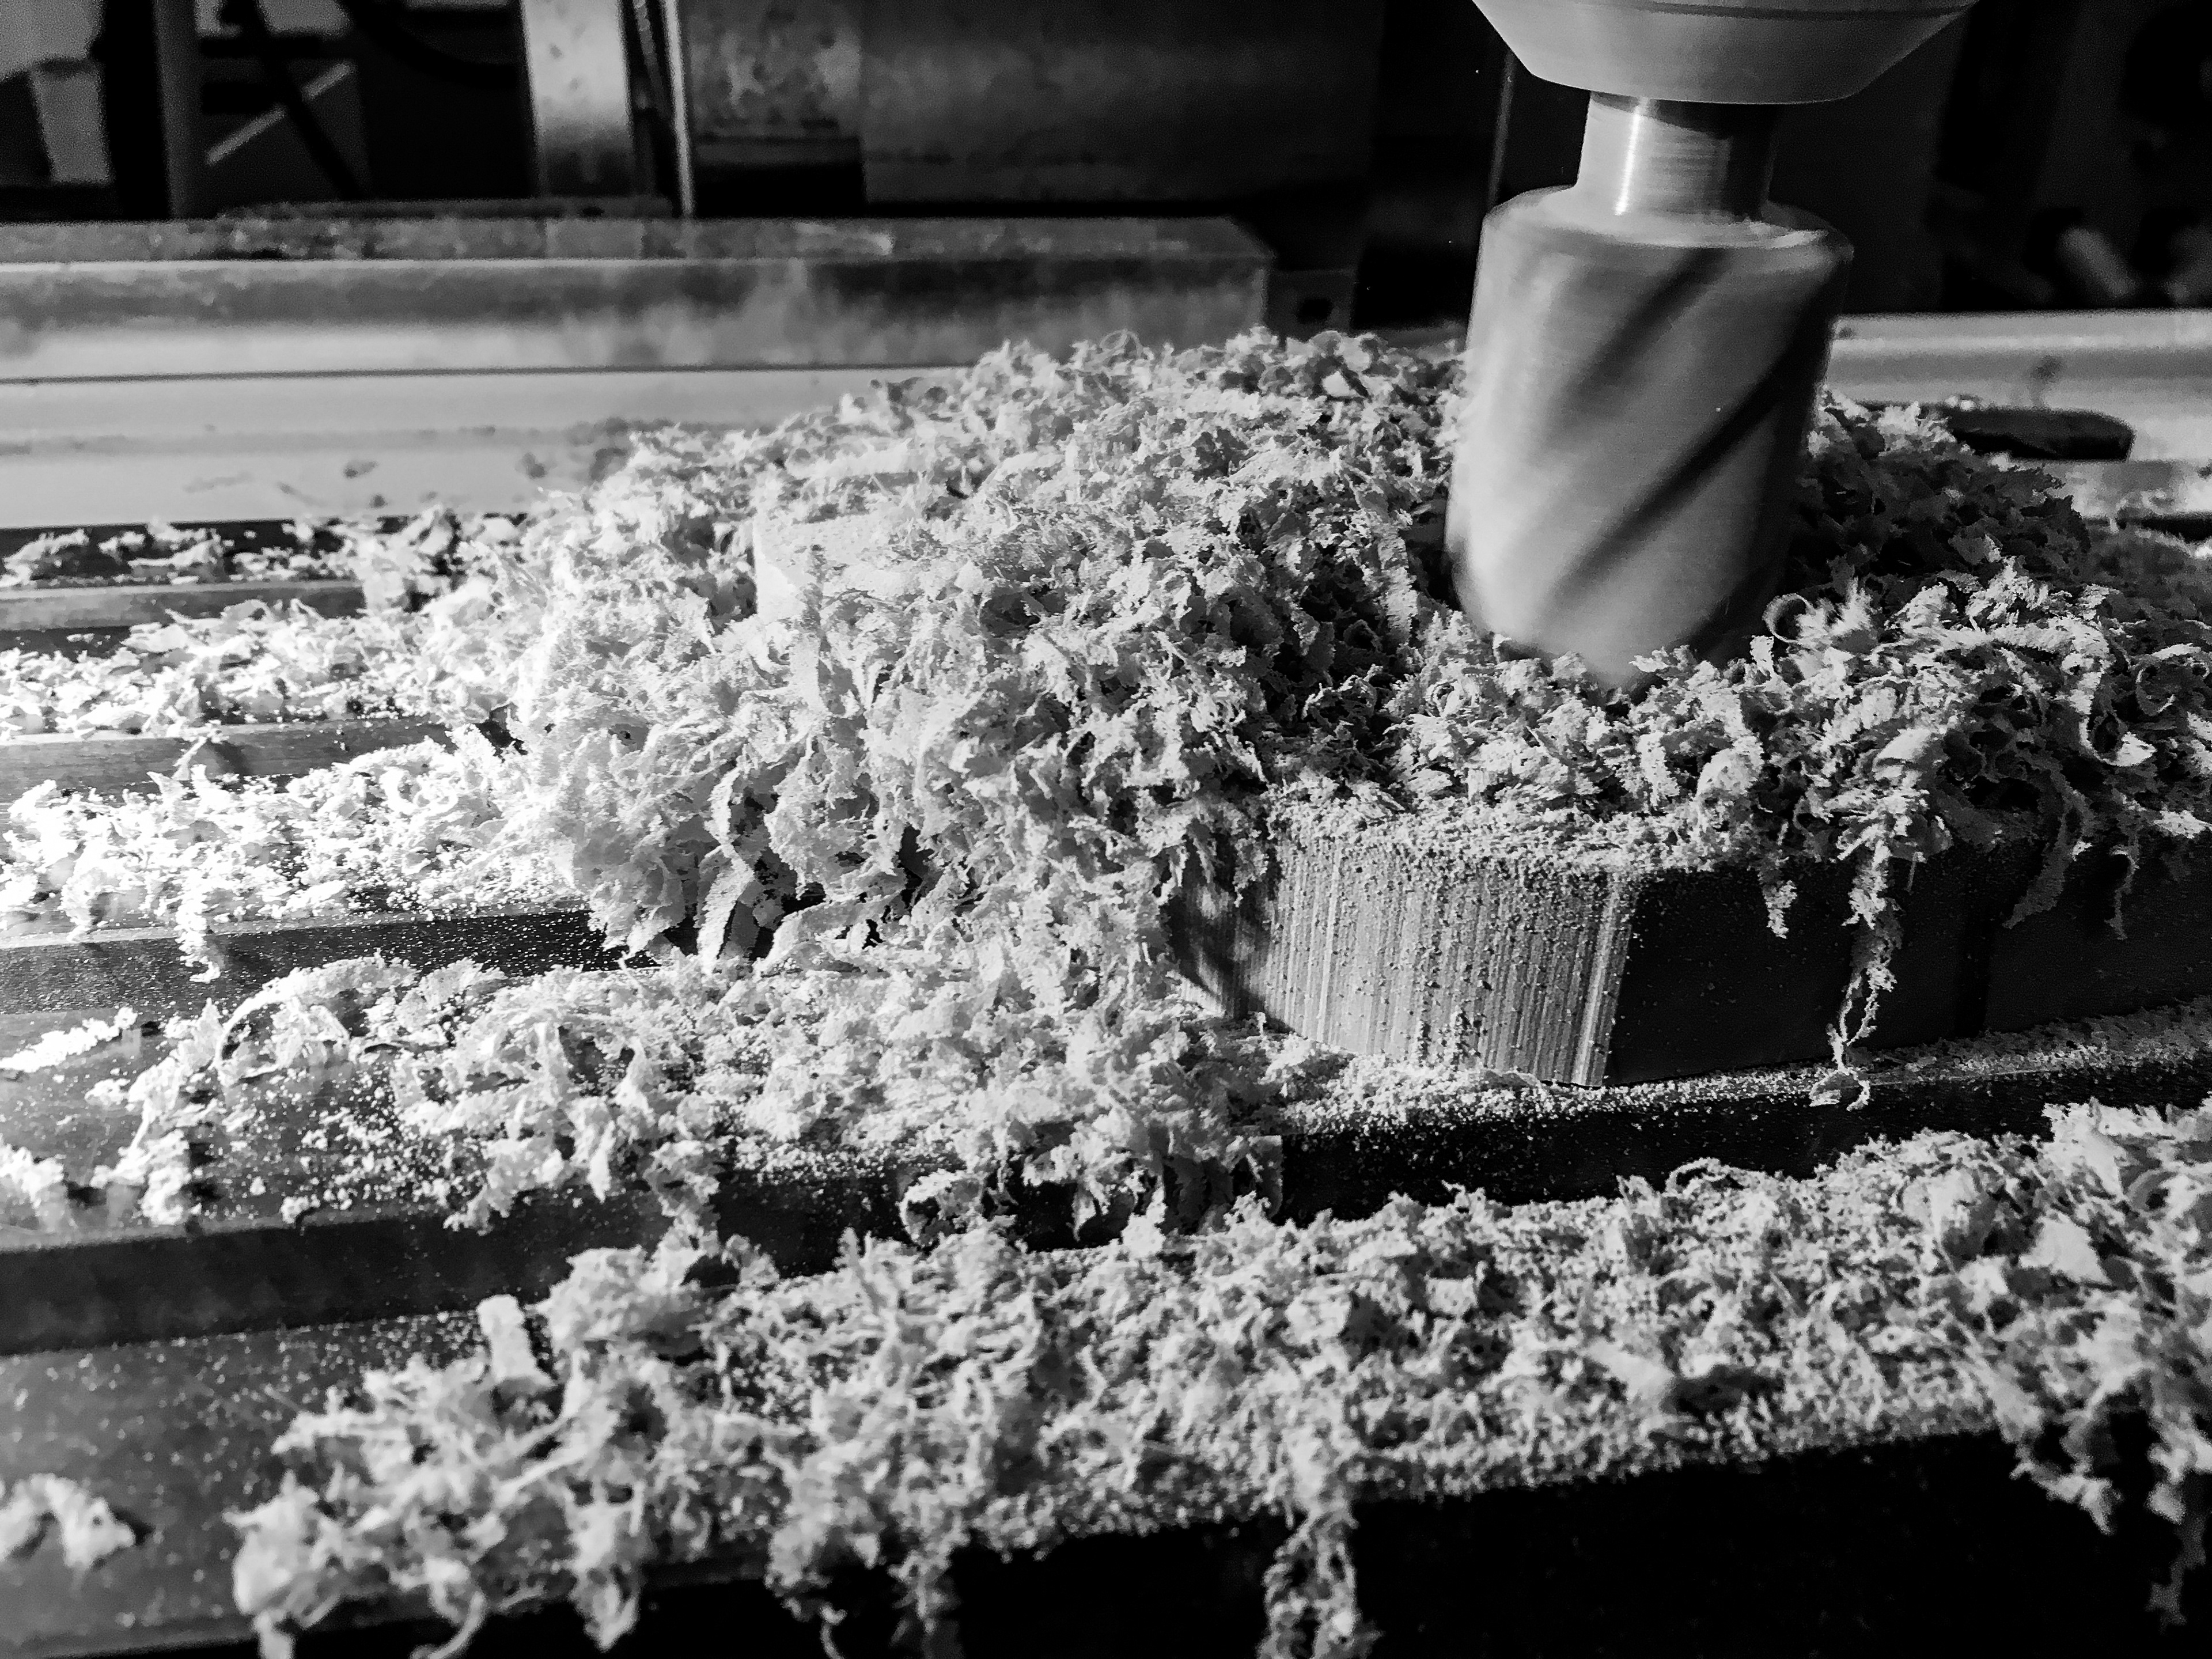
milling to thickness
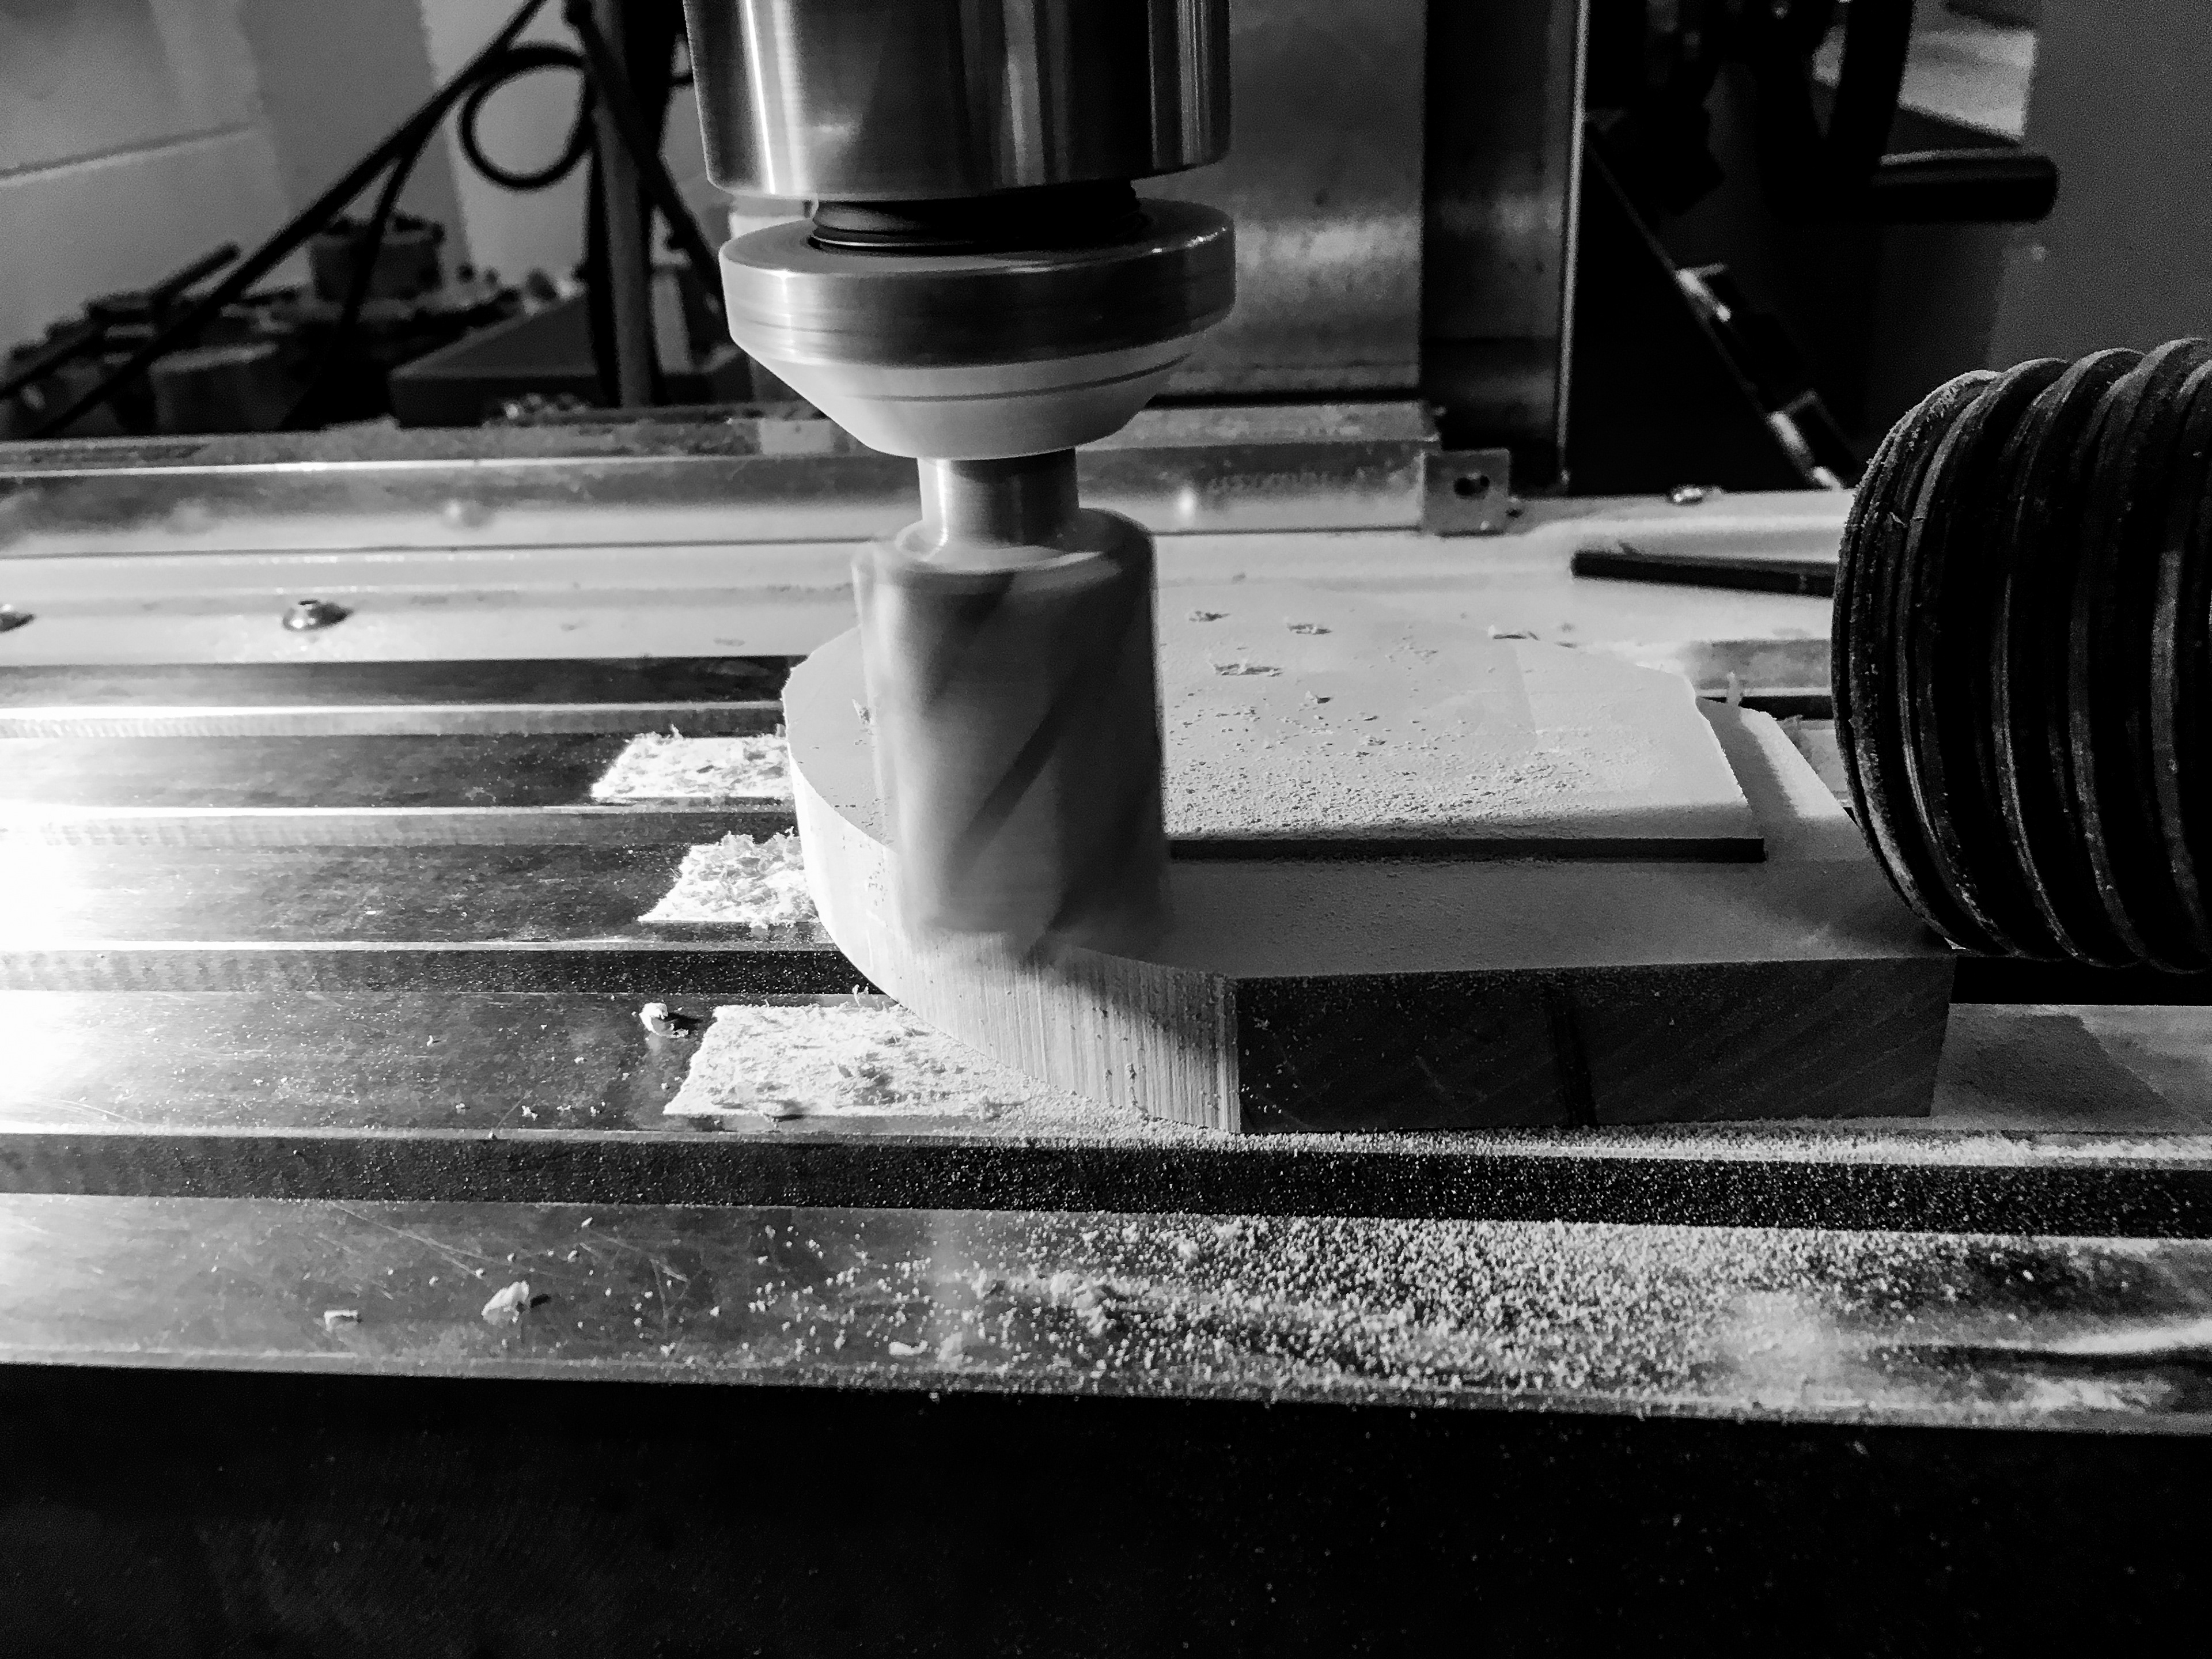
router profile with template
milling step down
glueing halves together
rounding edges
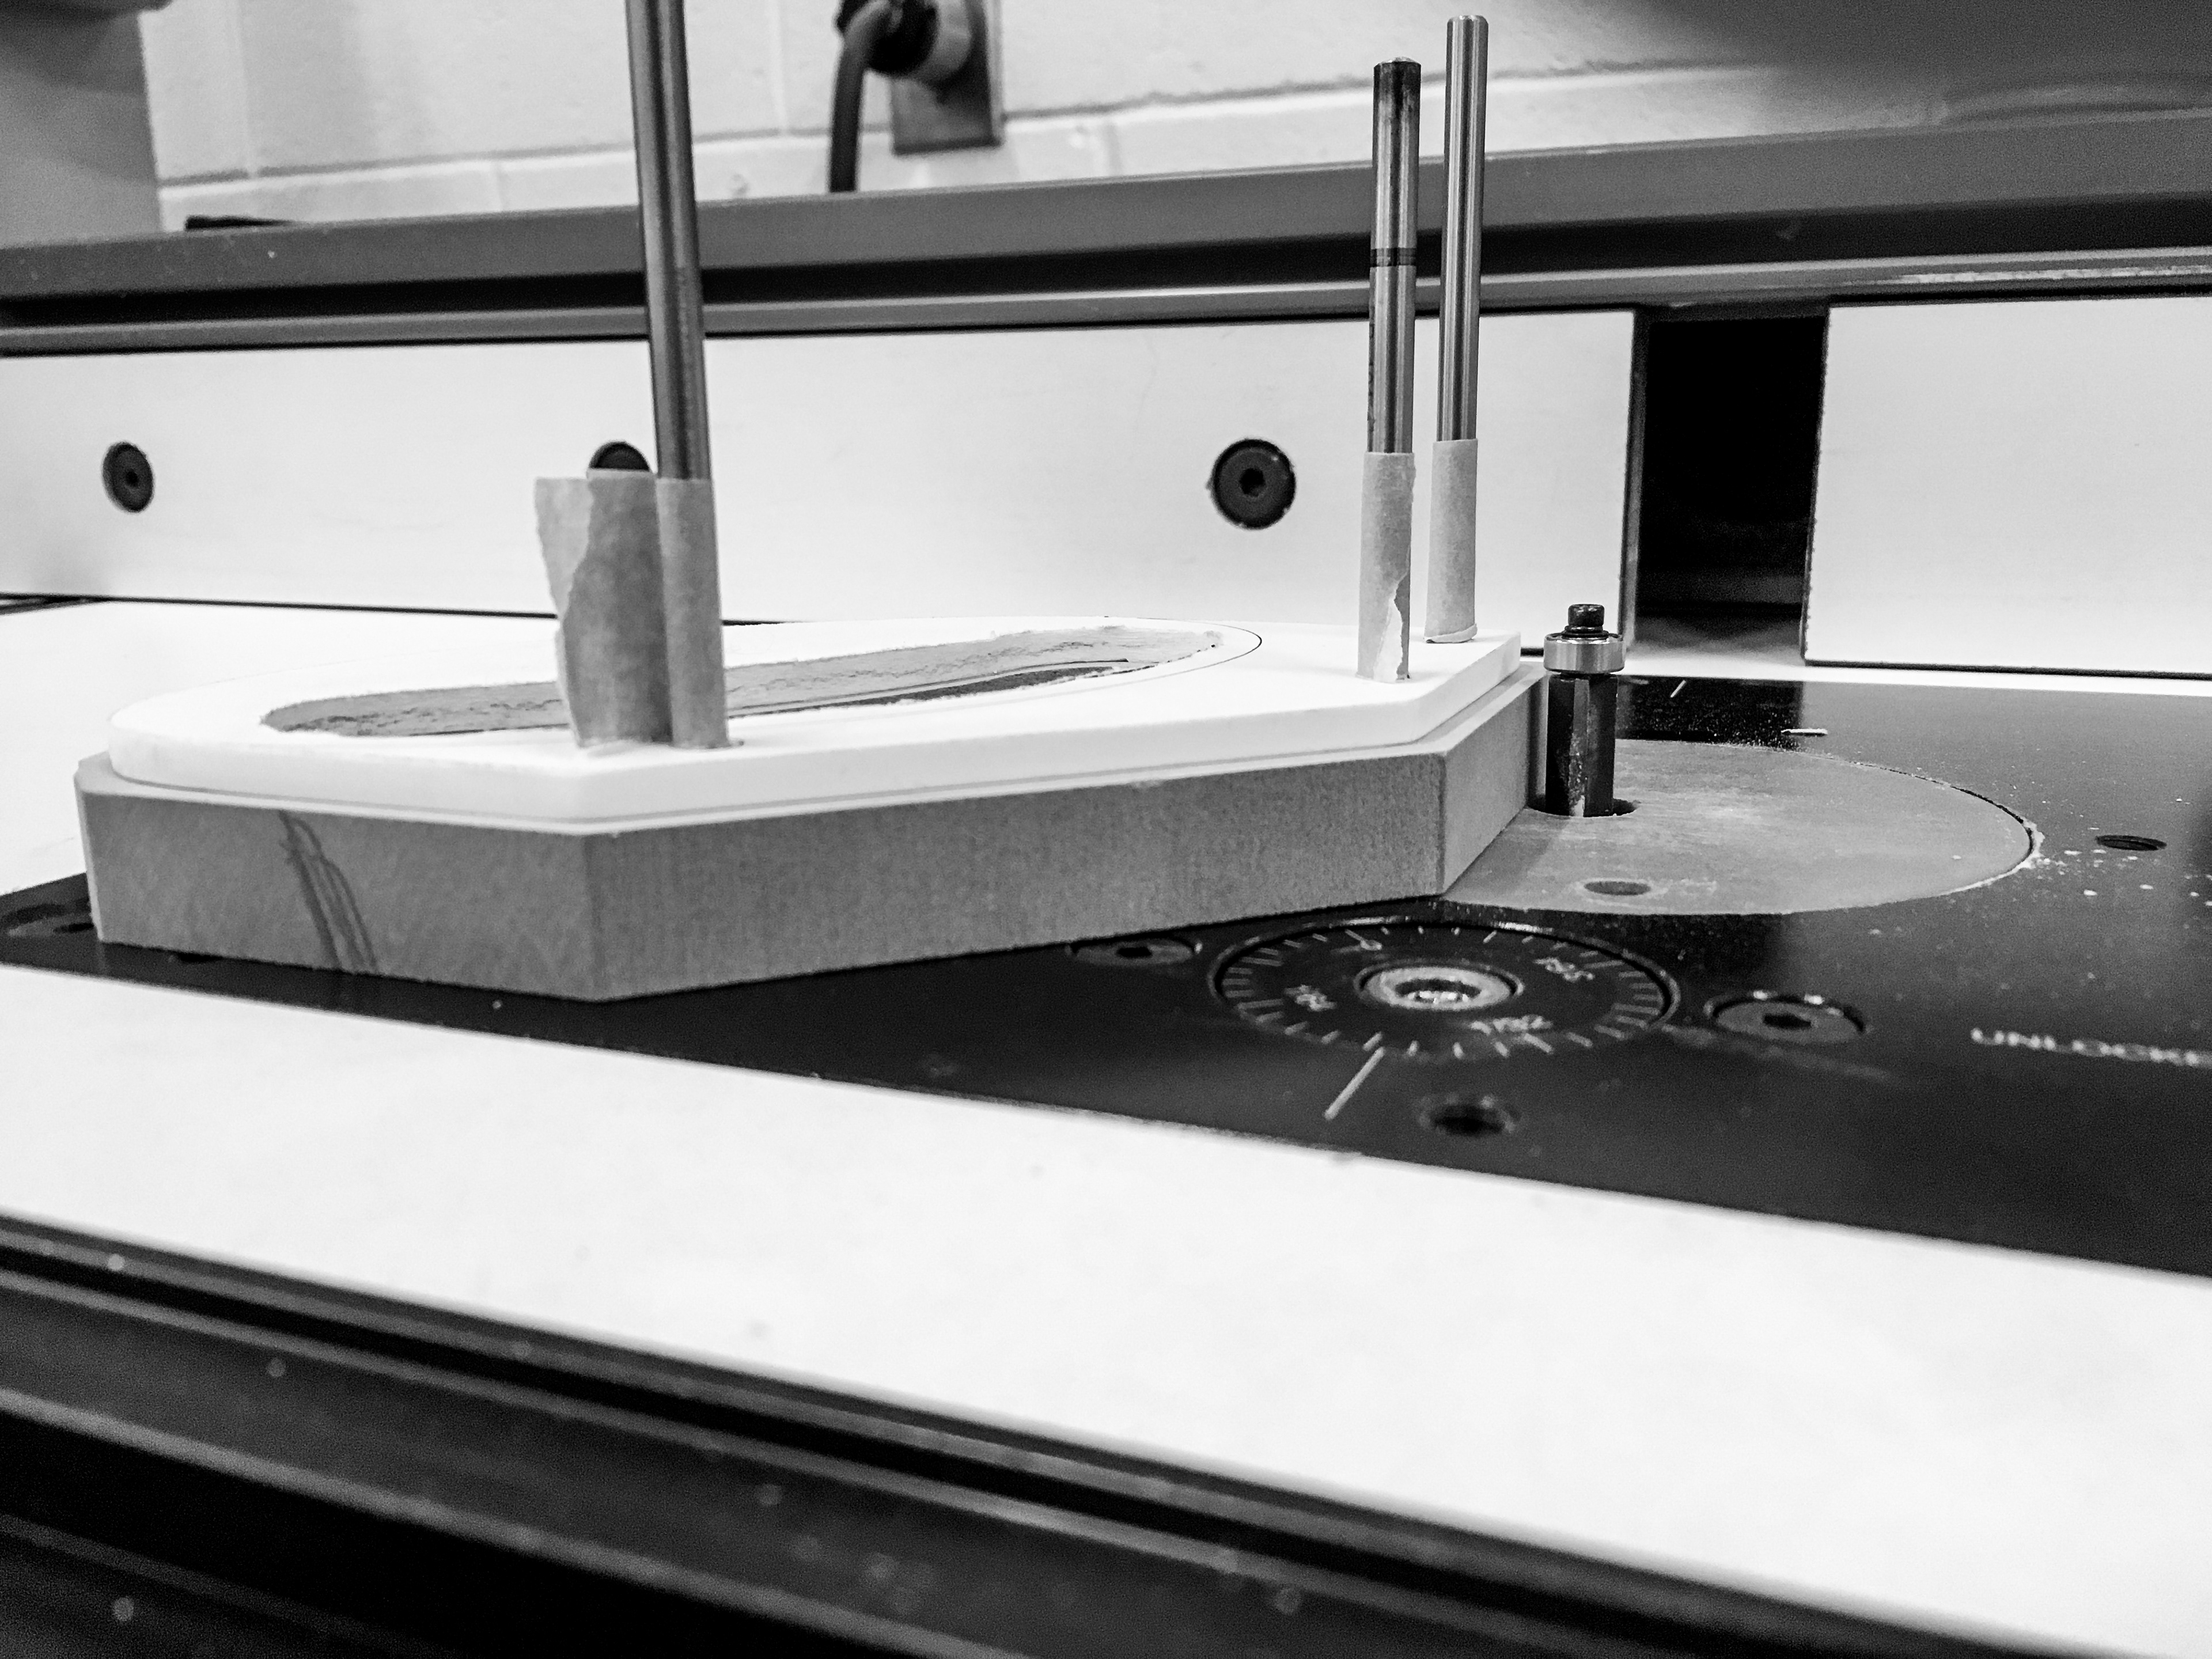
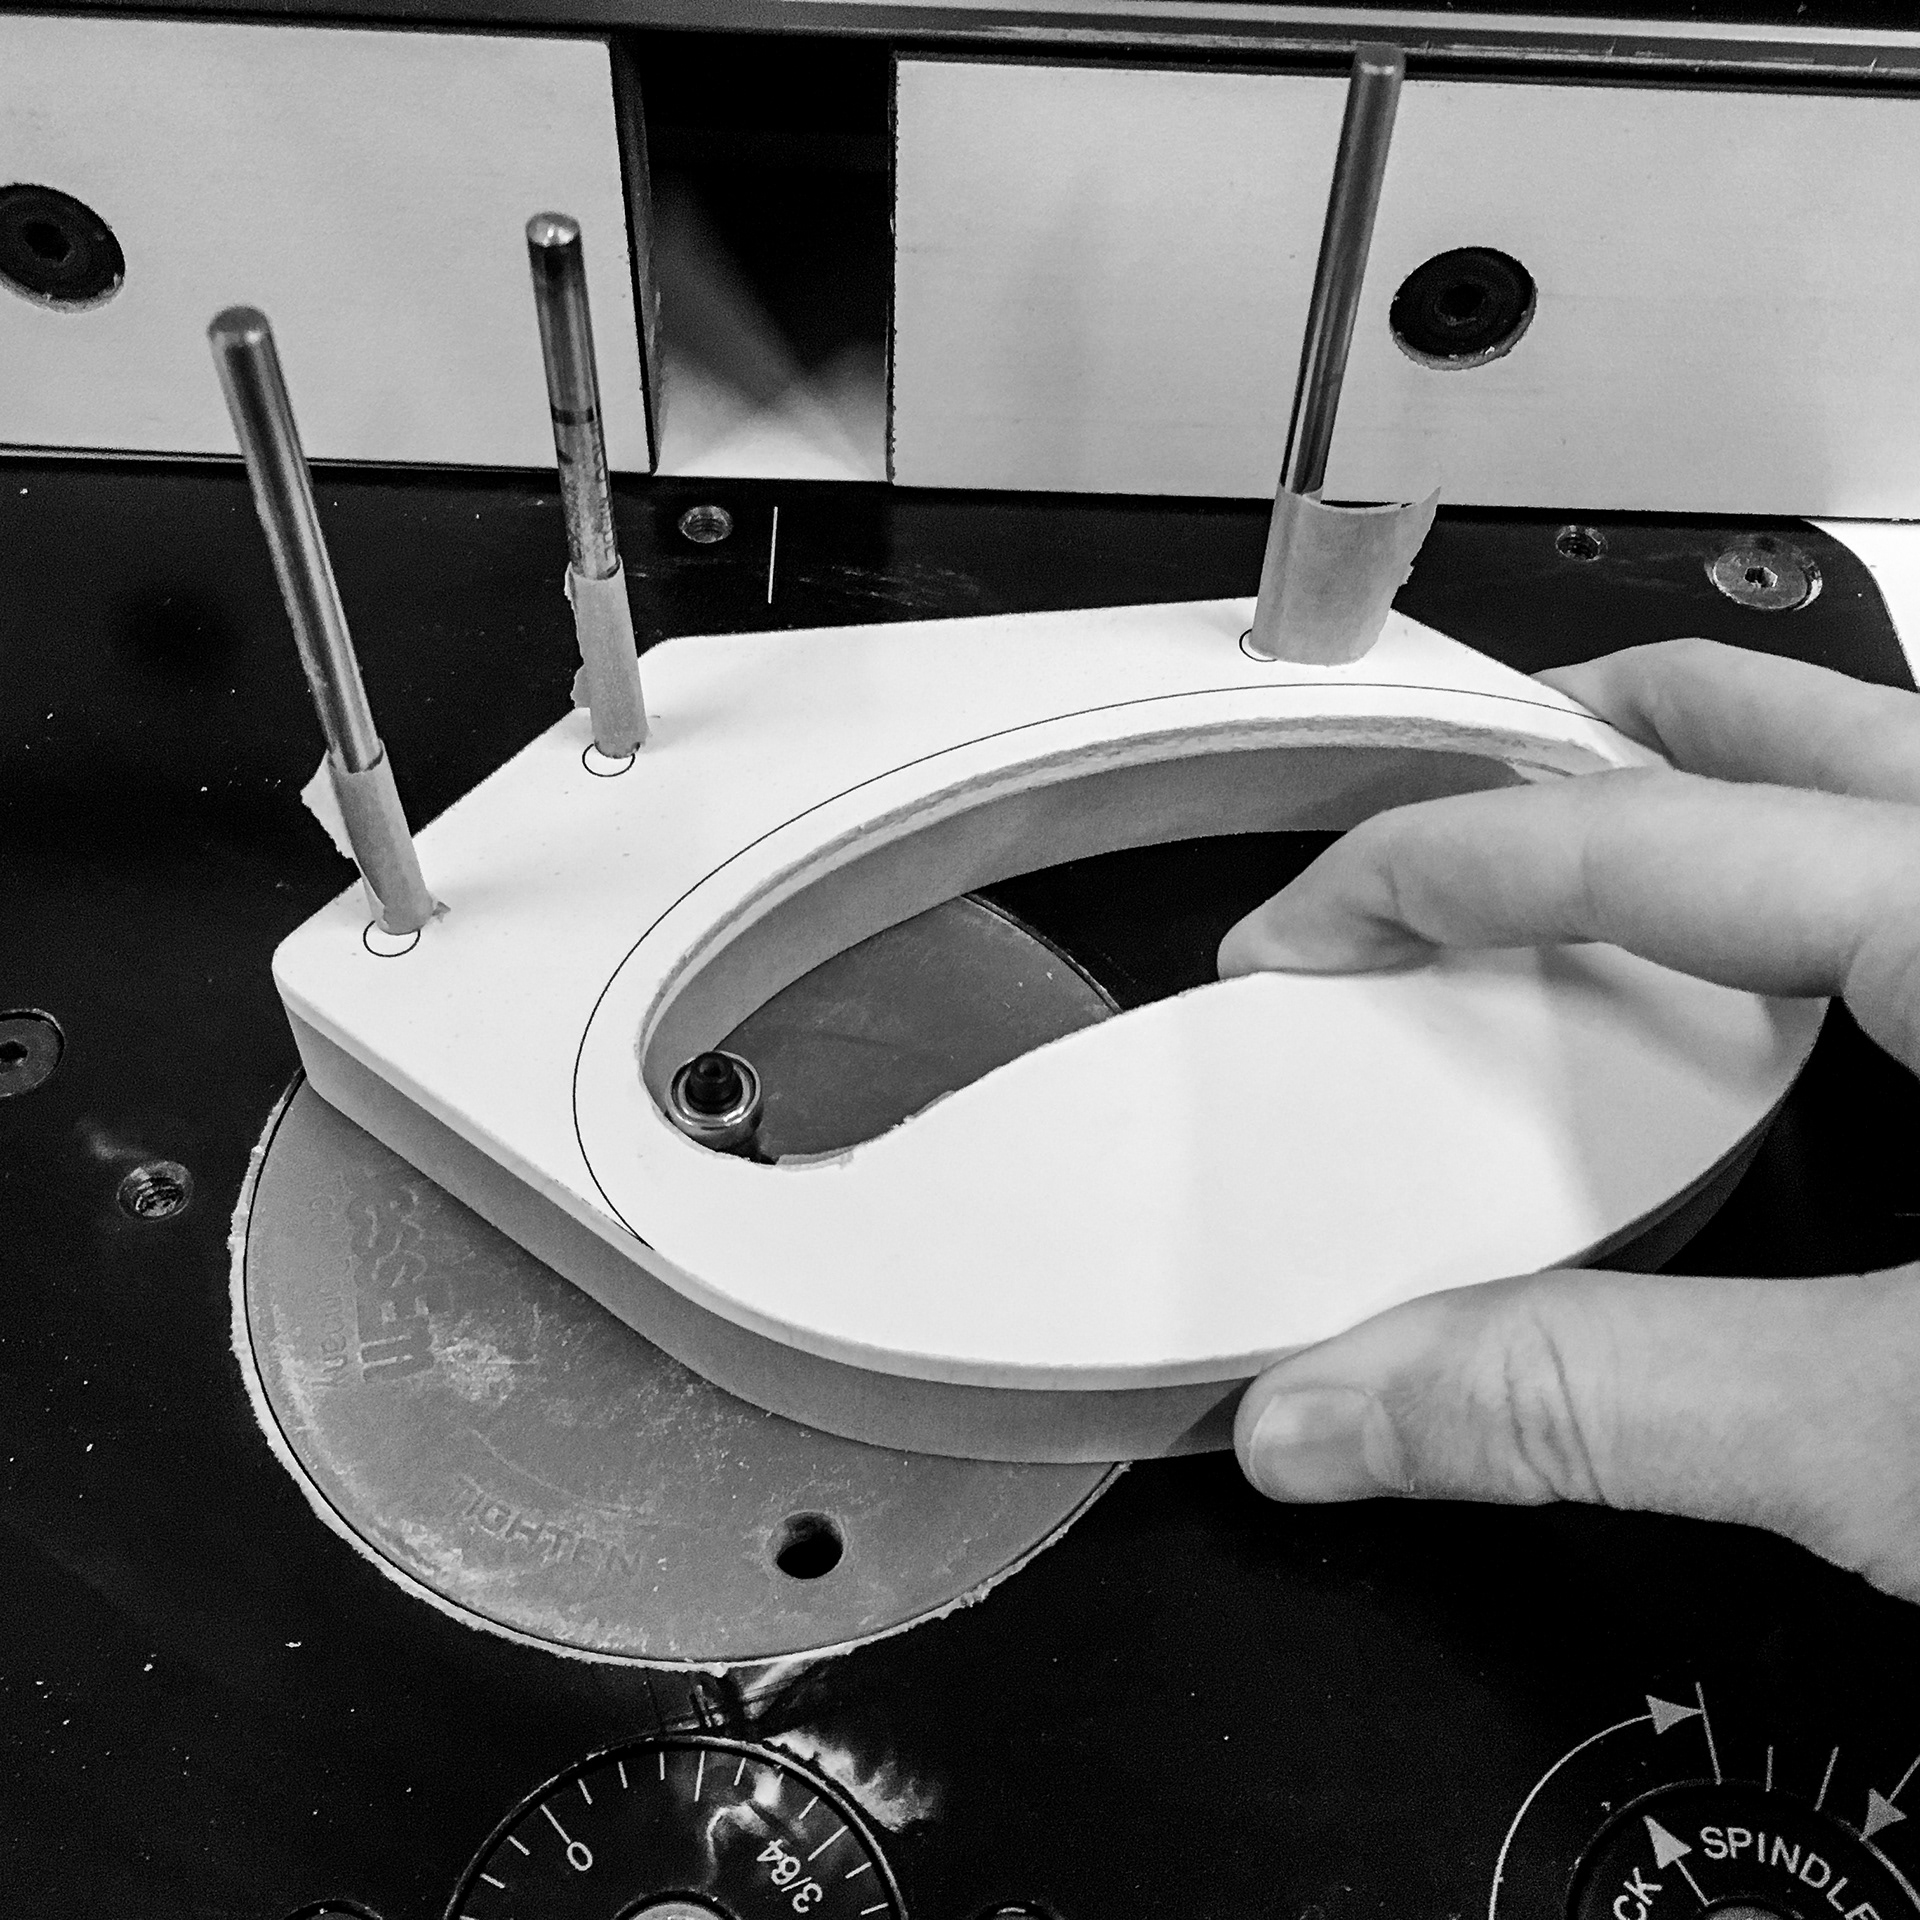
verified with profile templates
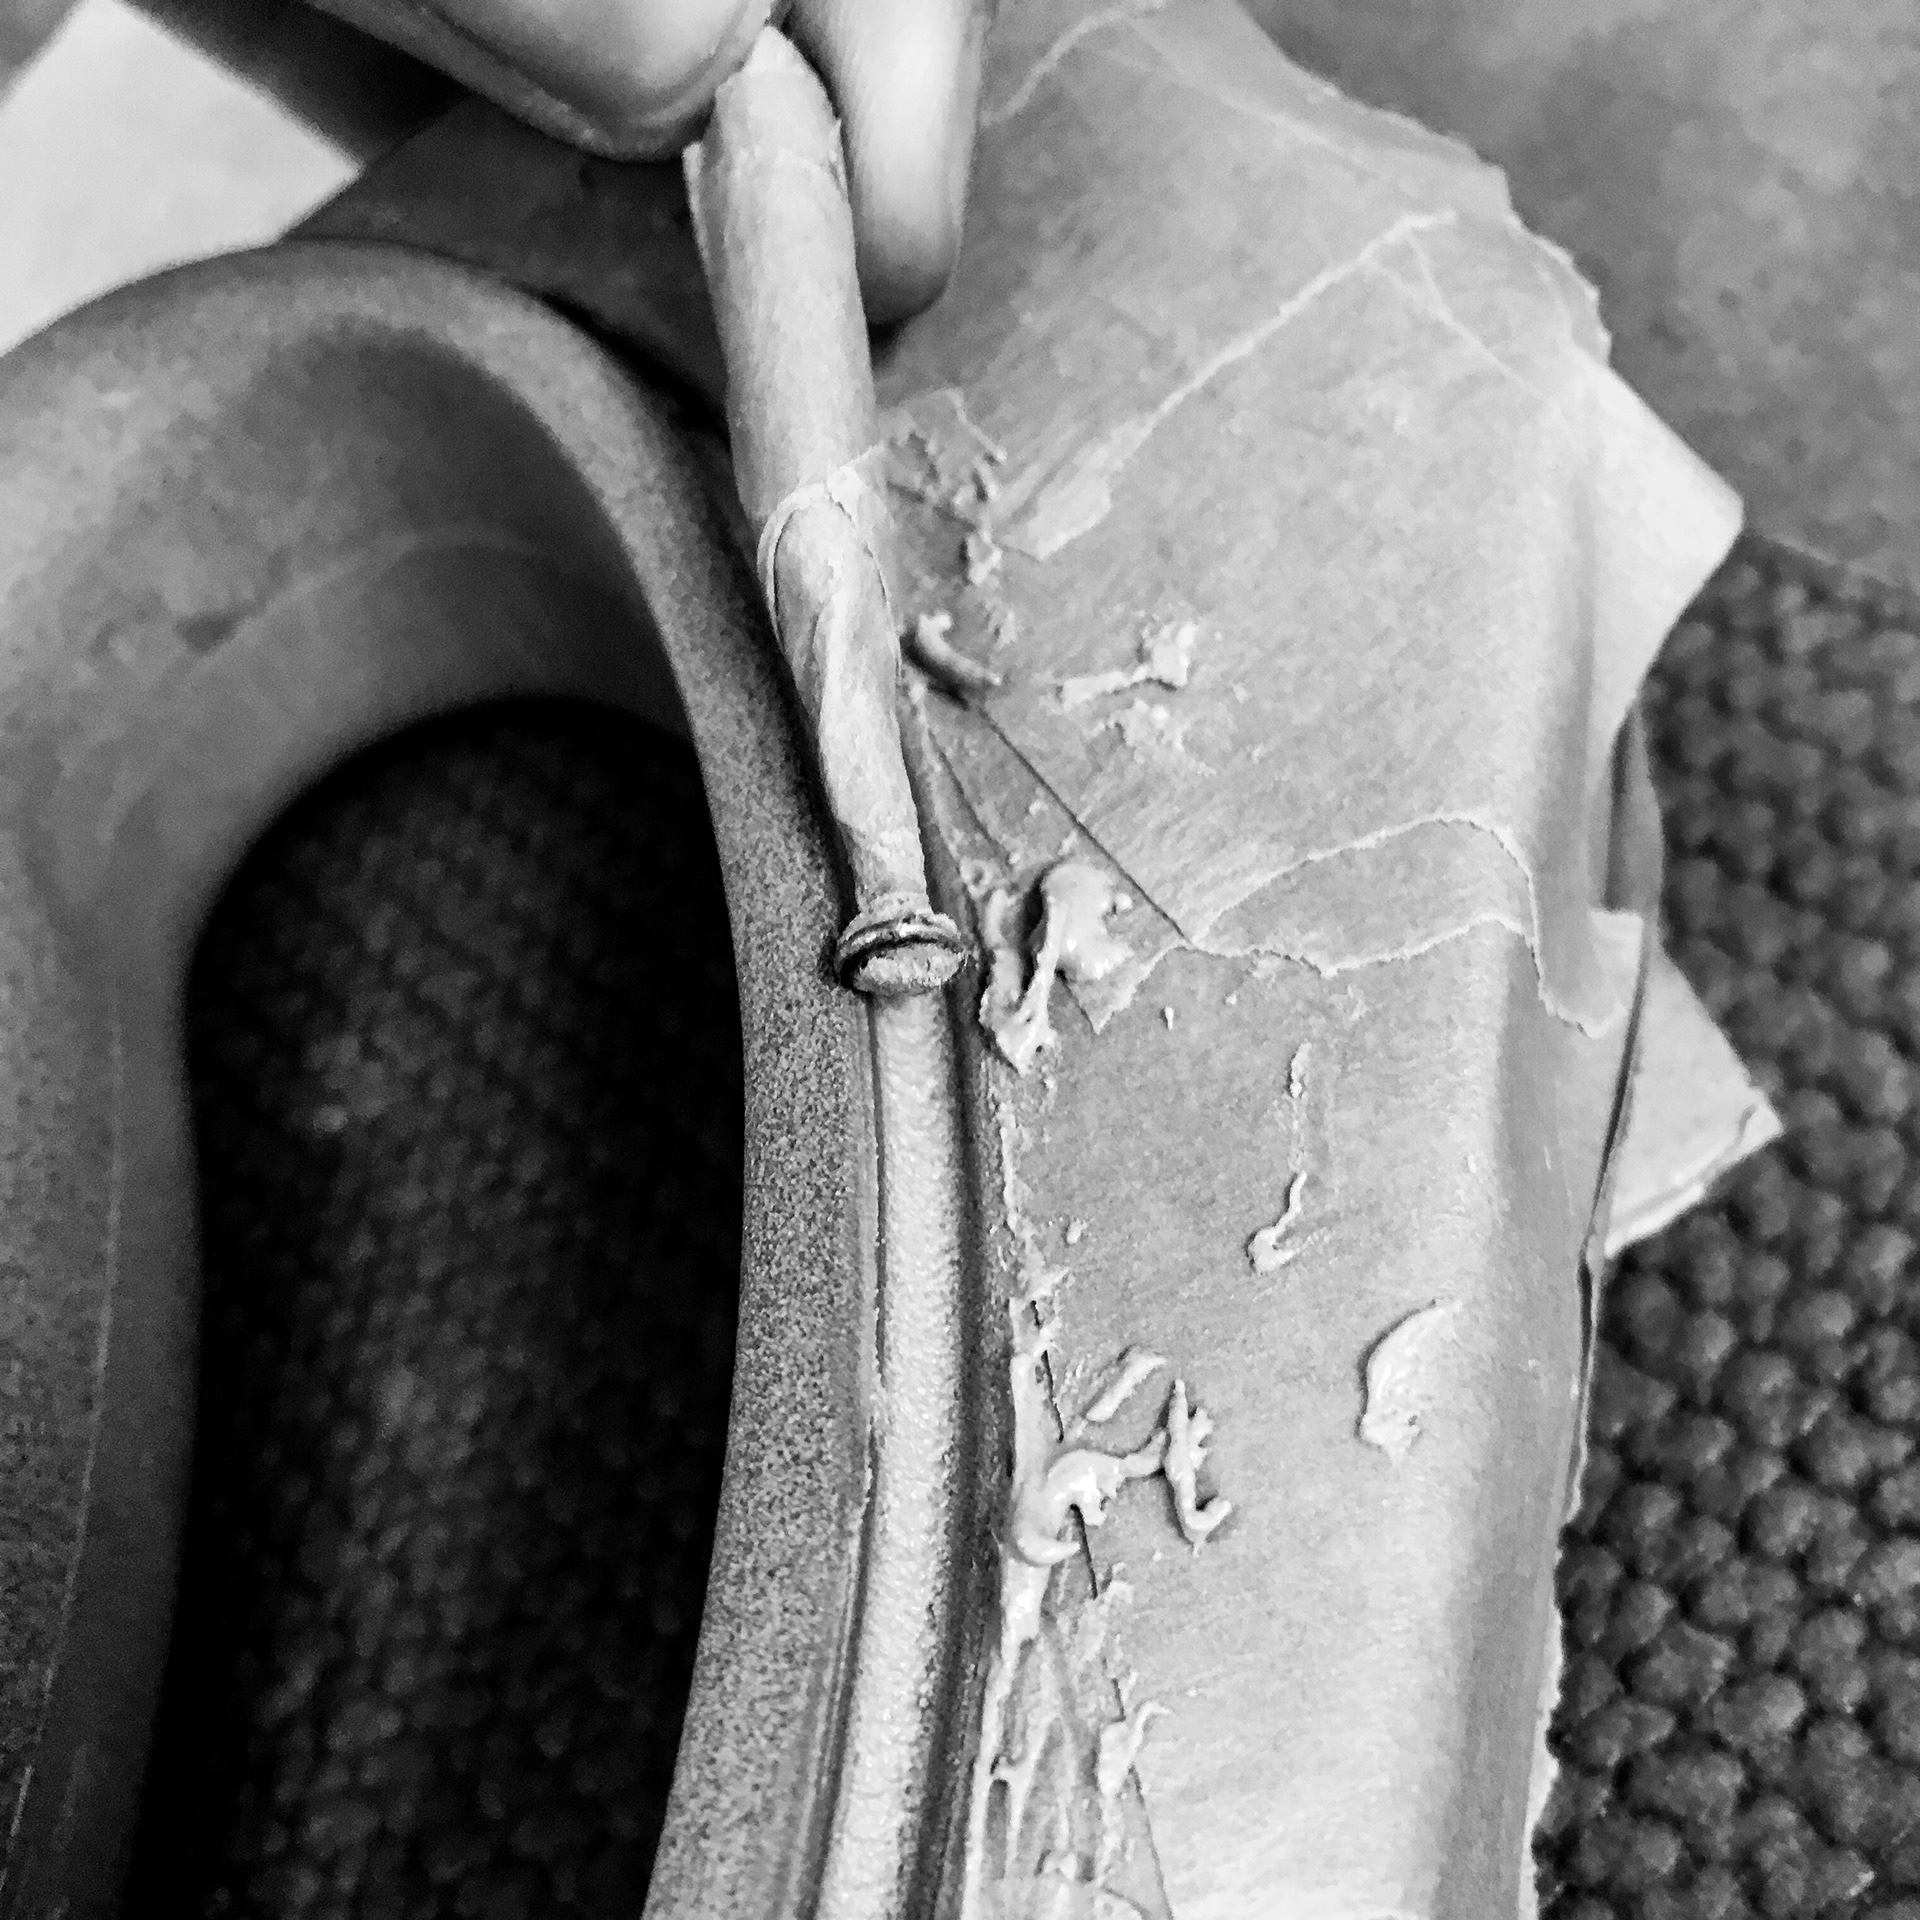
body filler for inside fillet
finishing body filler
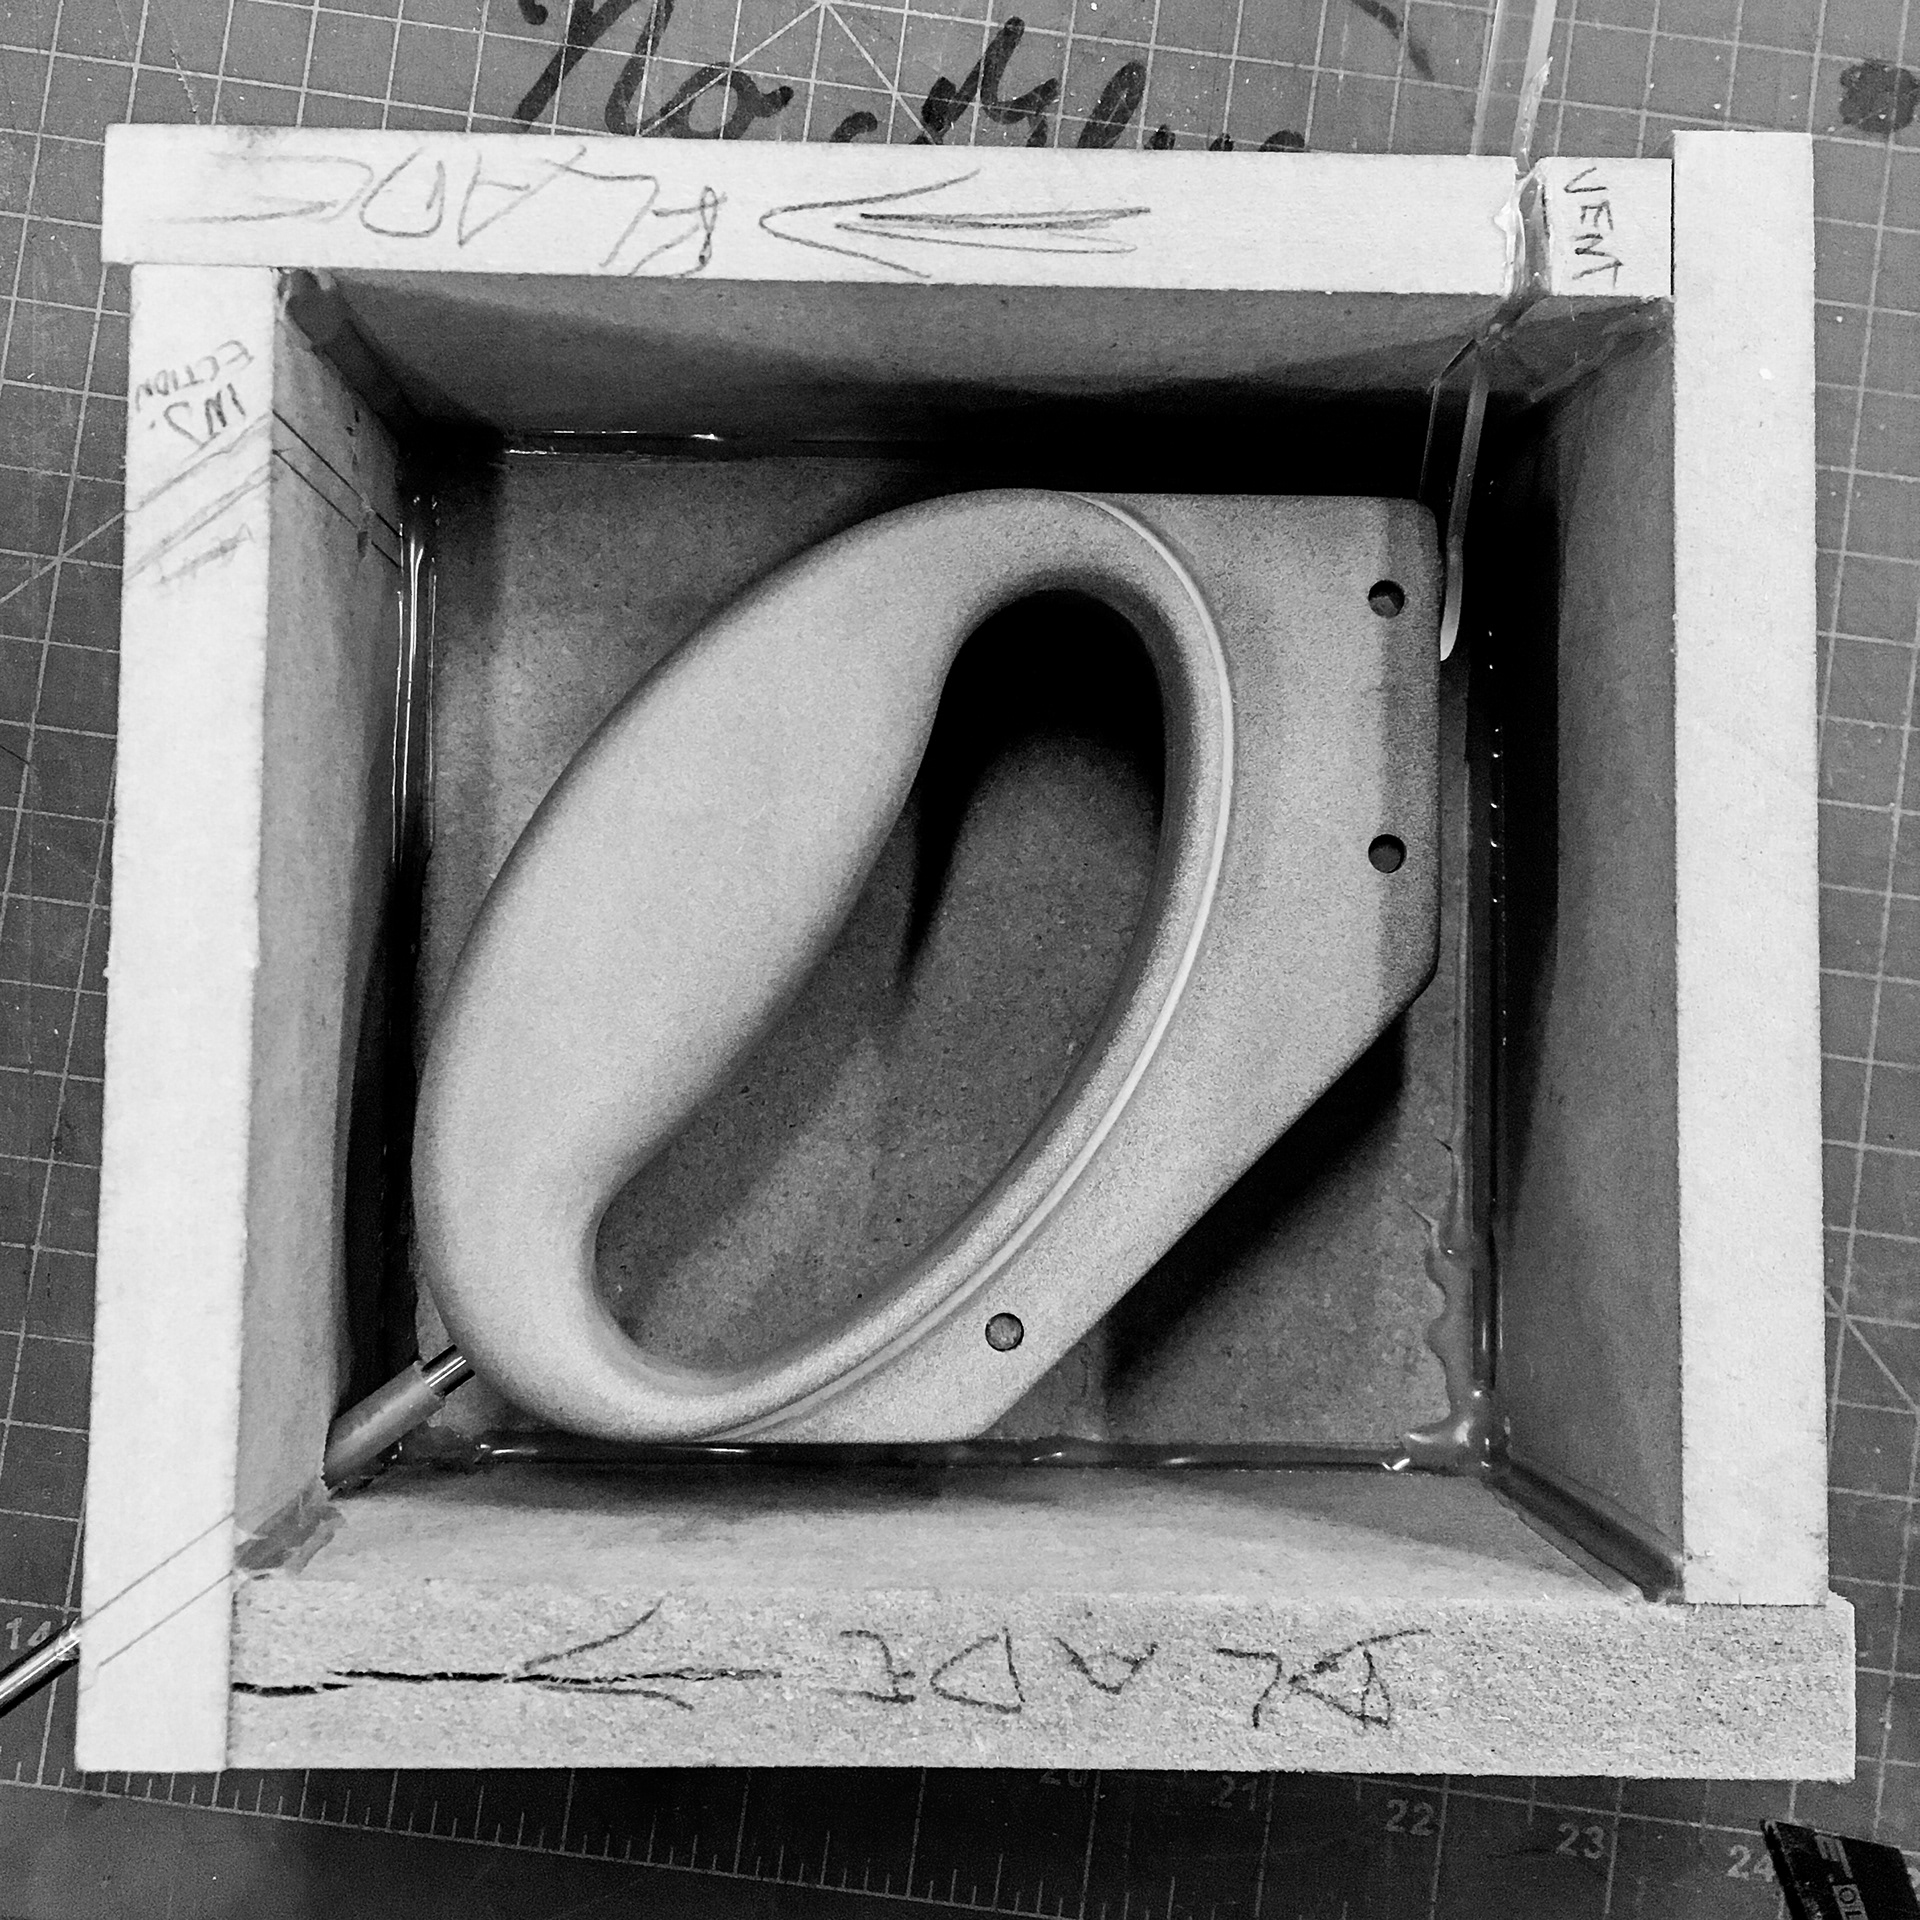
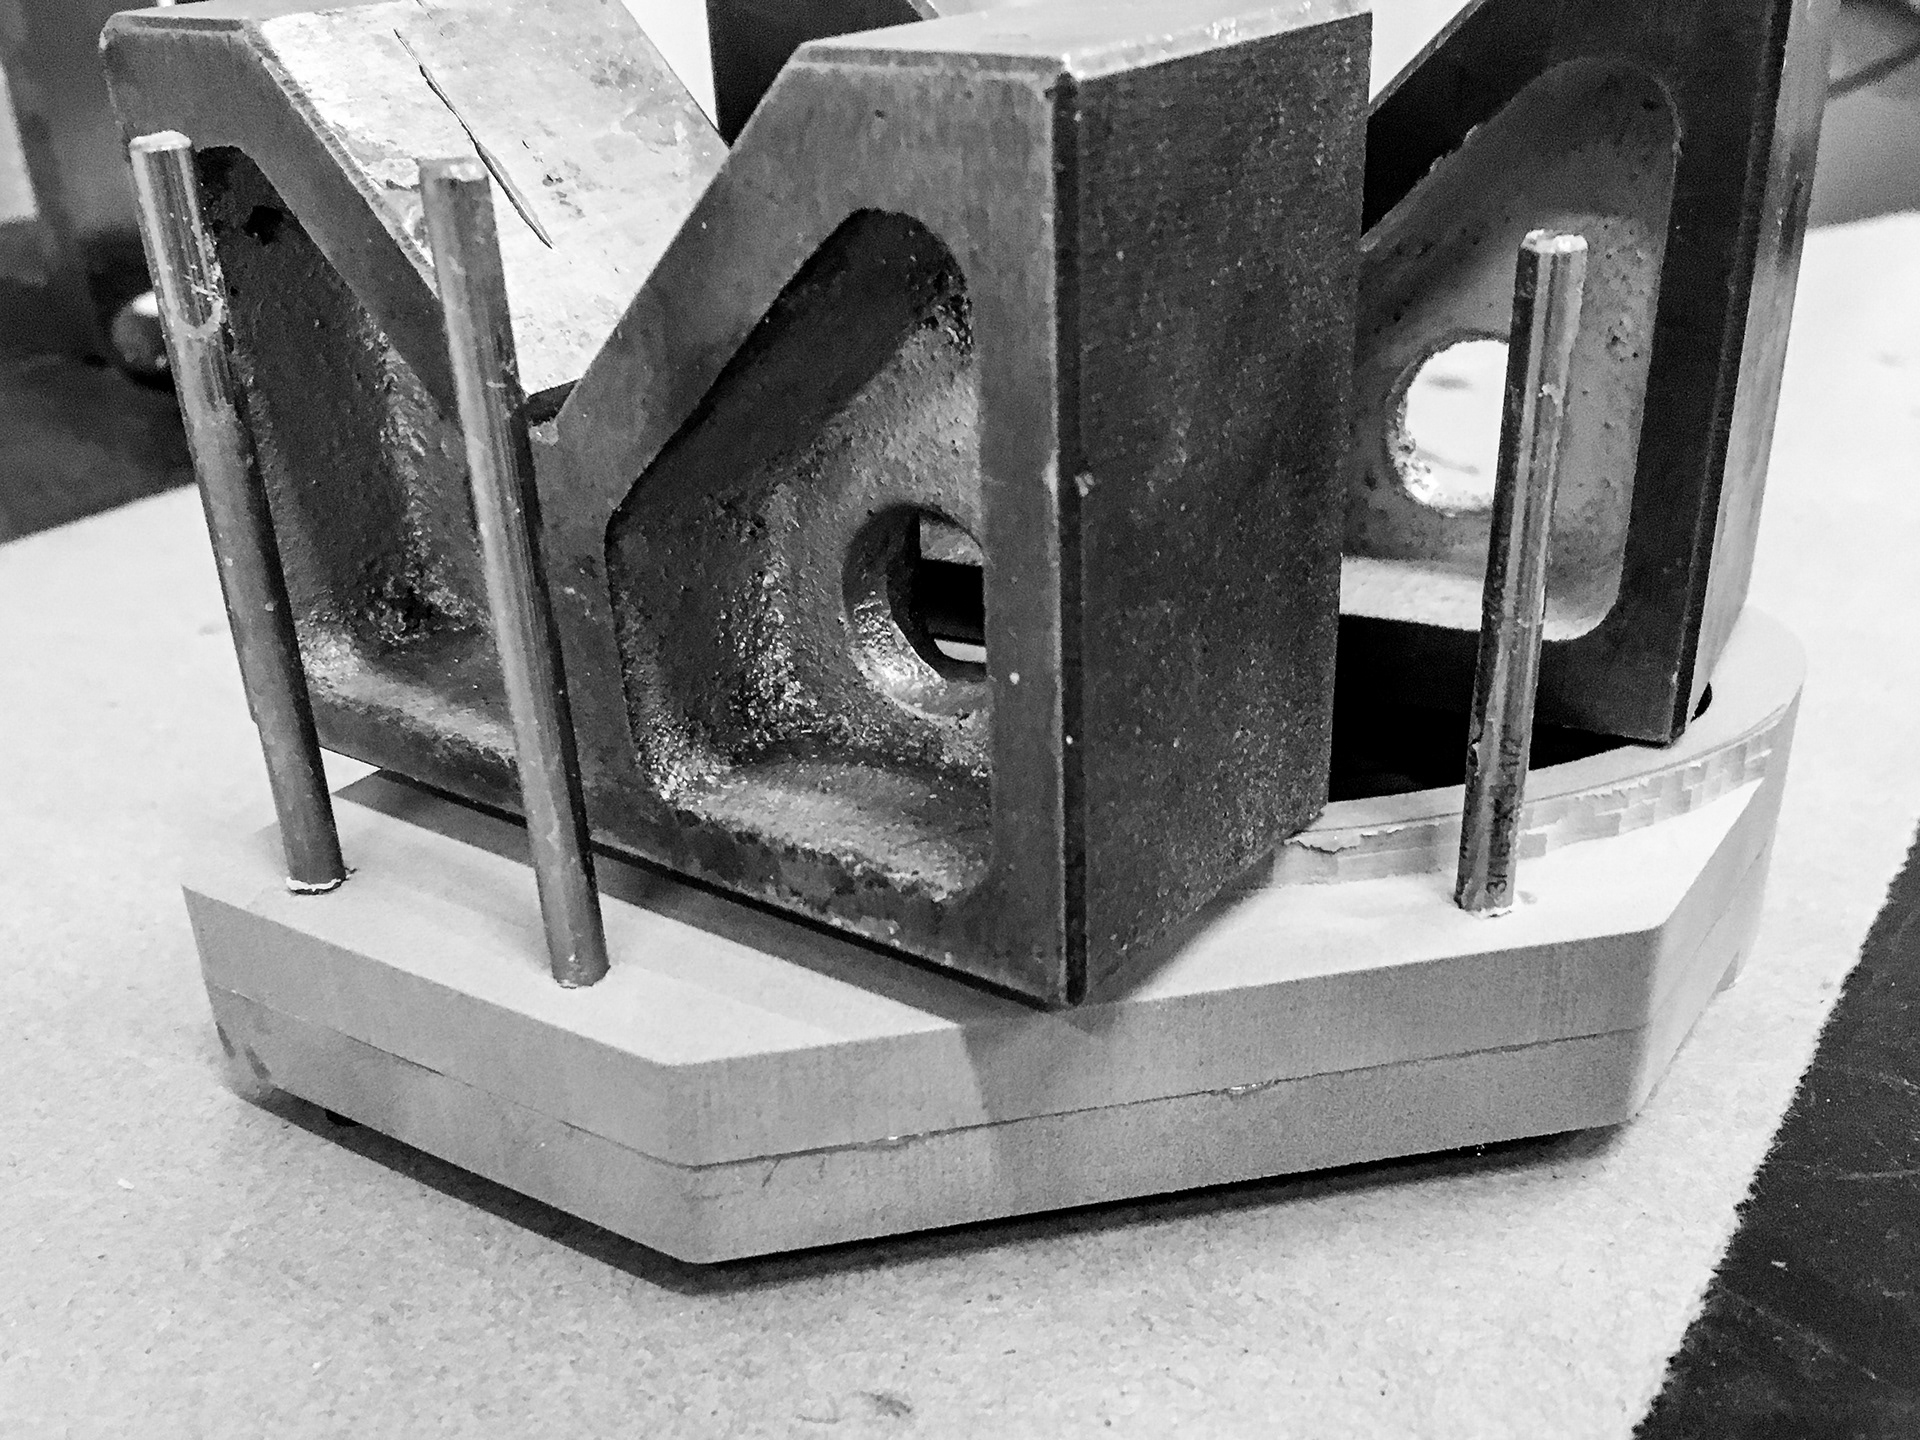
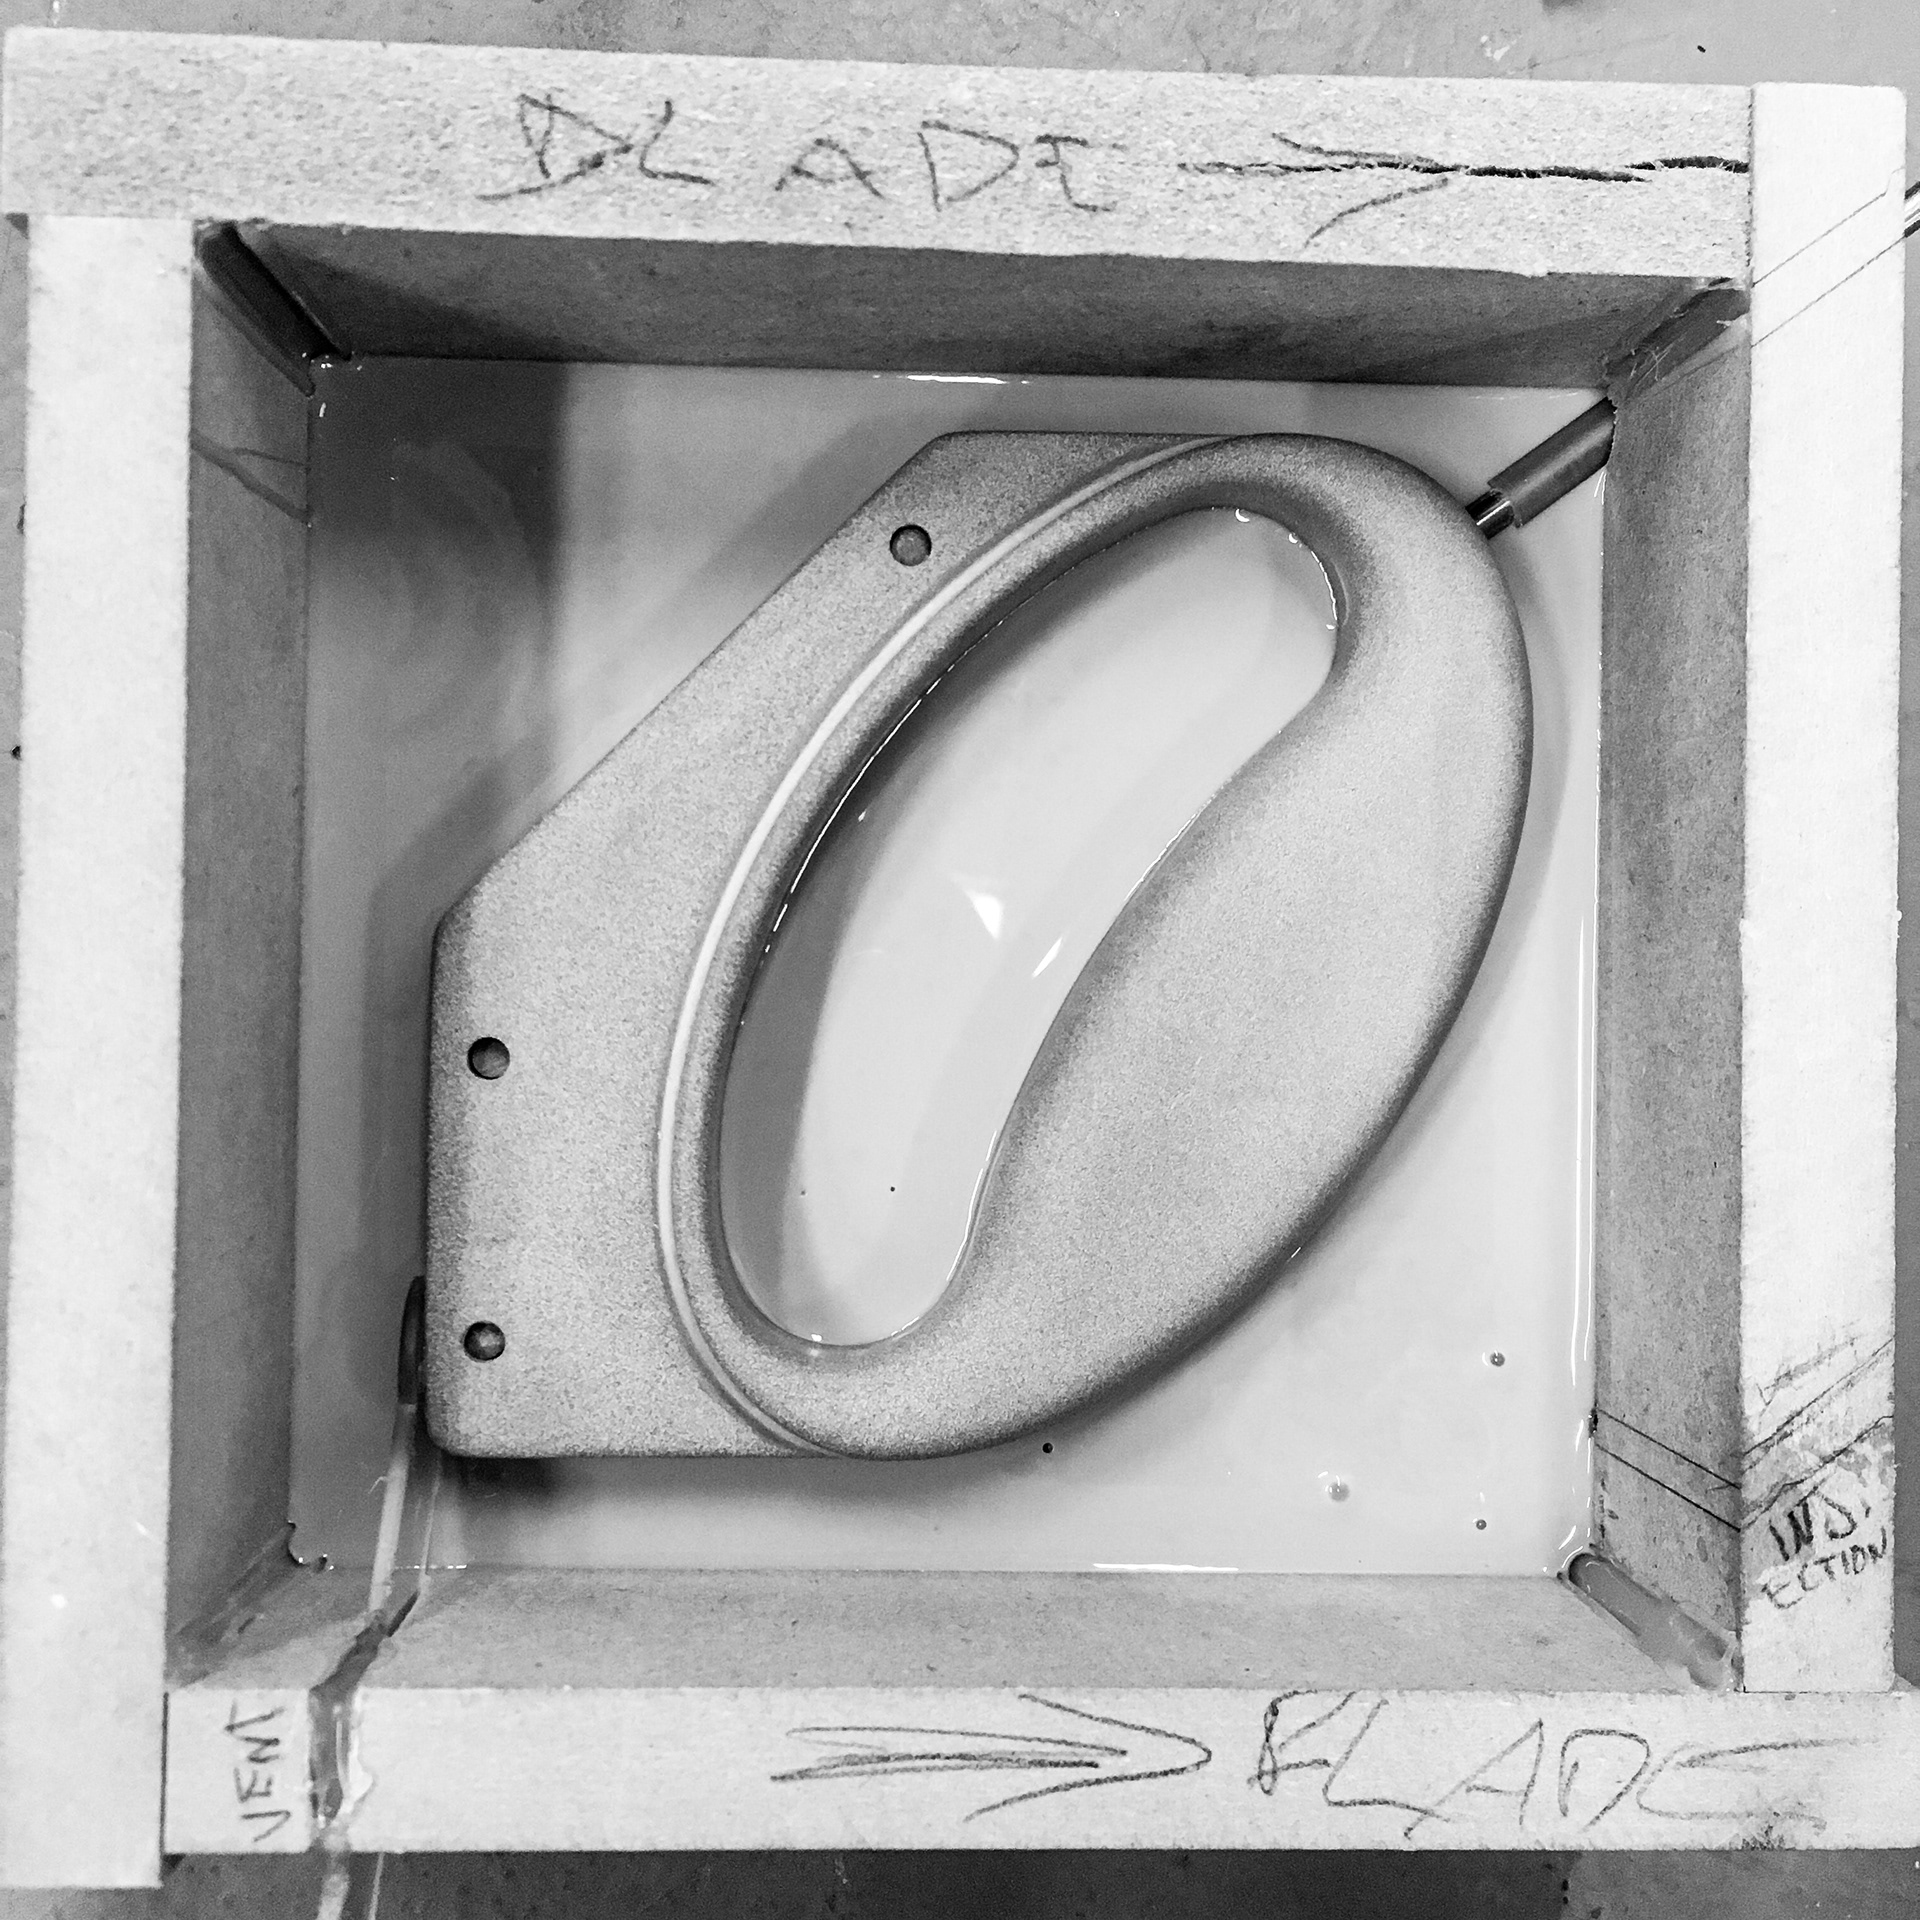
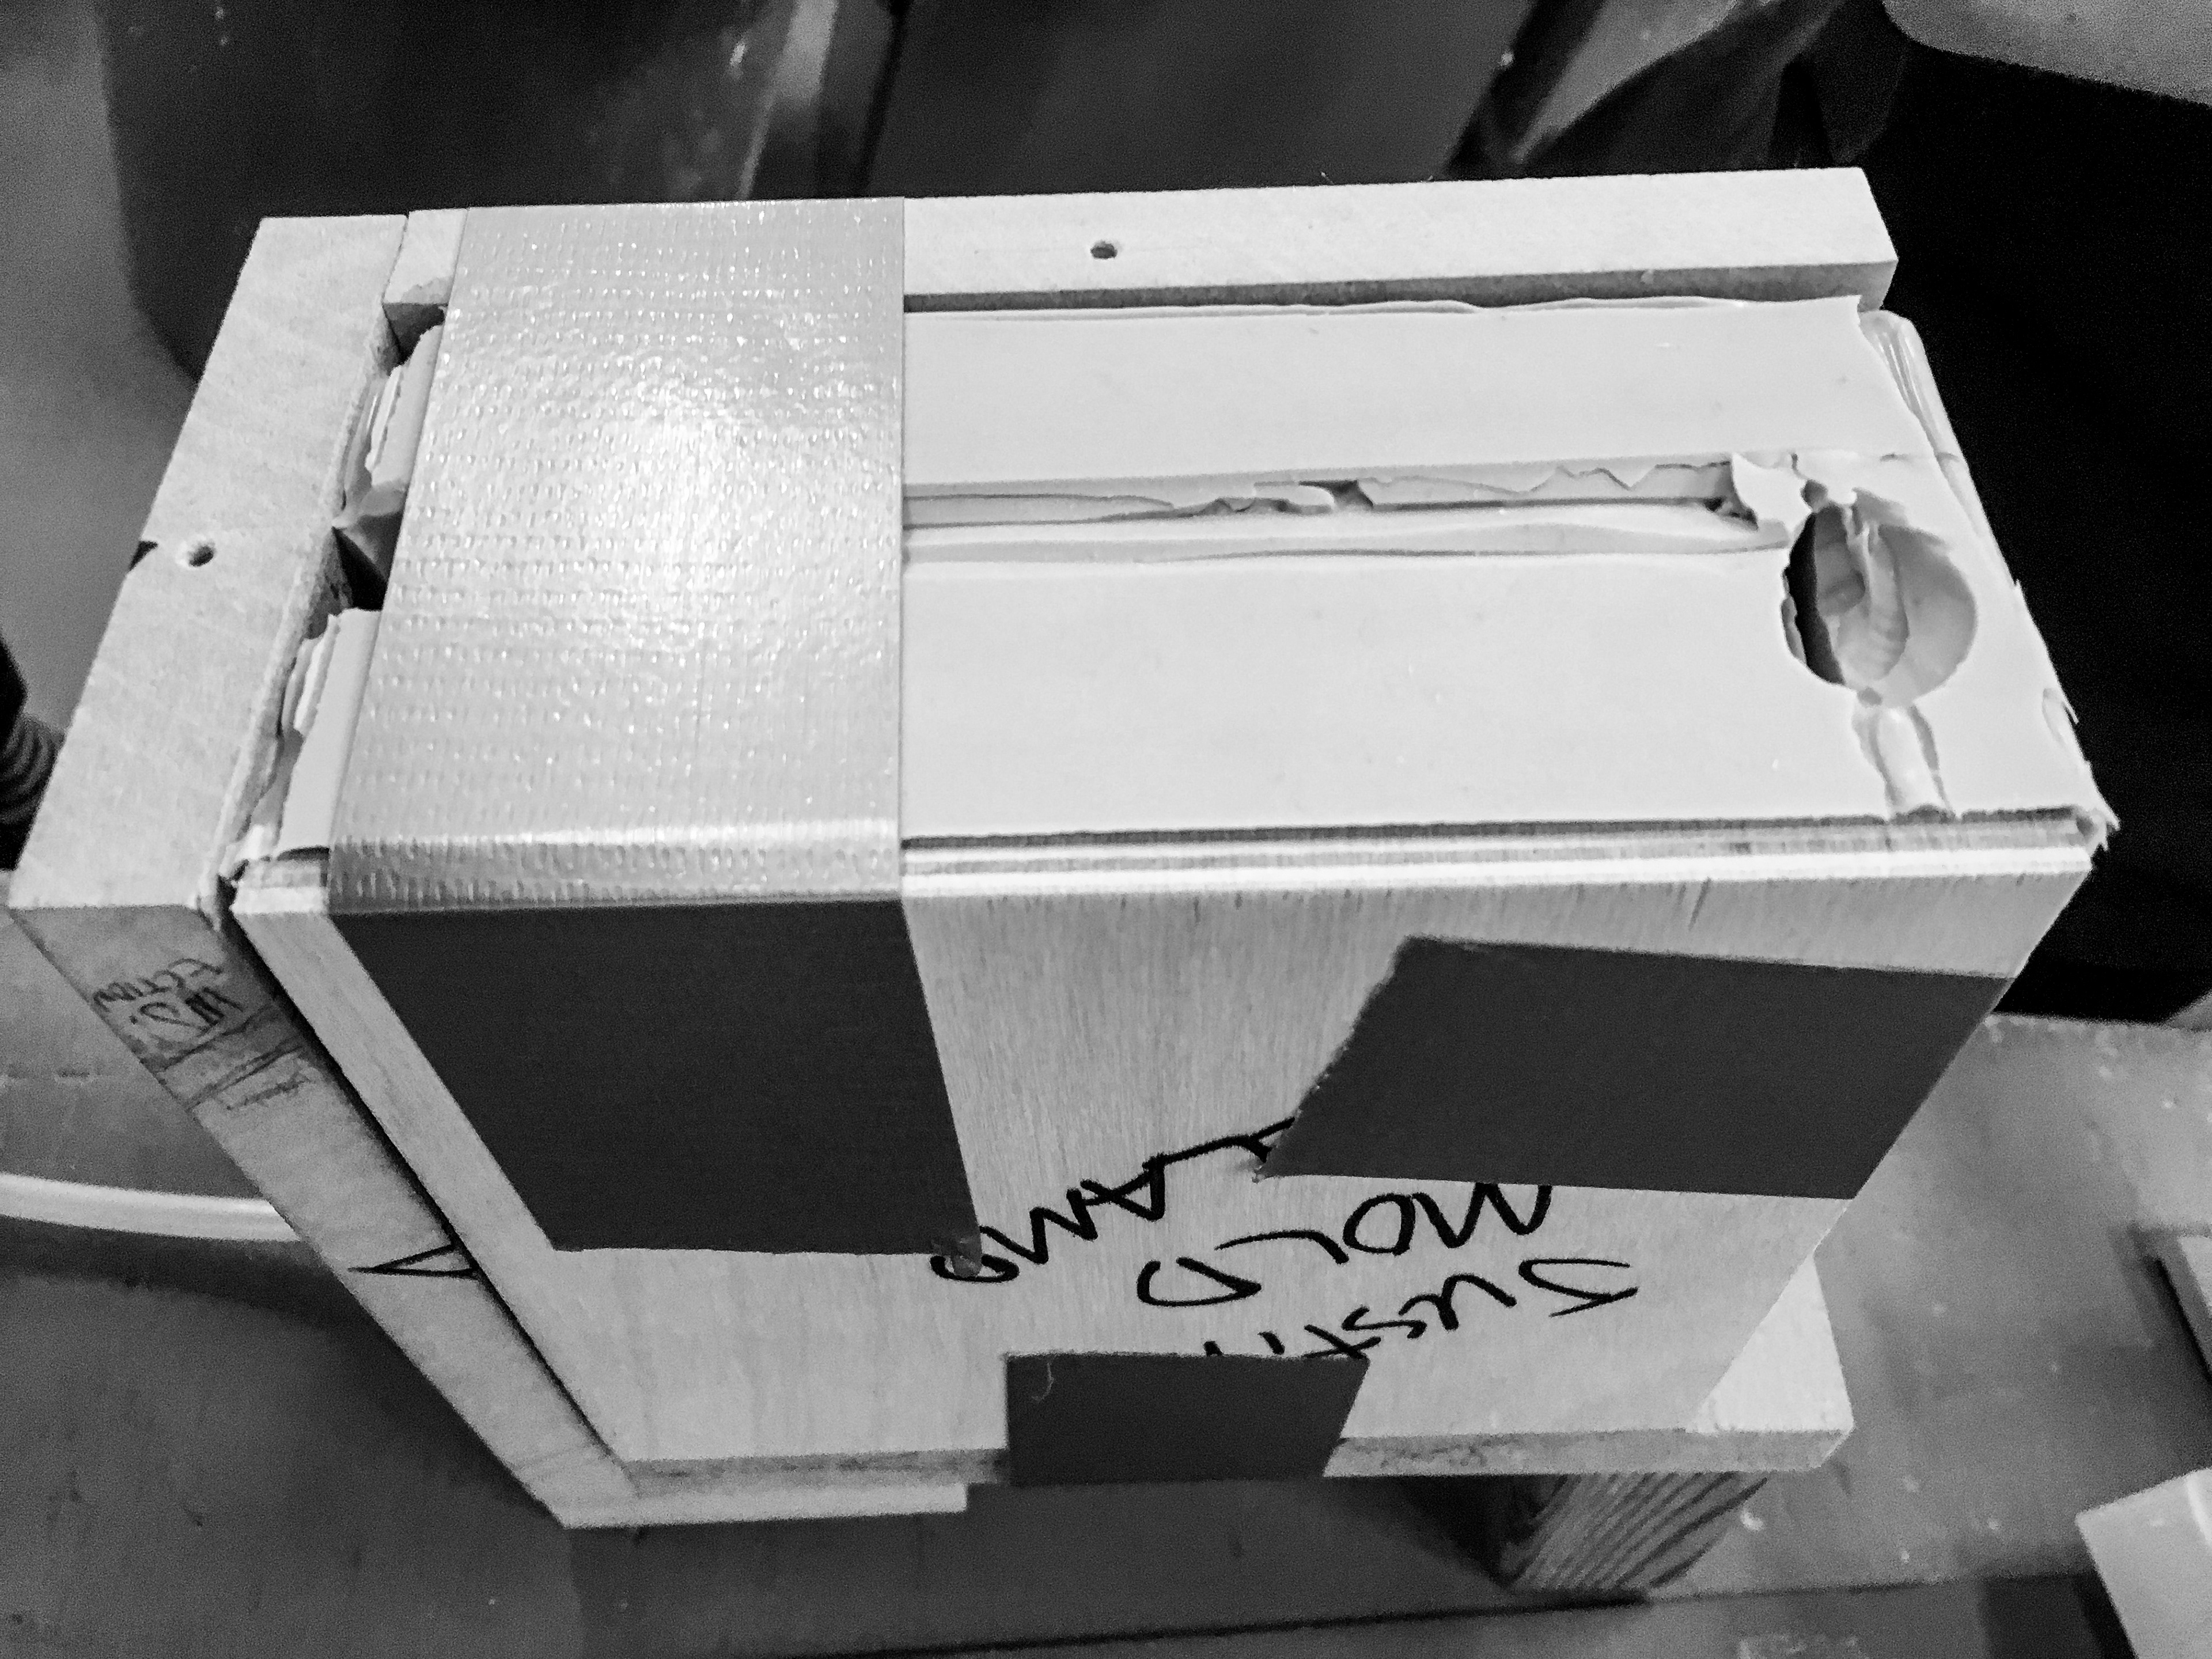
casting box
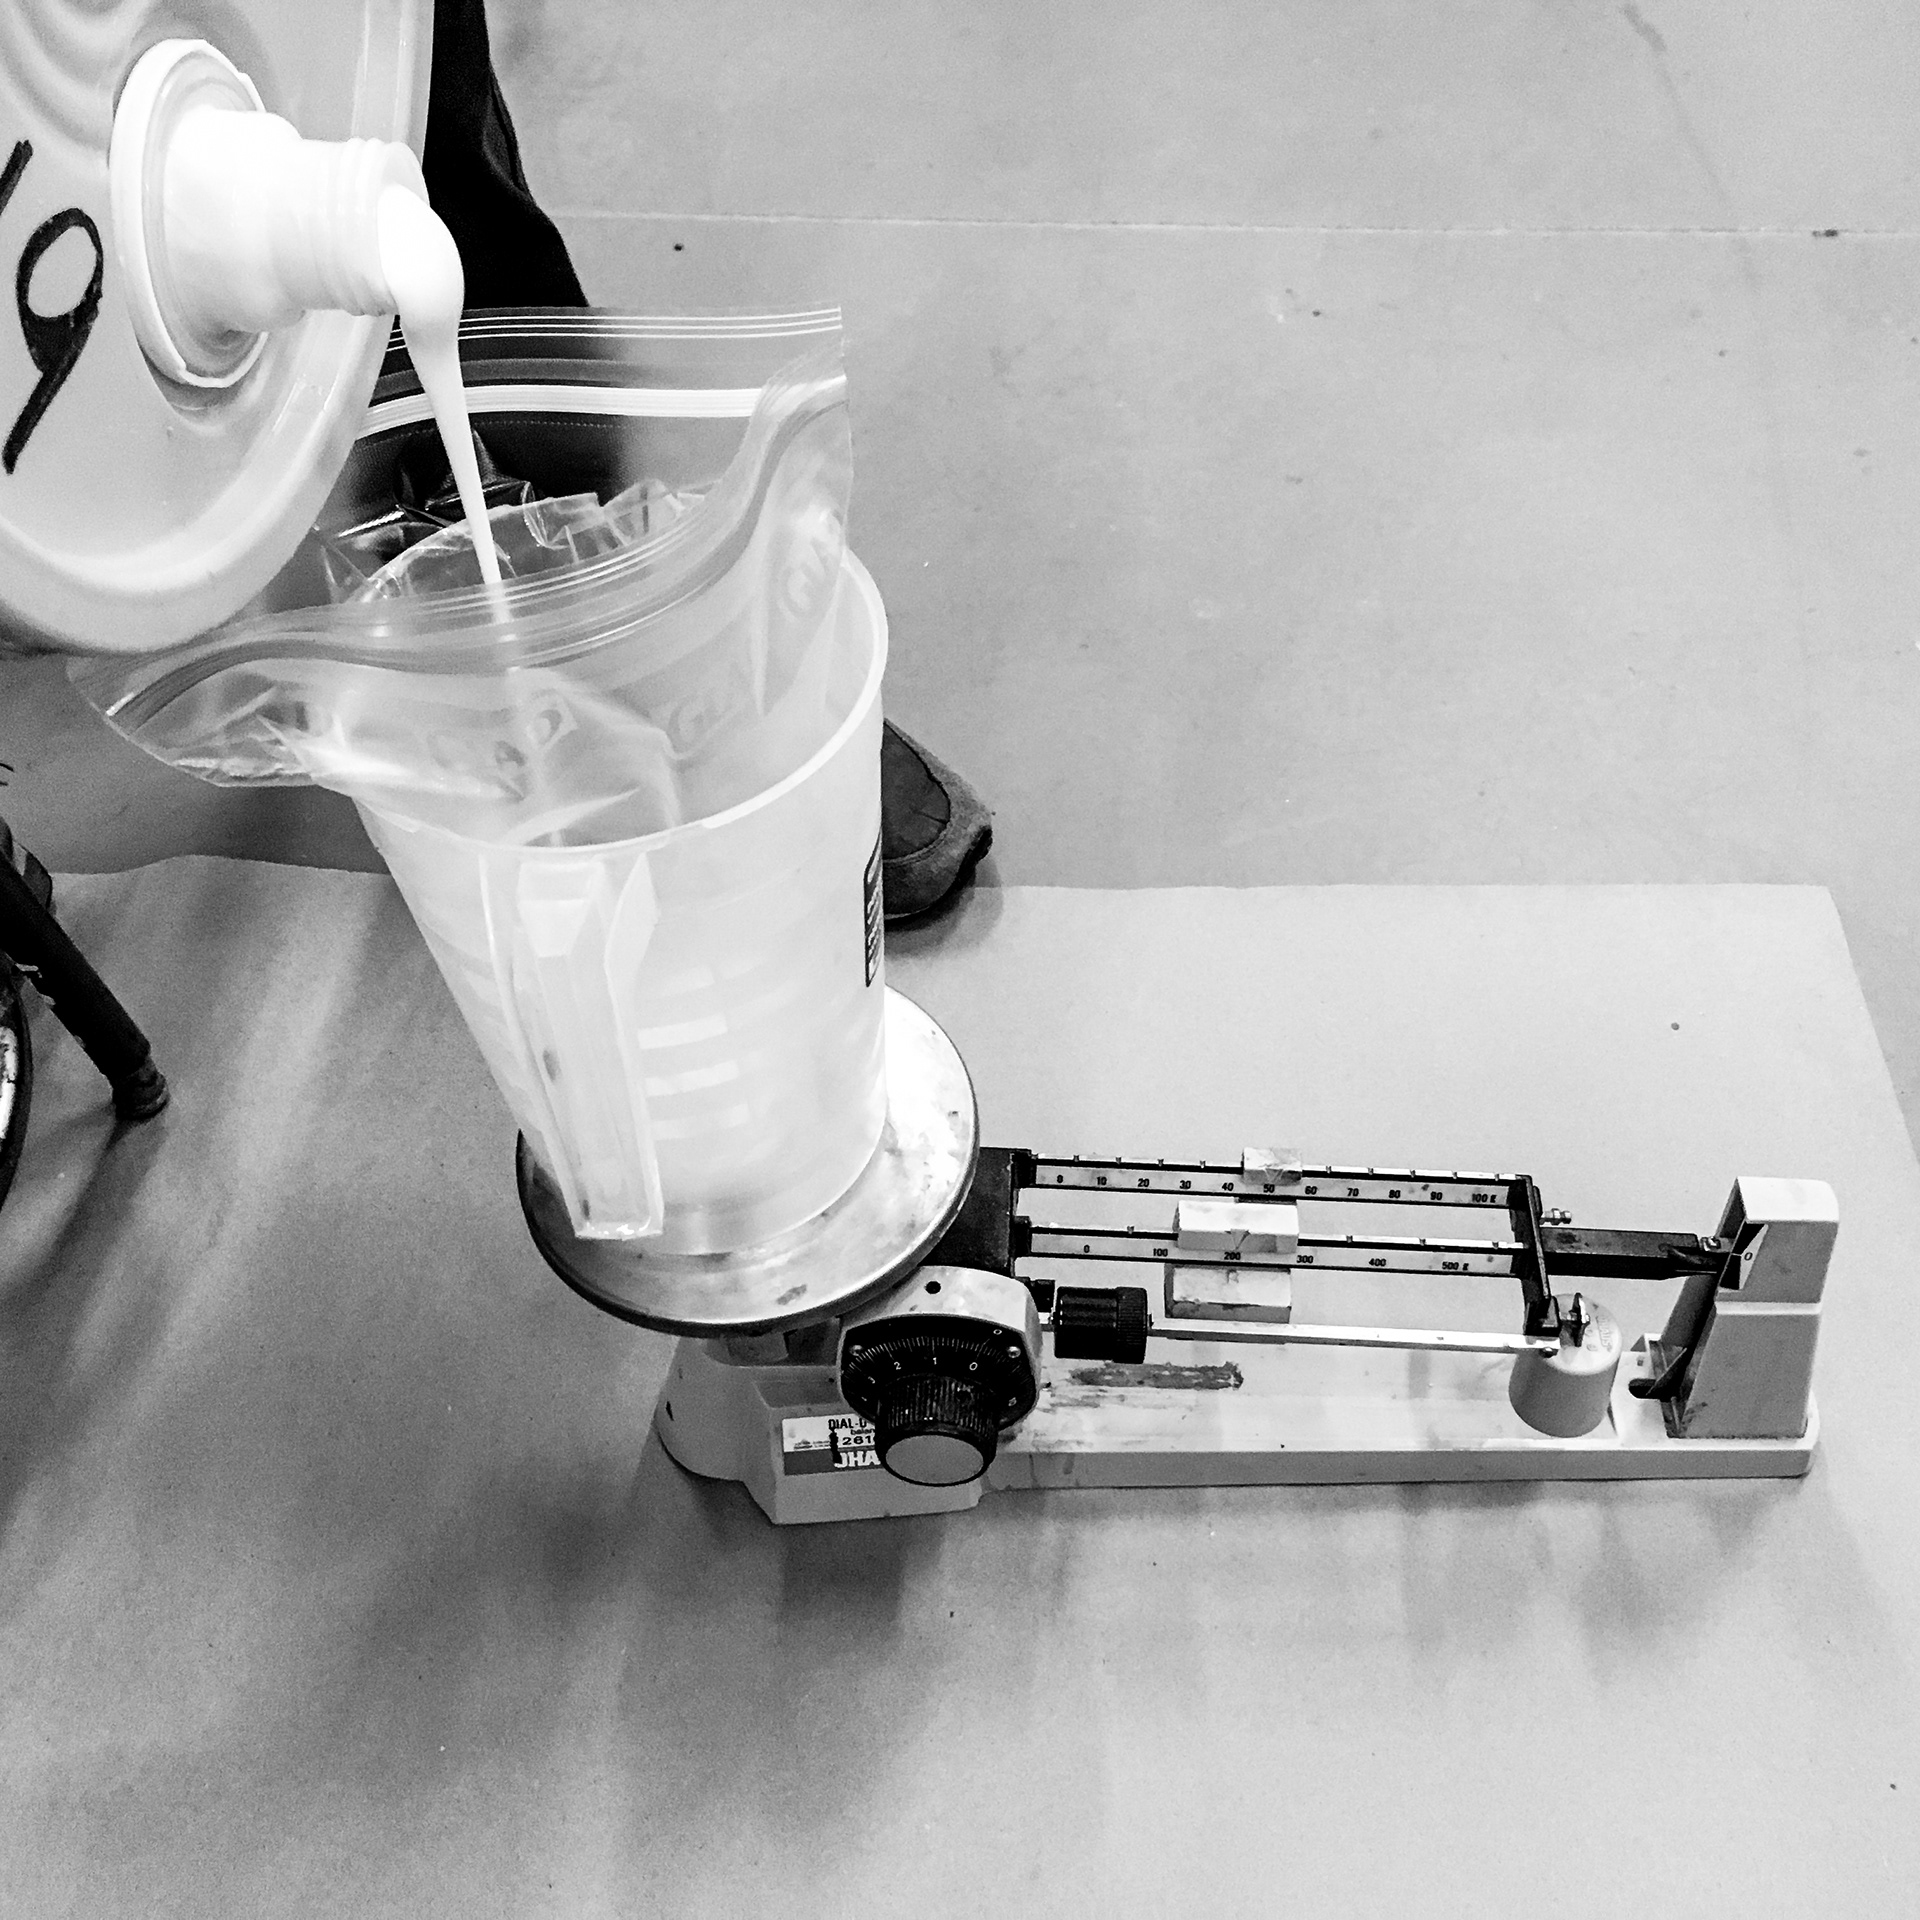
measuring silicone
silicone casting
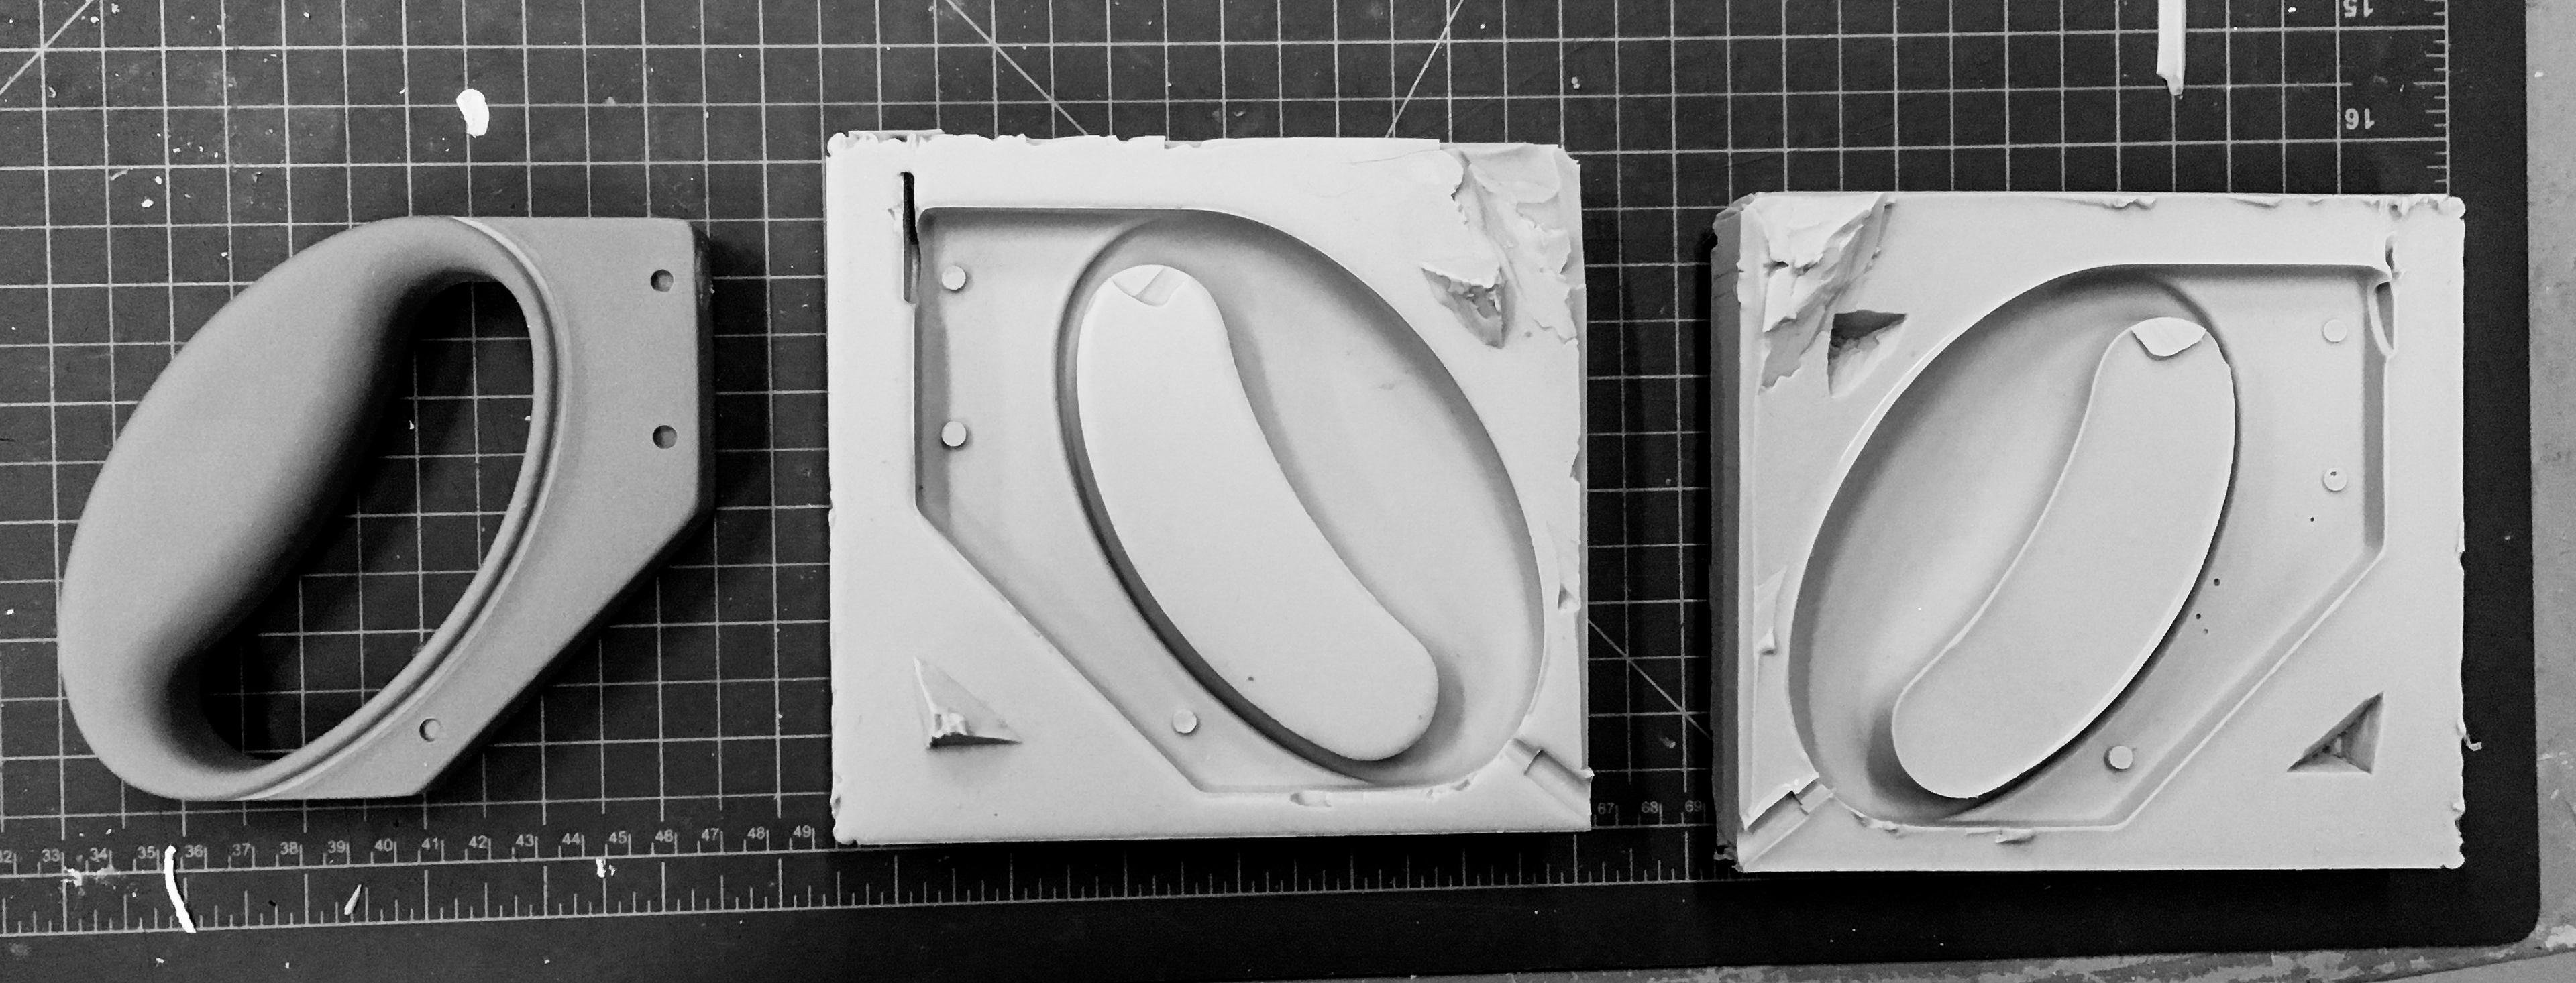
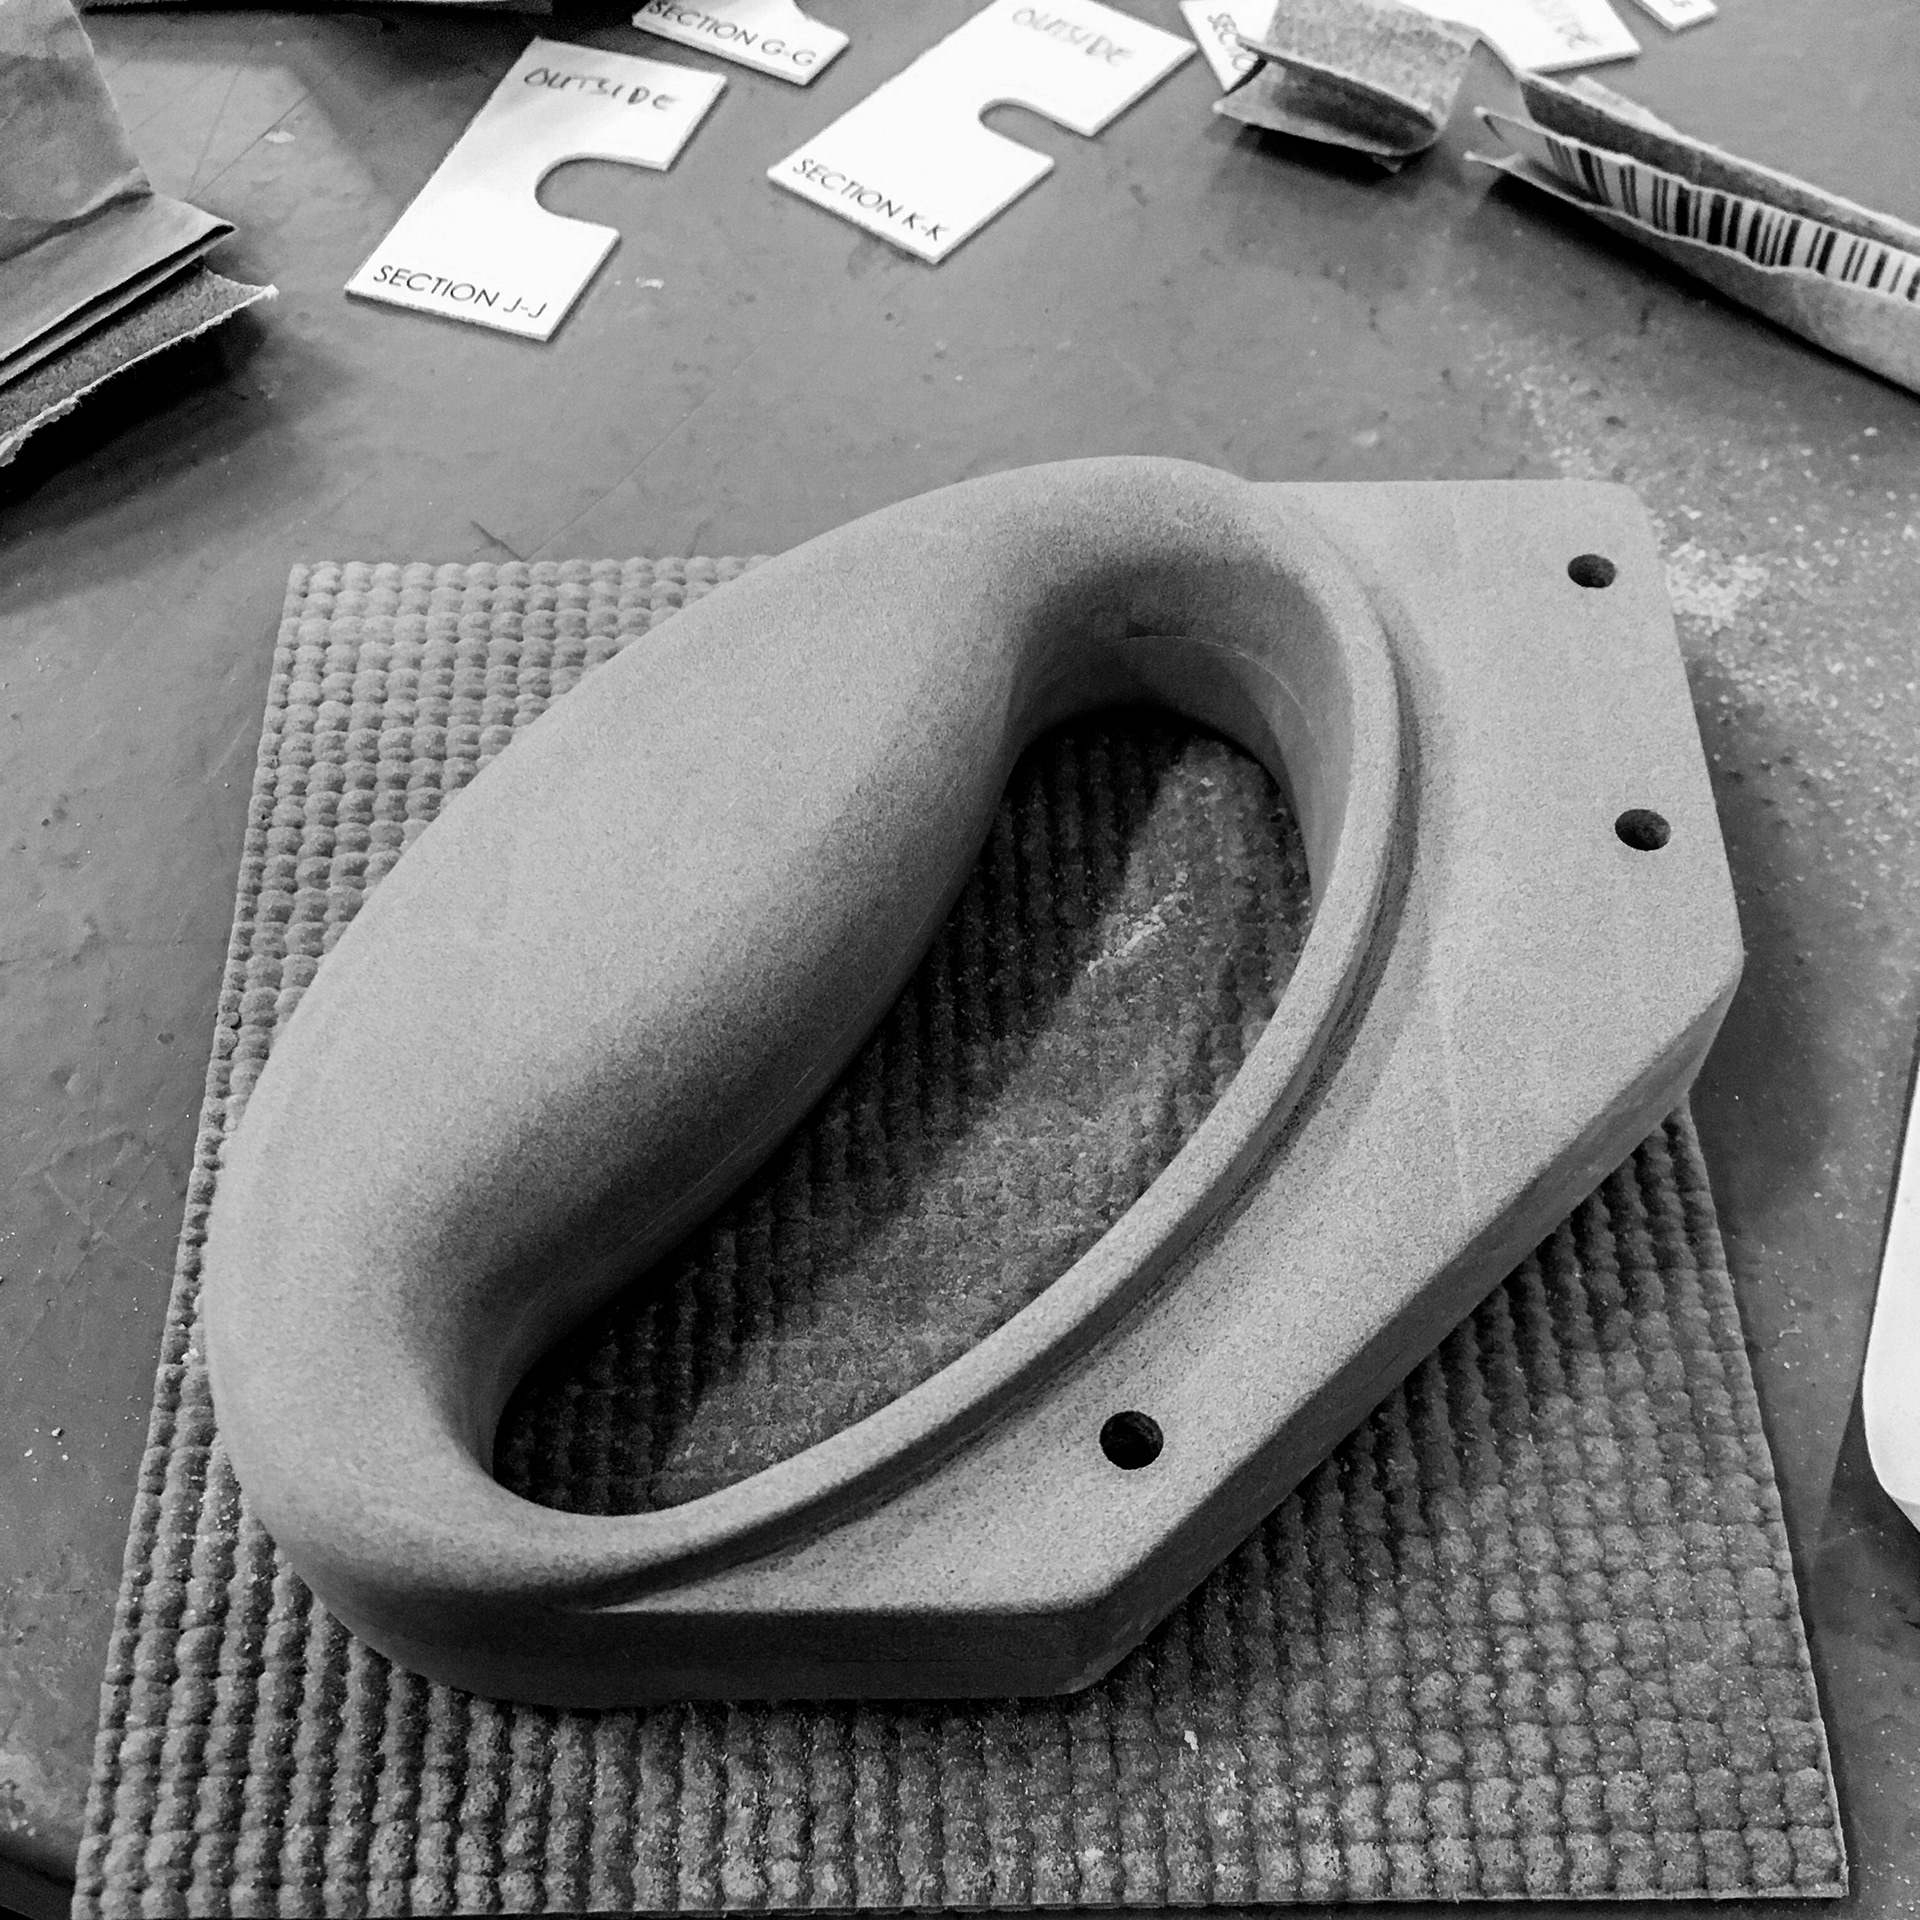
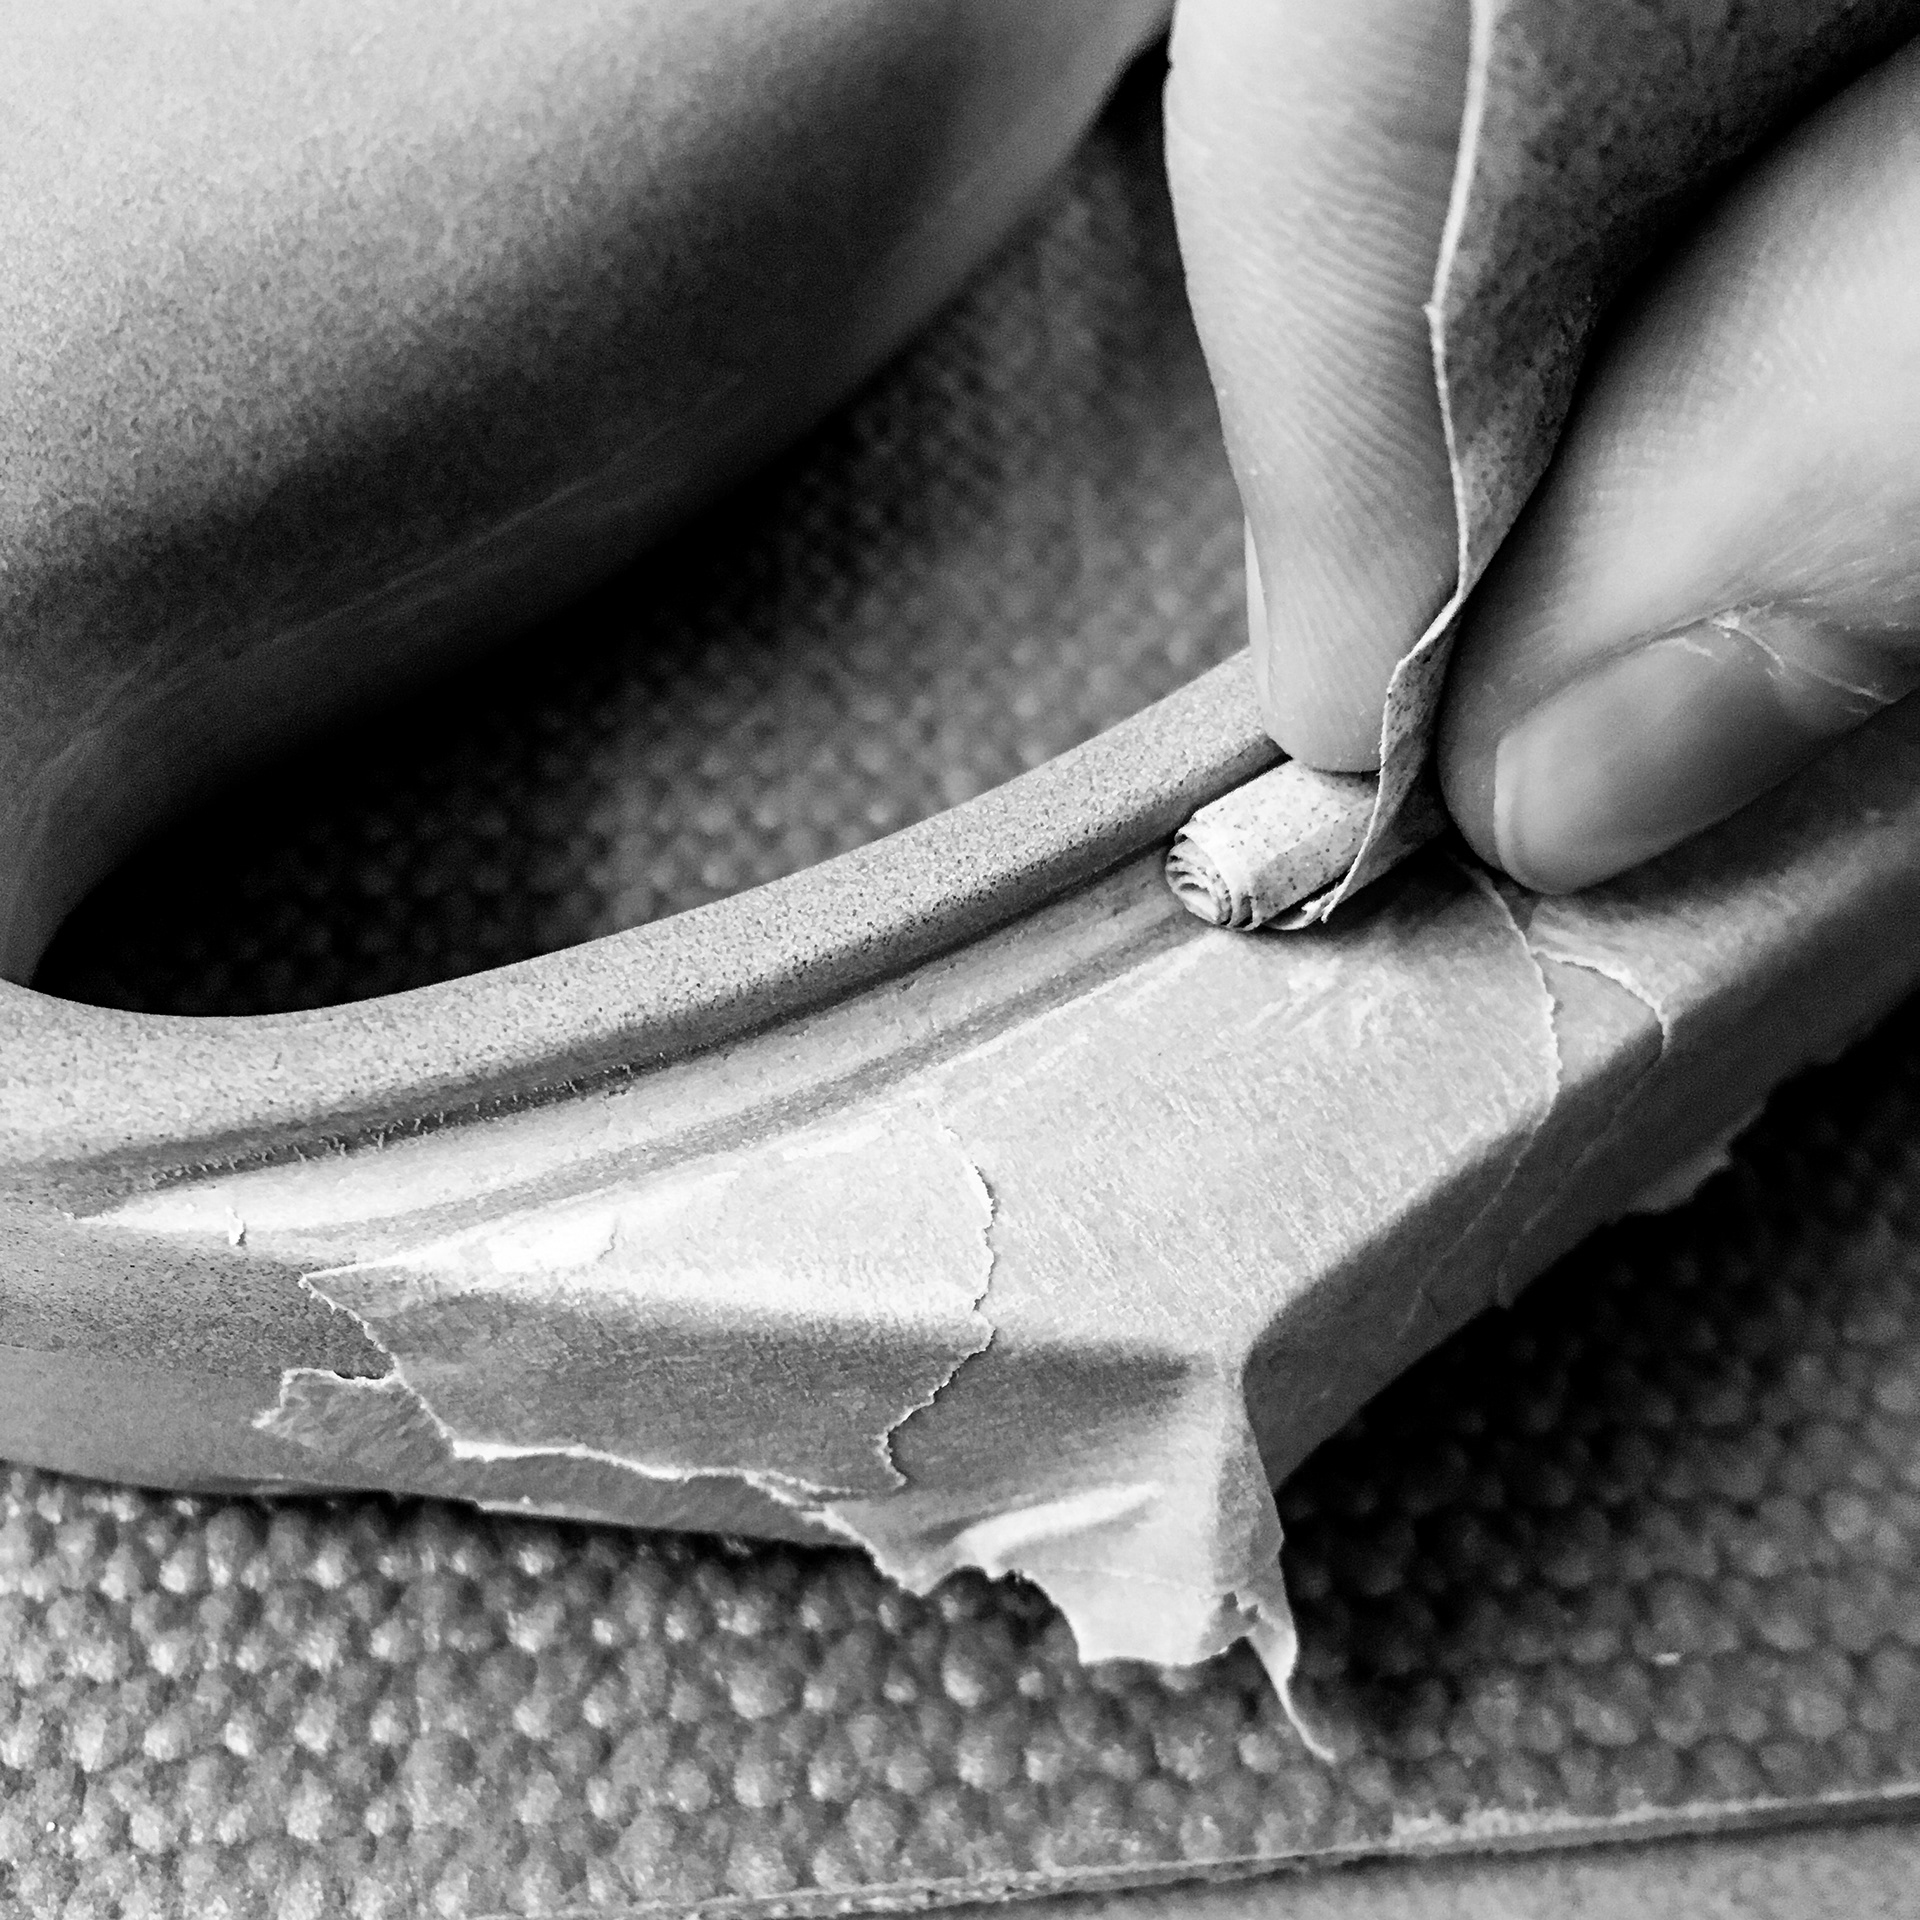
demolding renshape
preparing for urethane casting

part A and B of resin
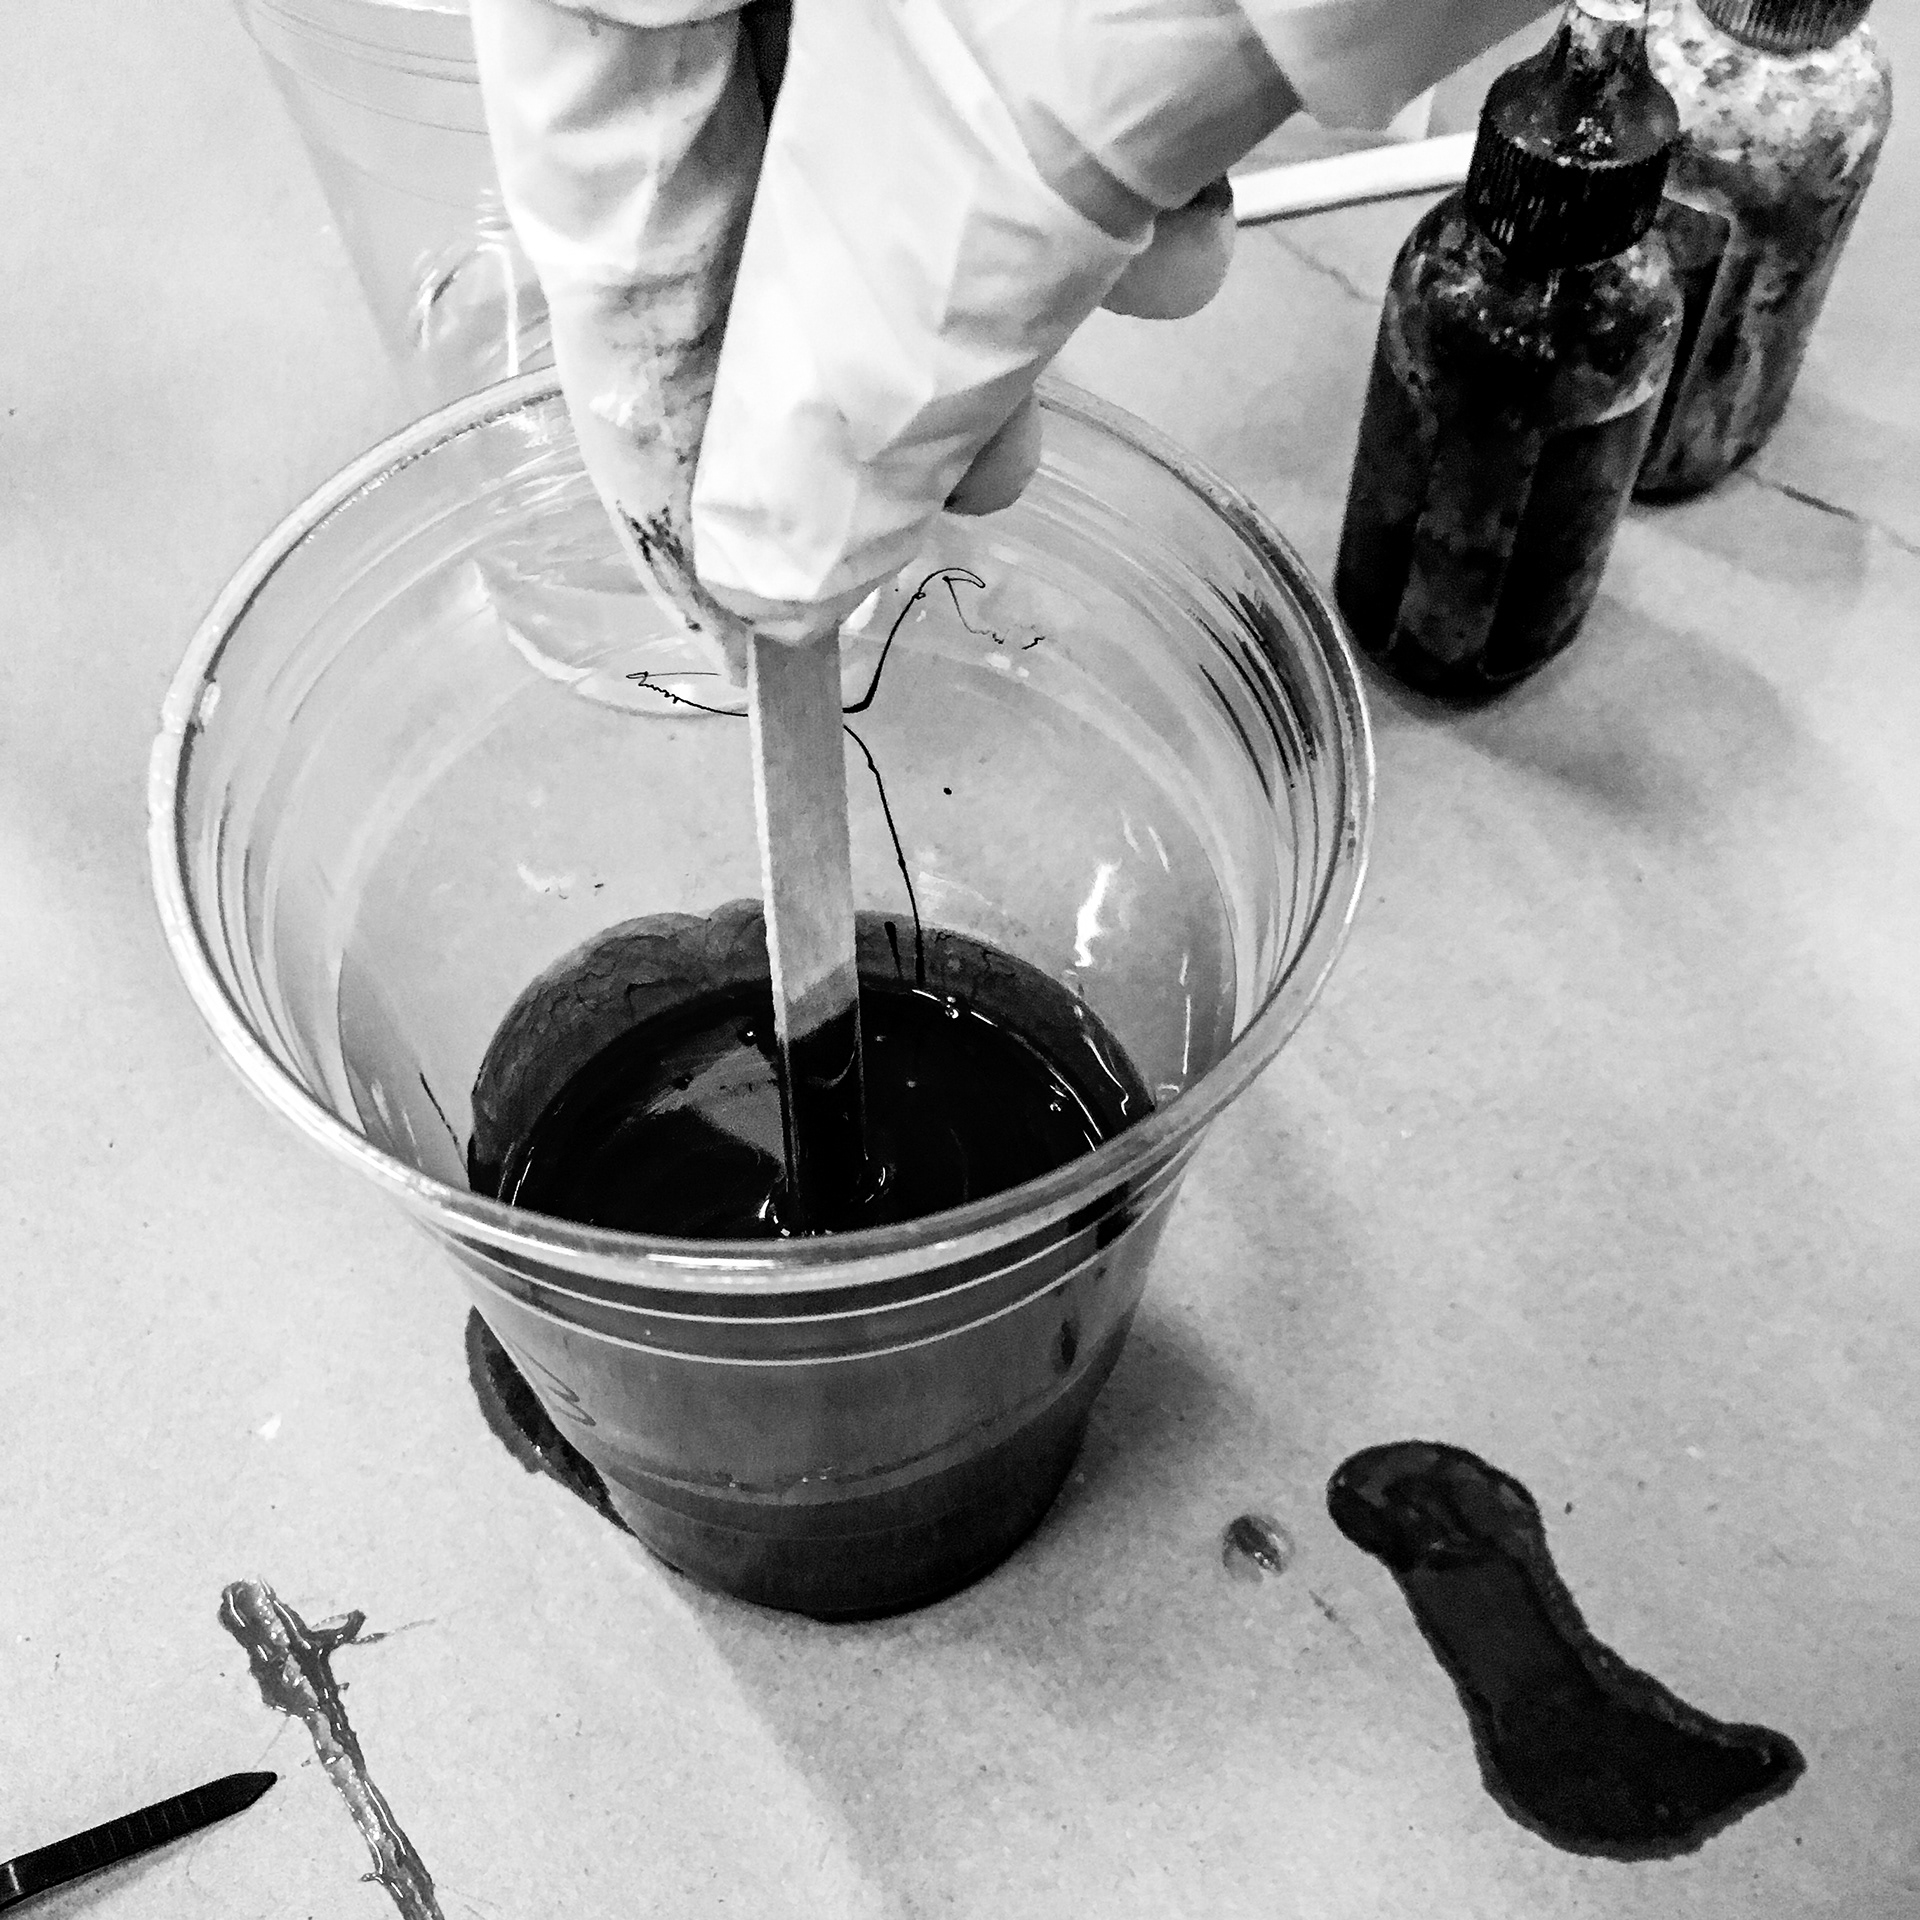
mixing in the dye
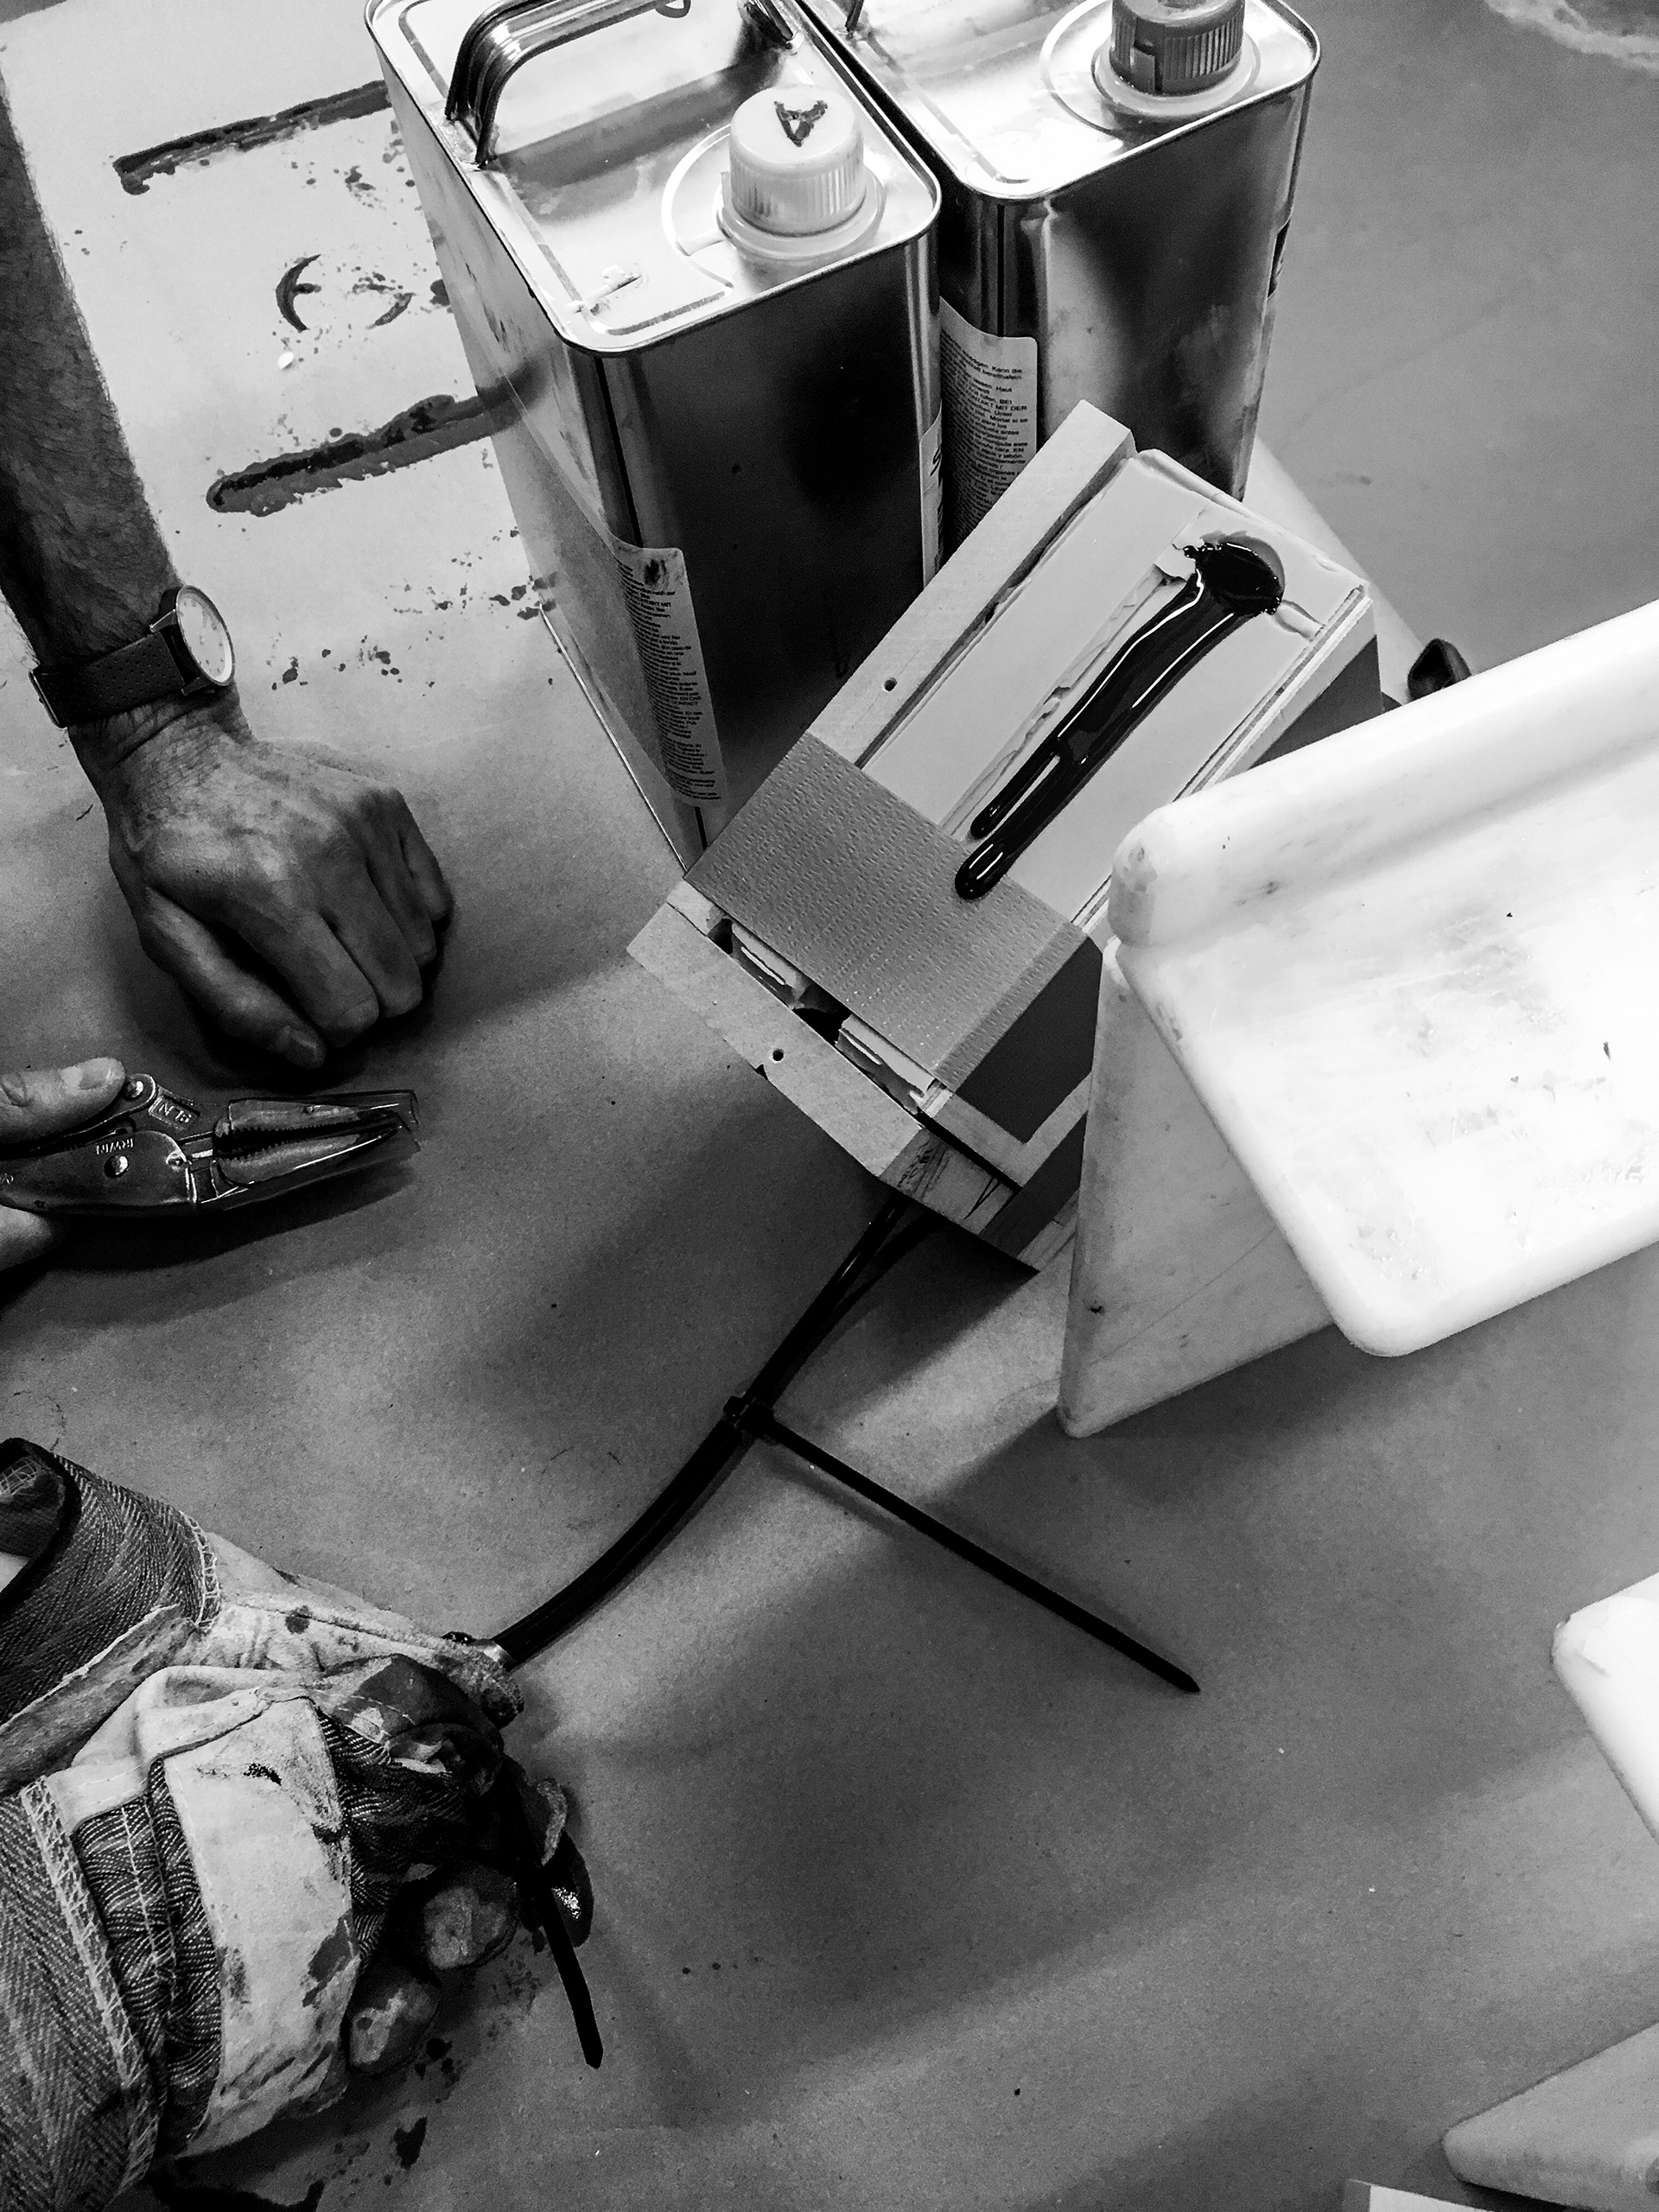
injecting resin
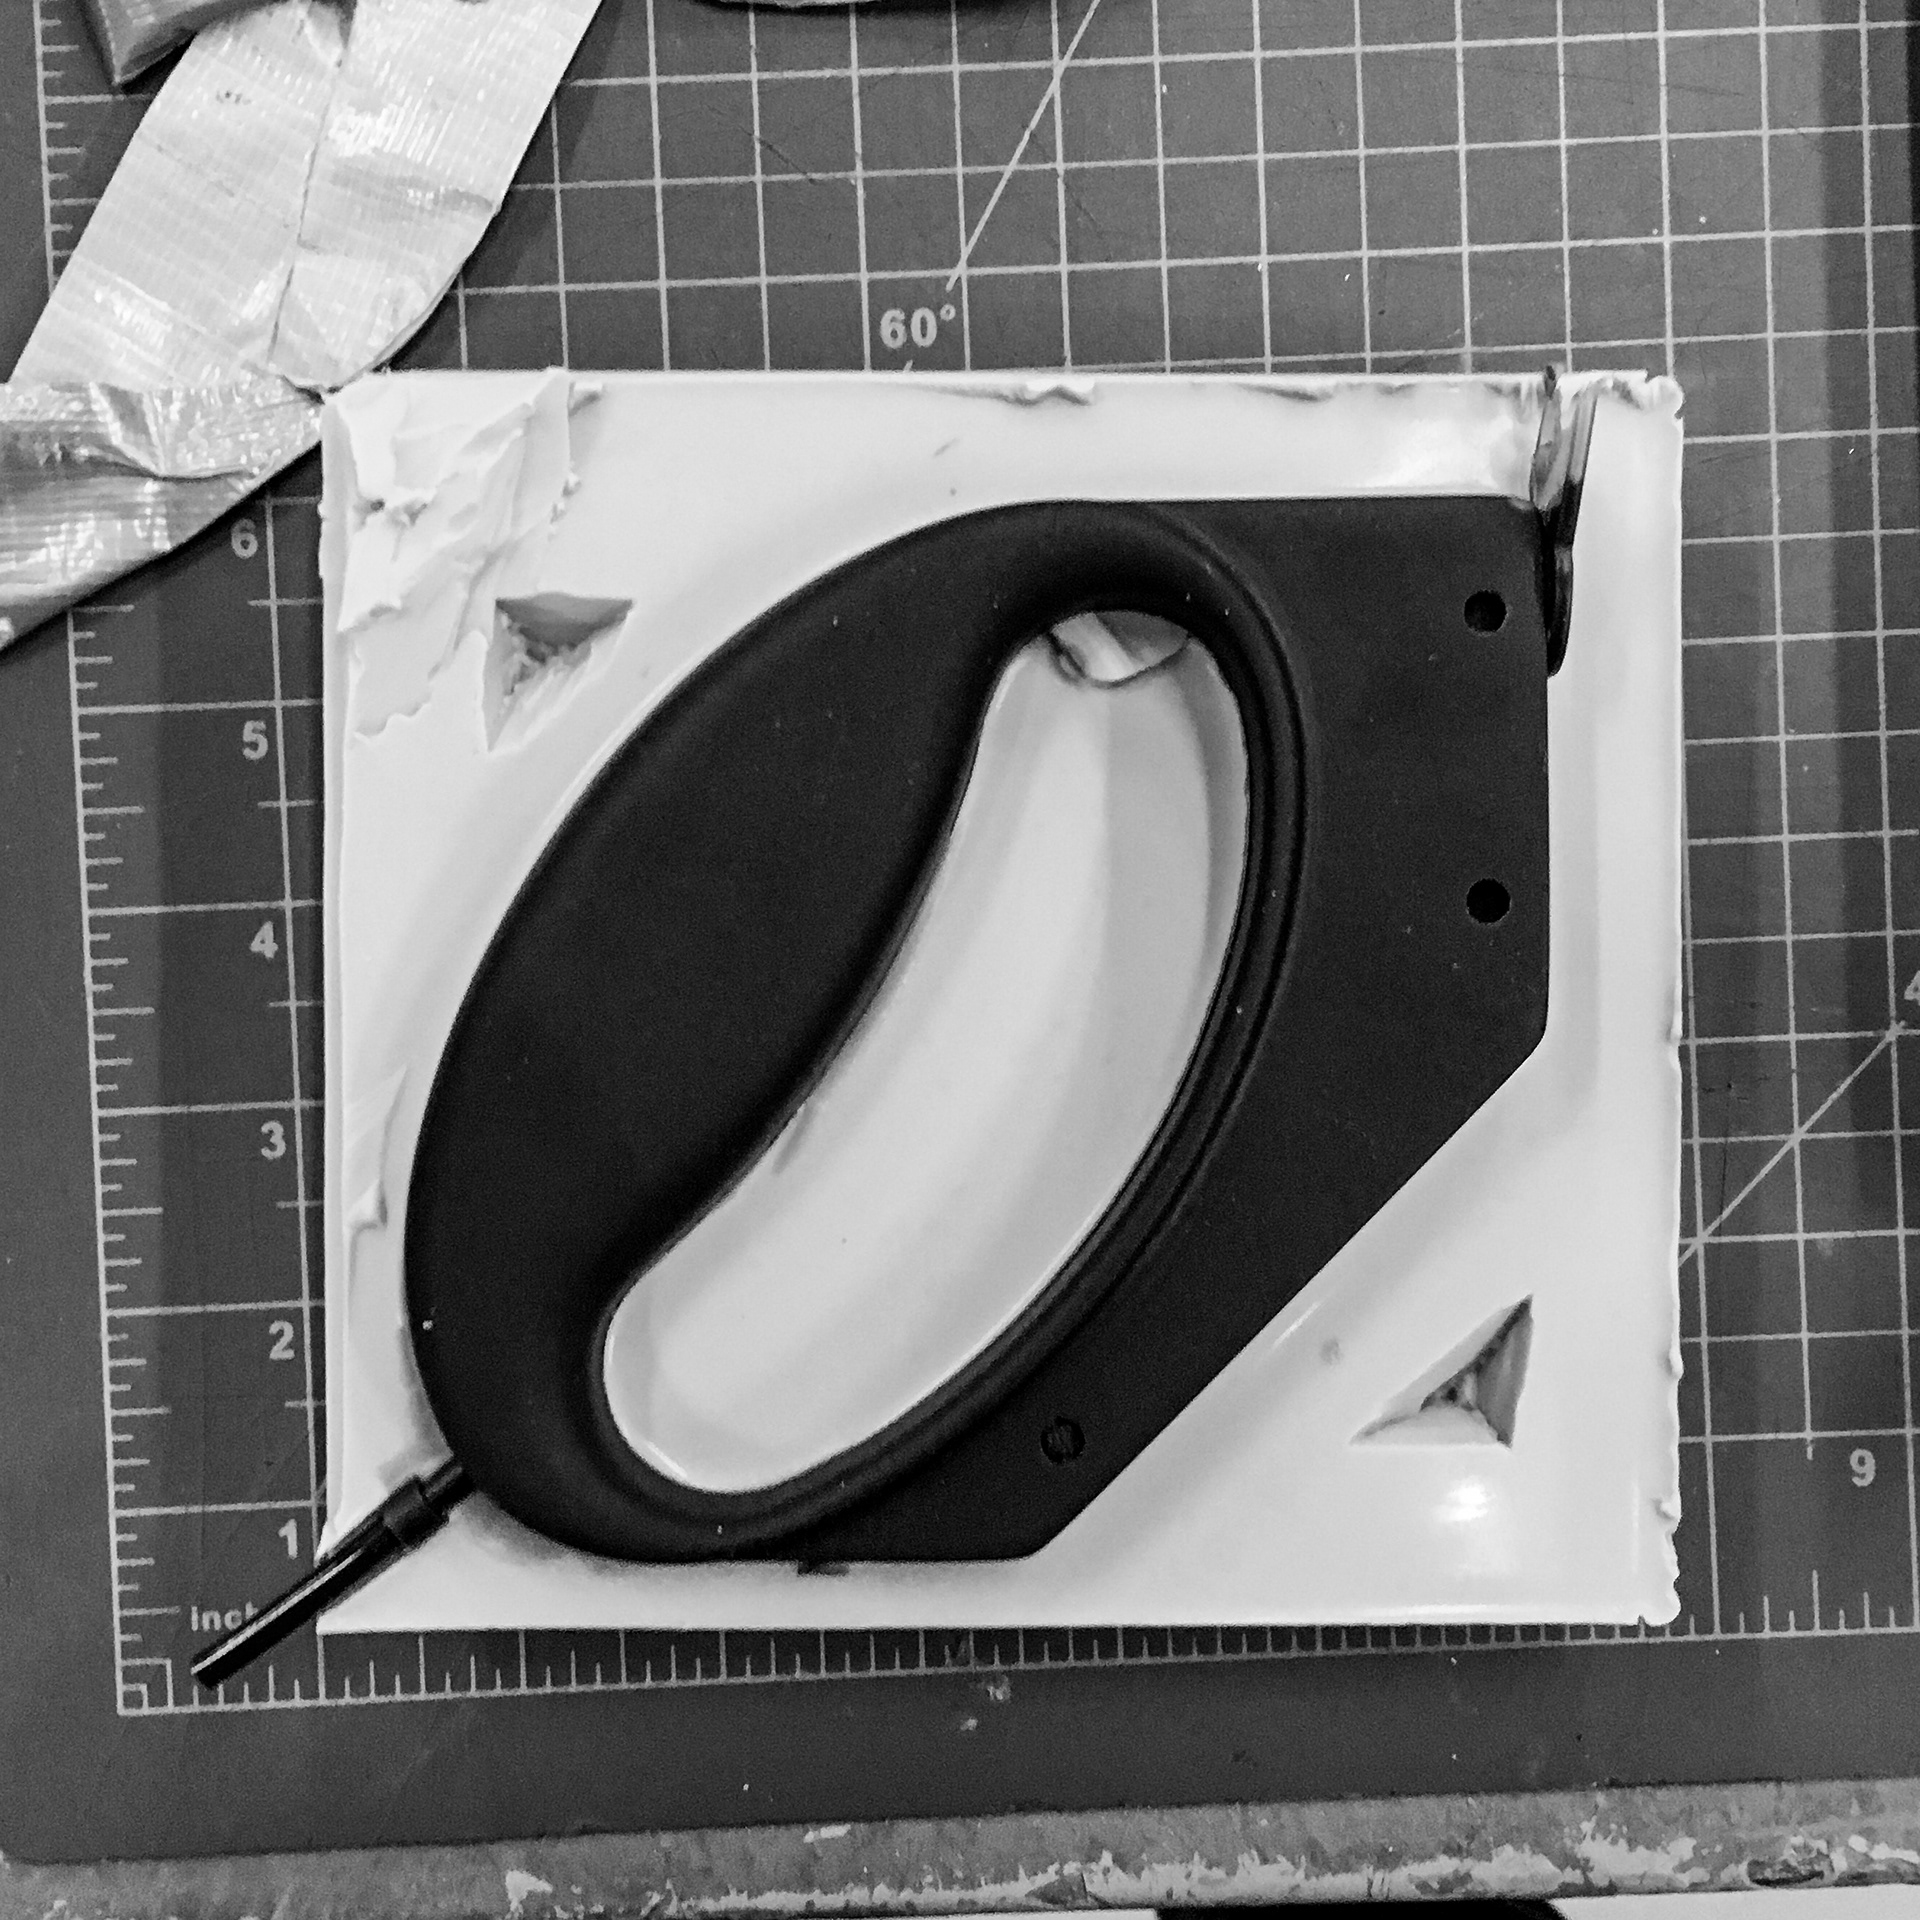
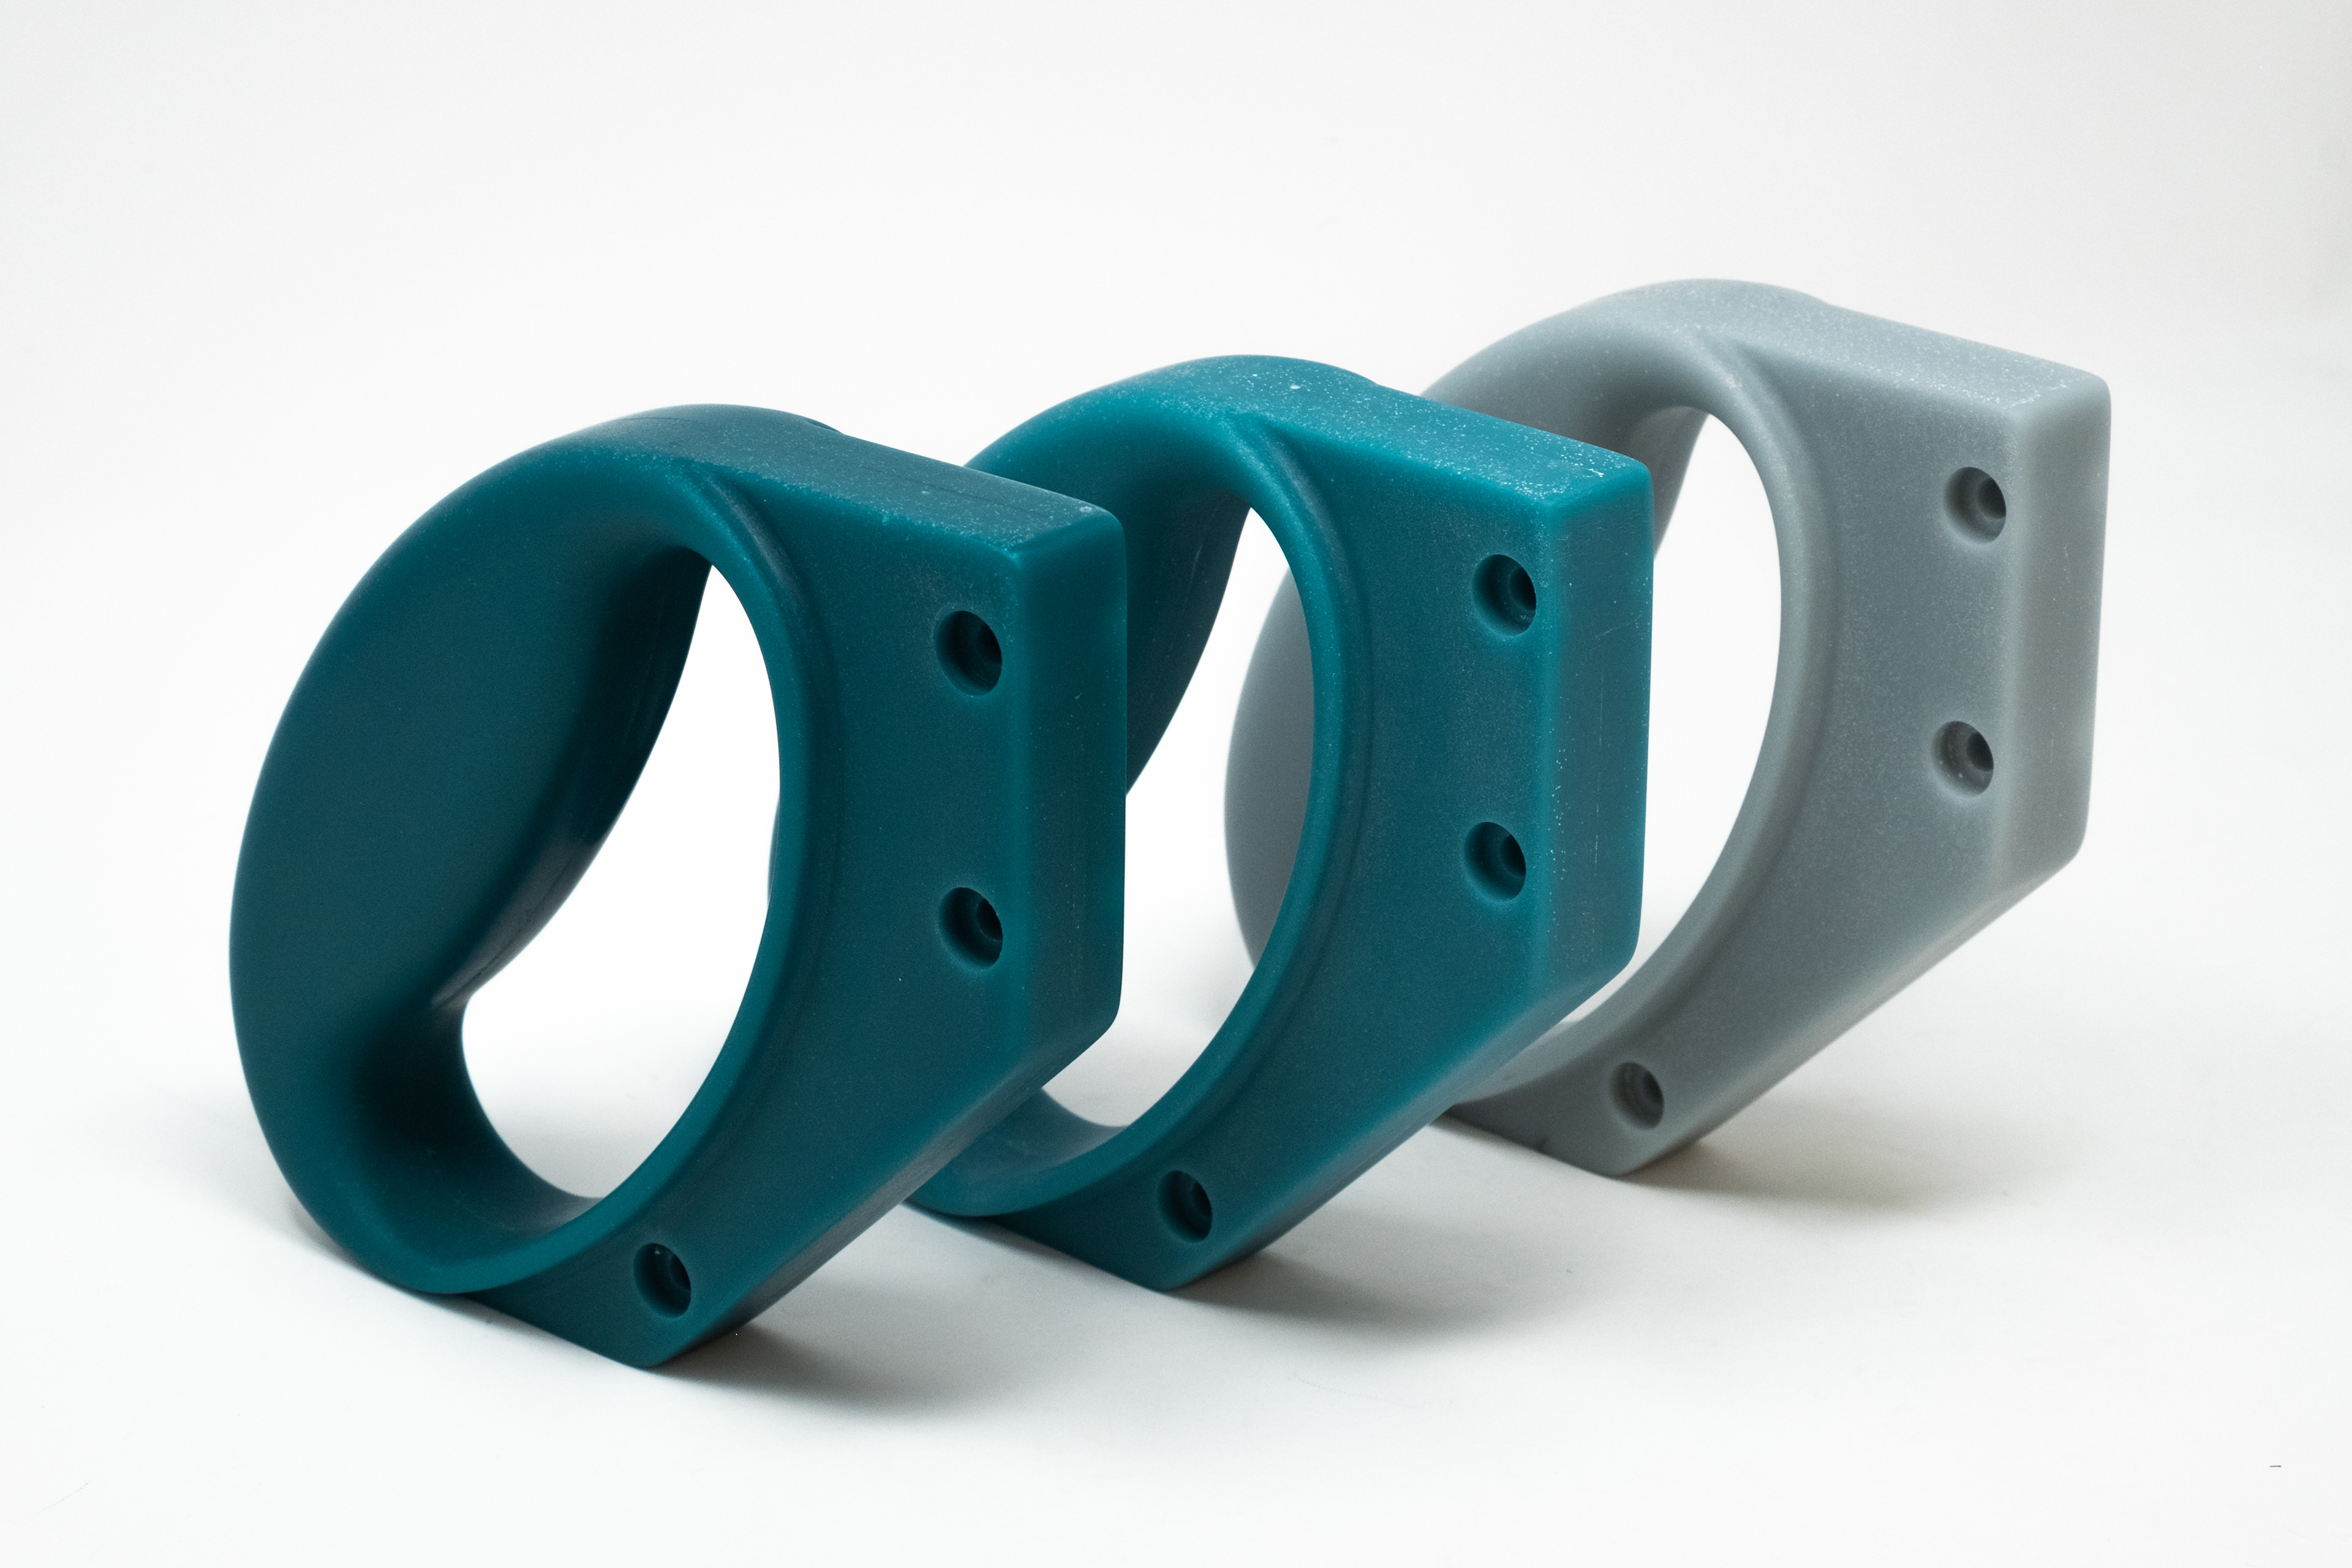
demolding casted handle
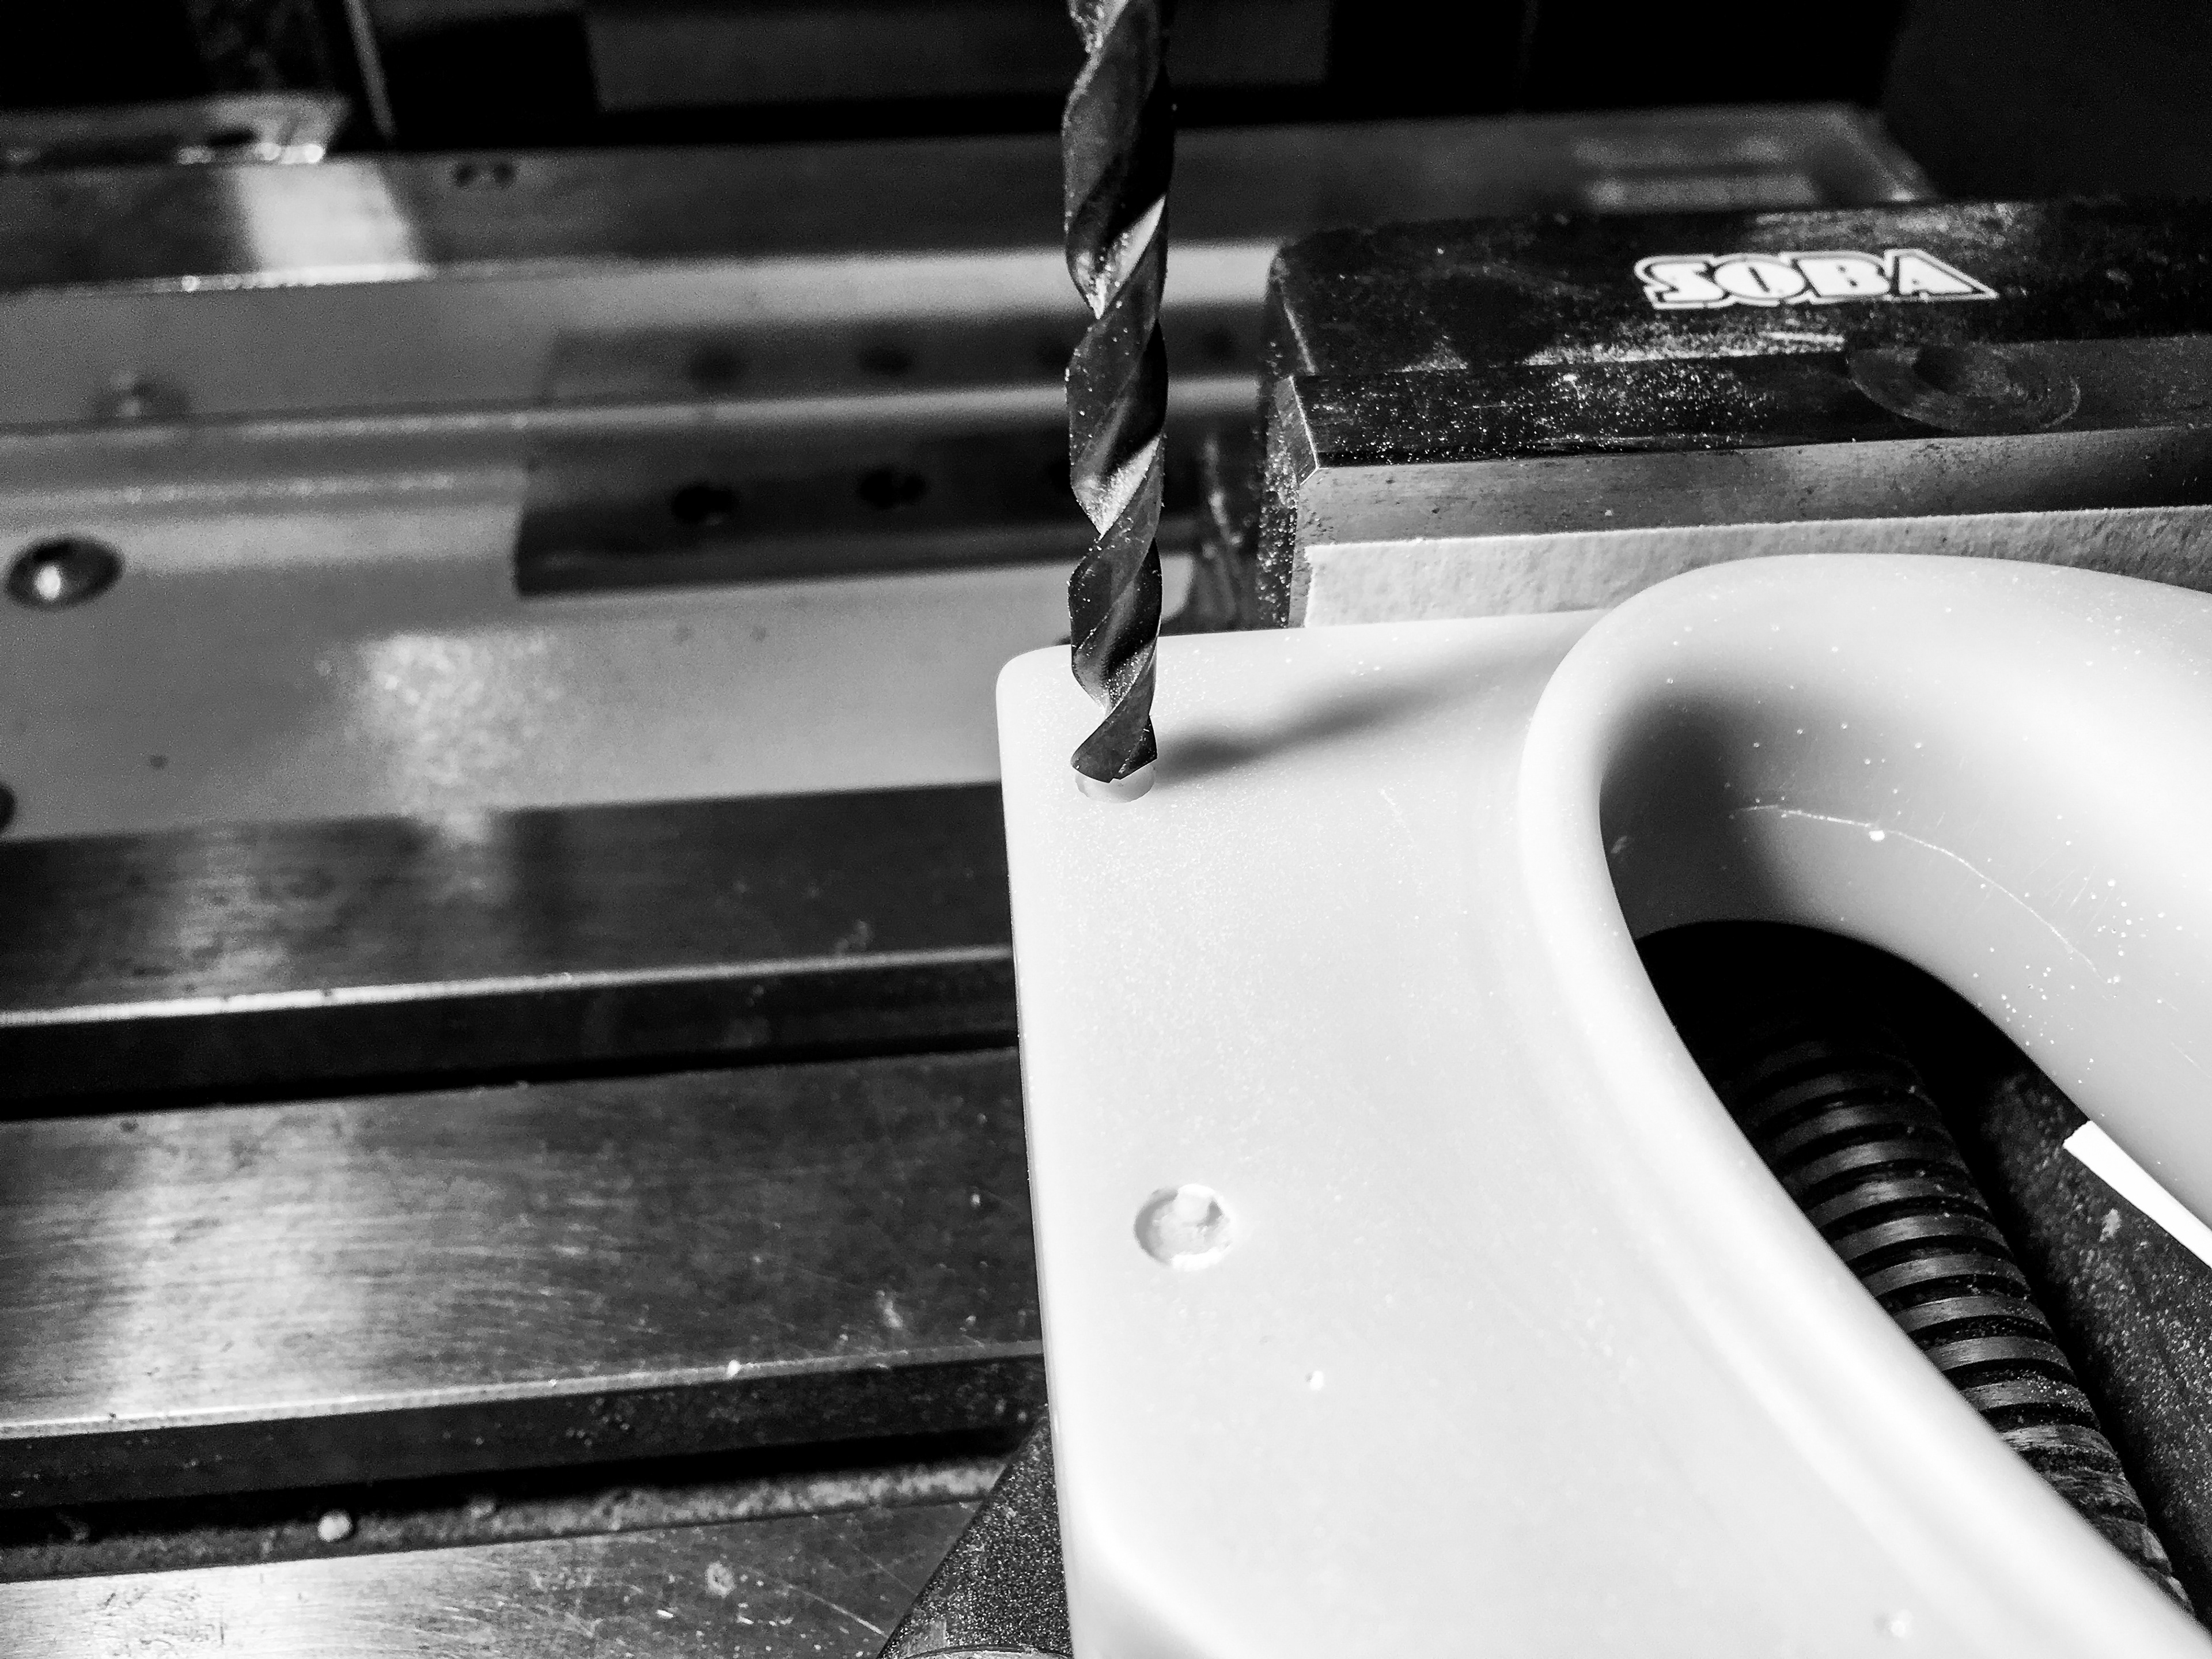
drilling fastener holes
counter-boring fastener holes
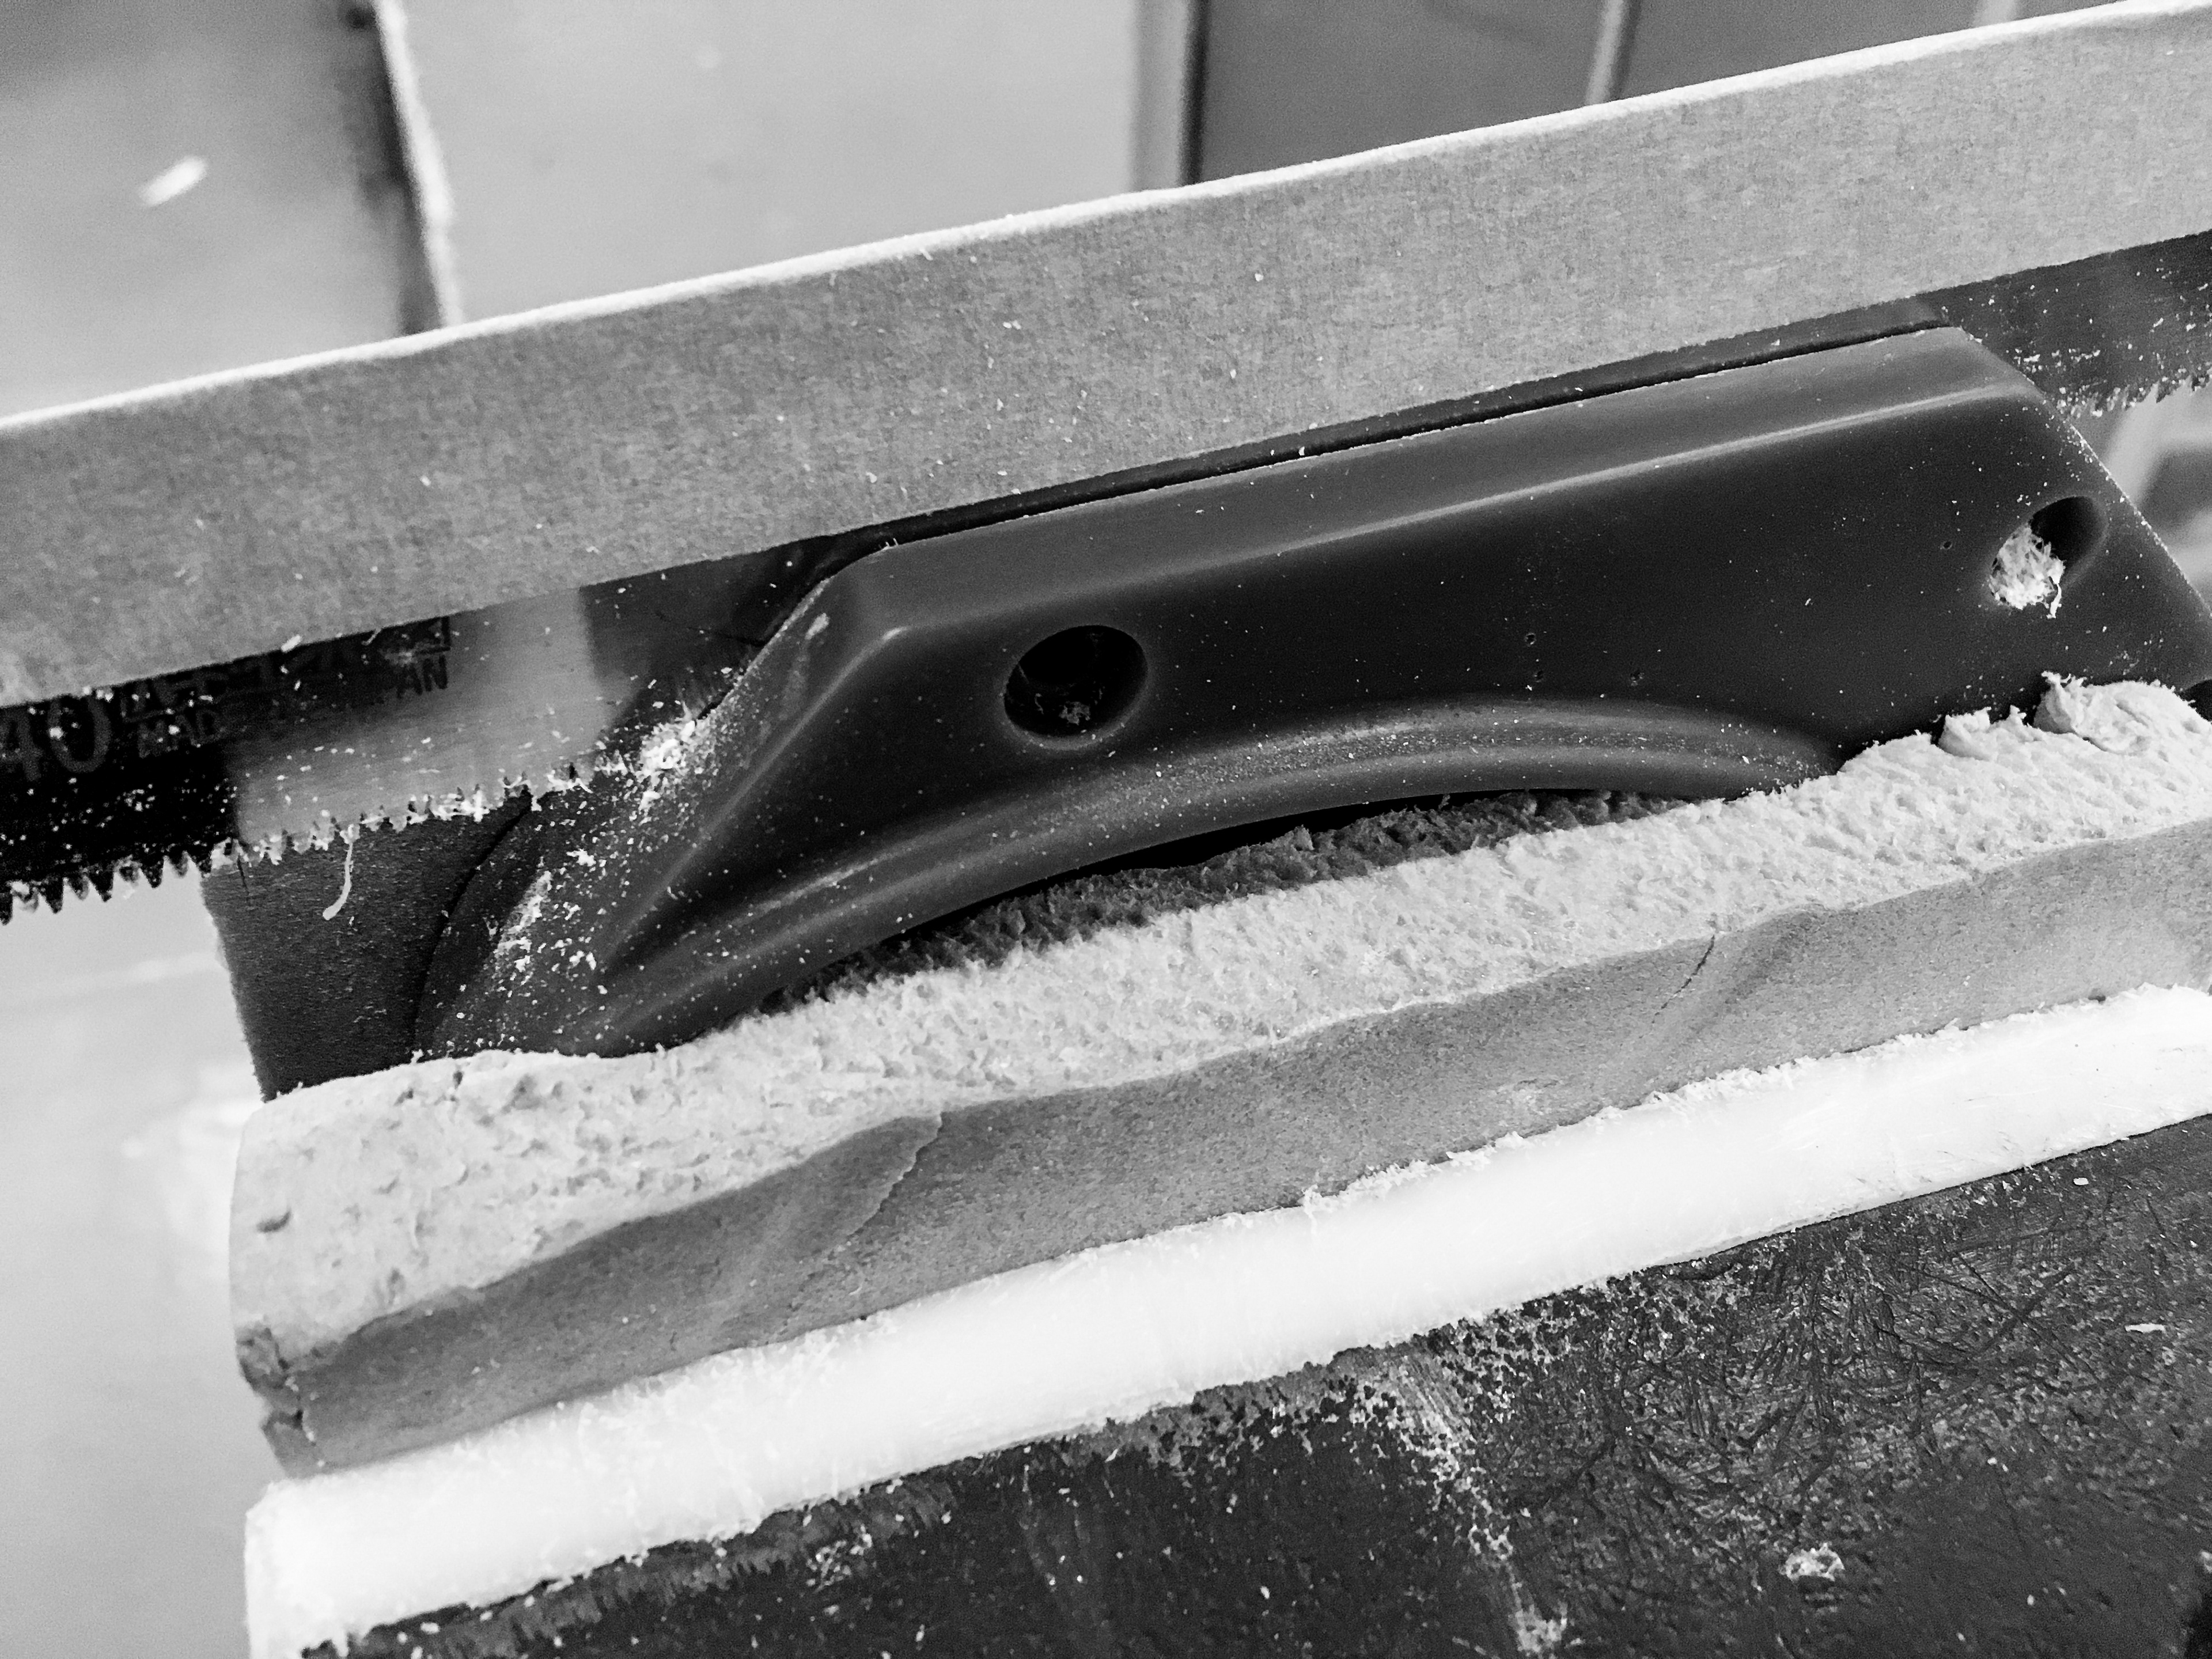
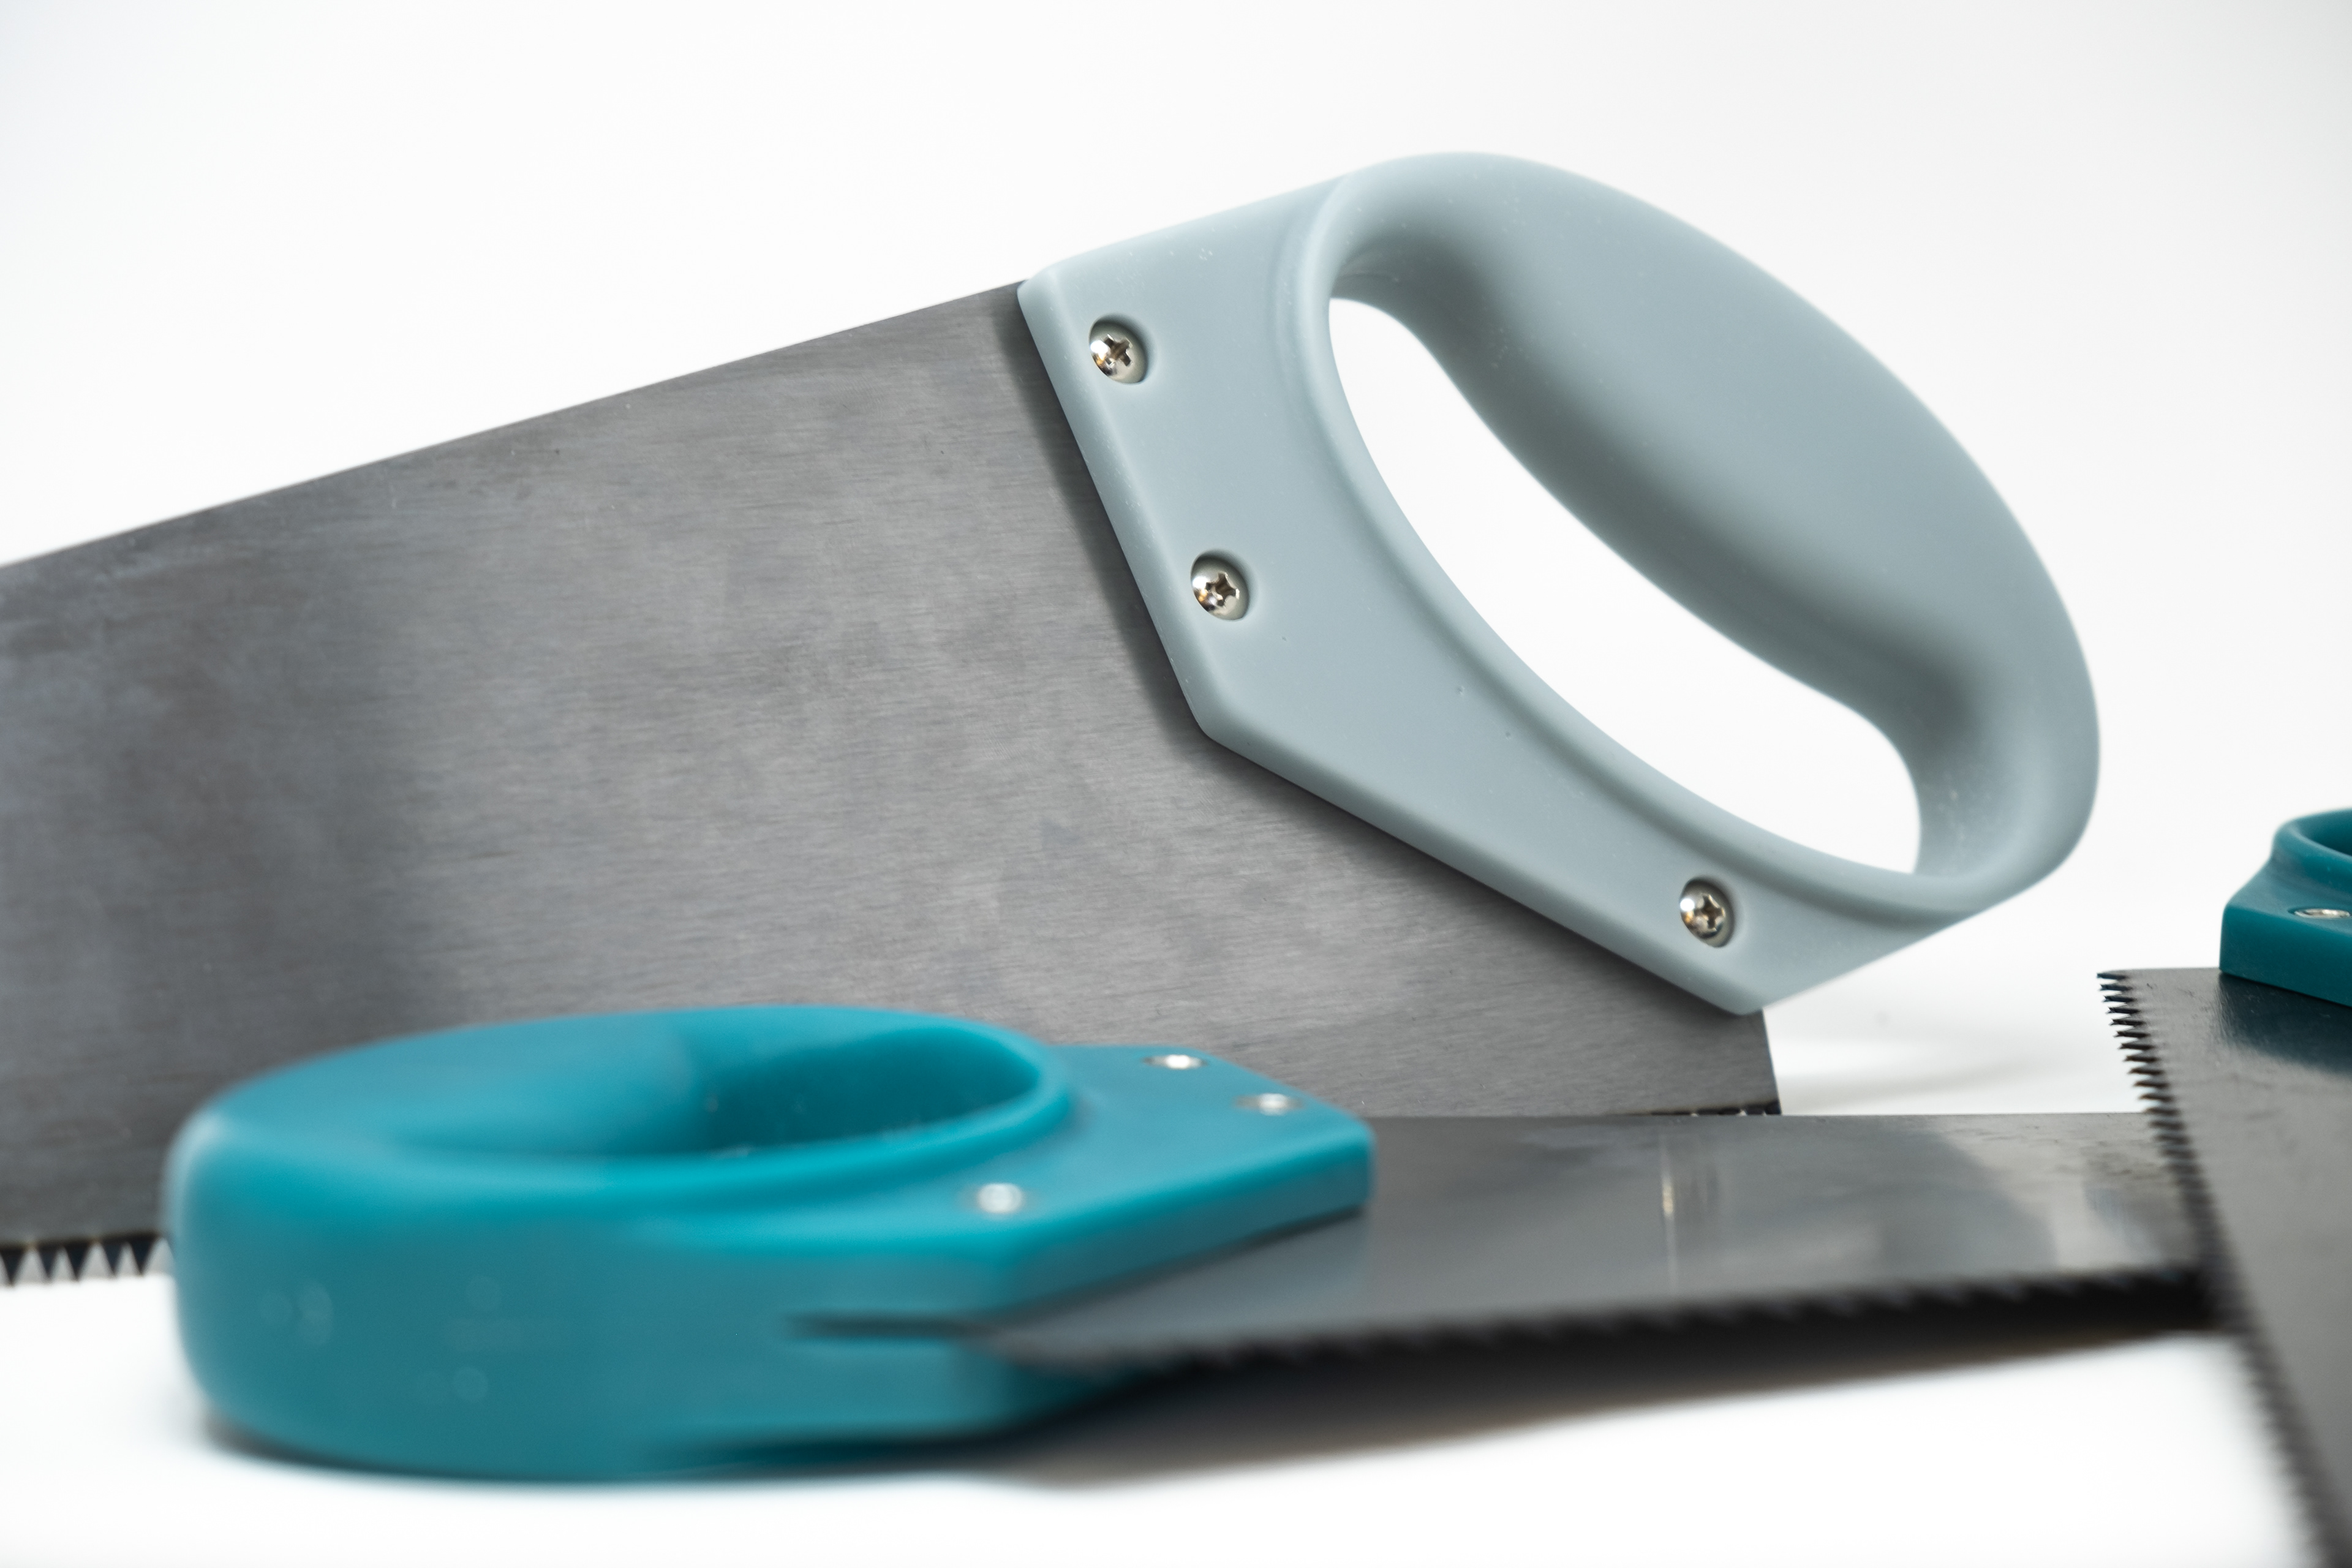
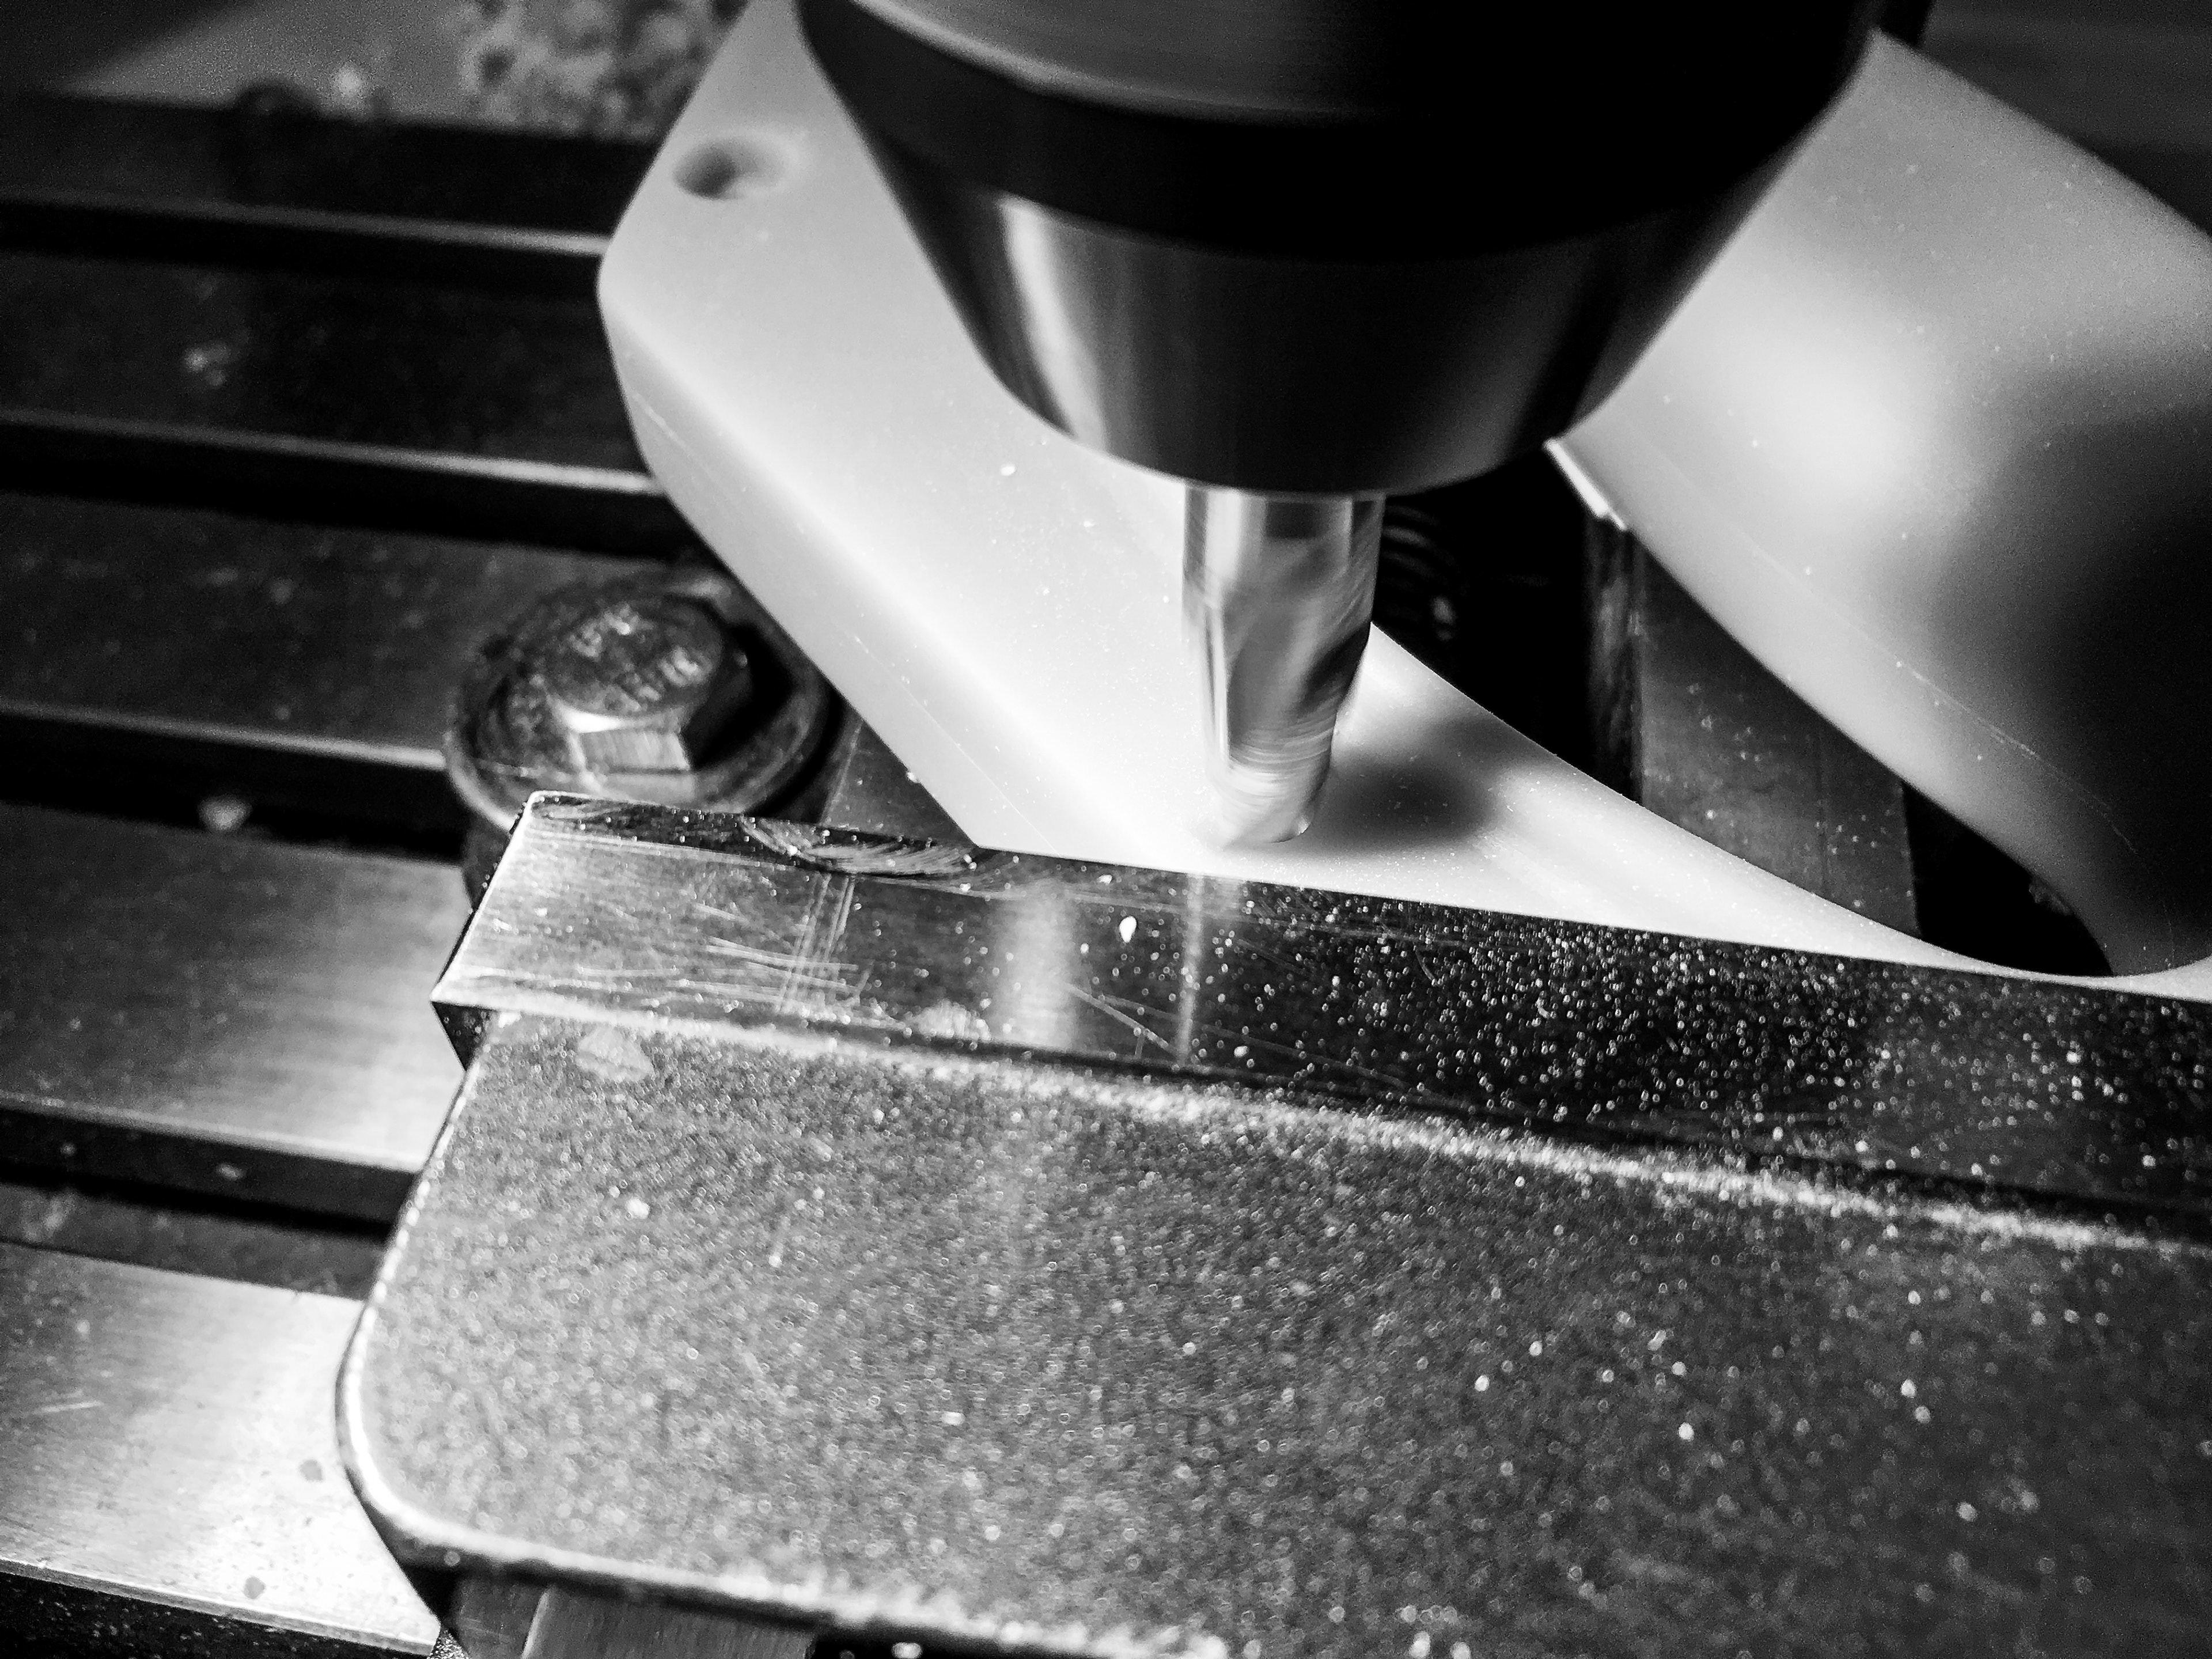
creating blade slot
final three handles